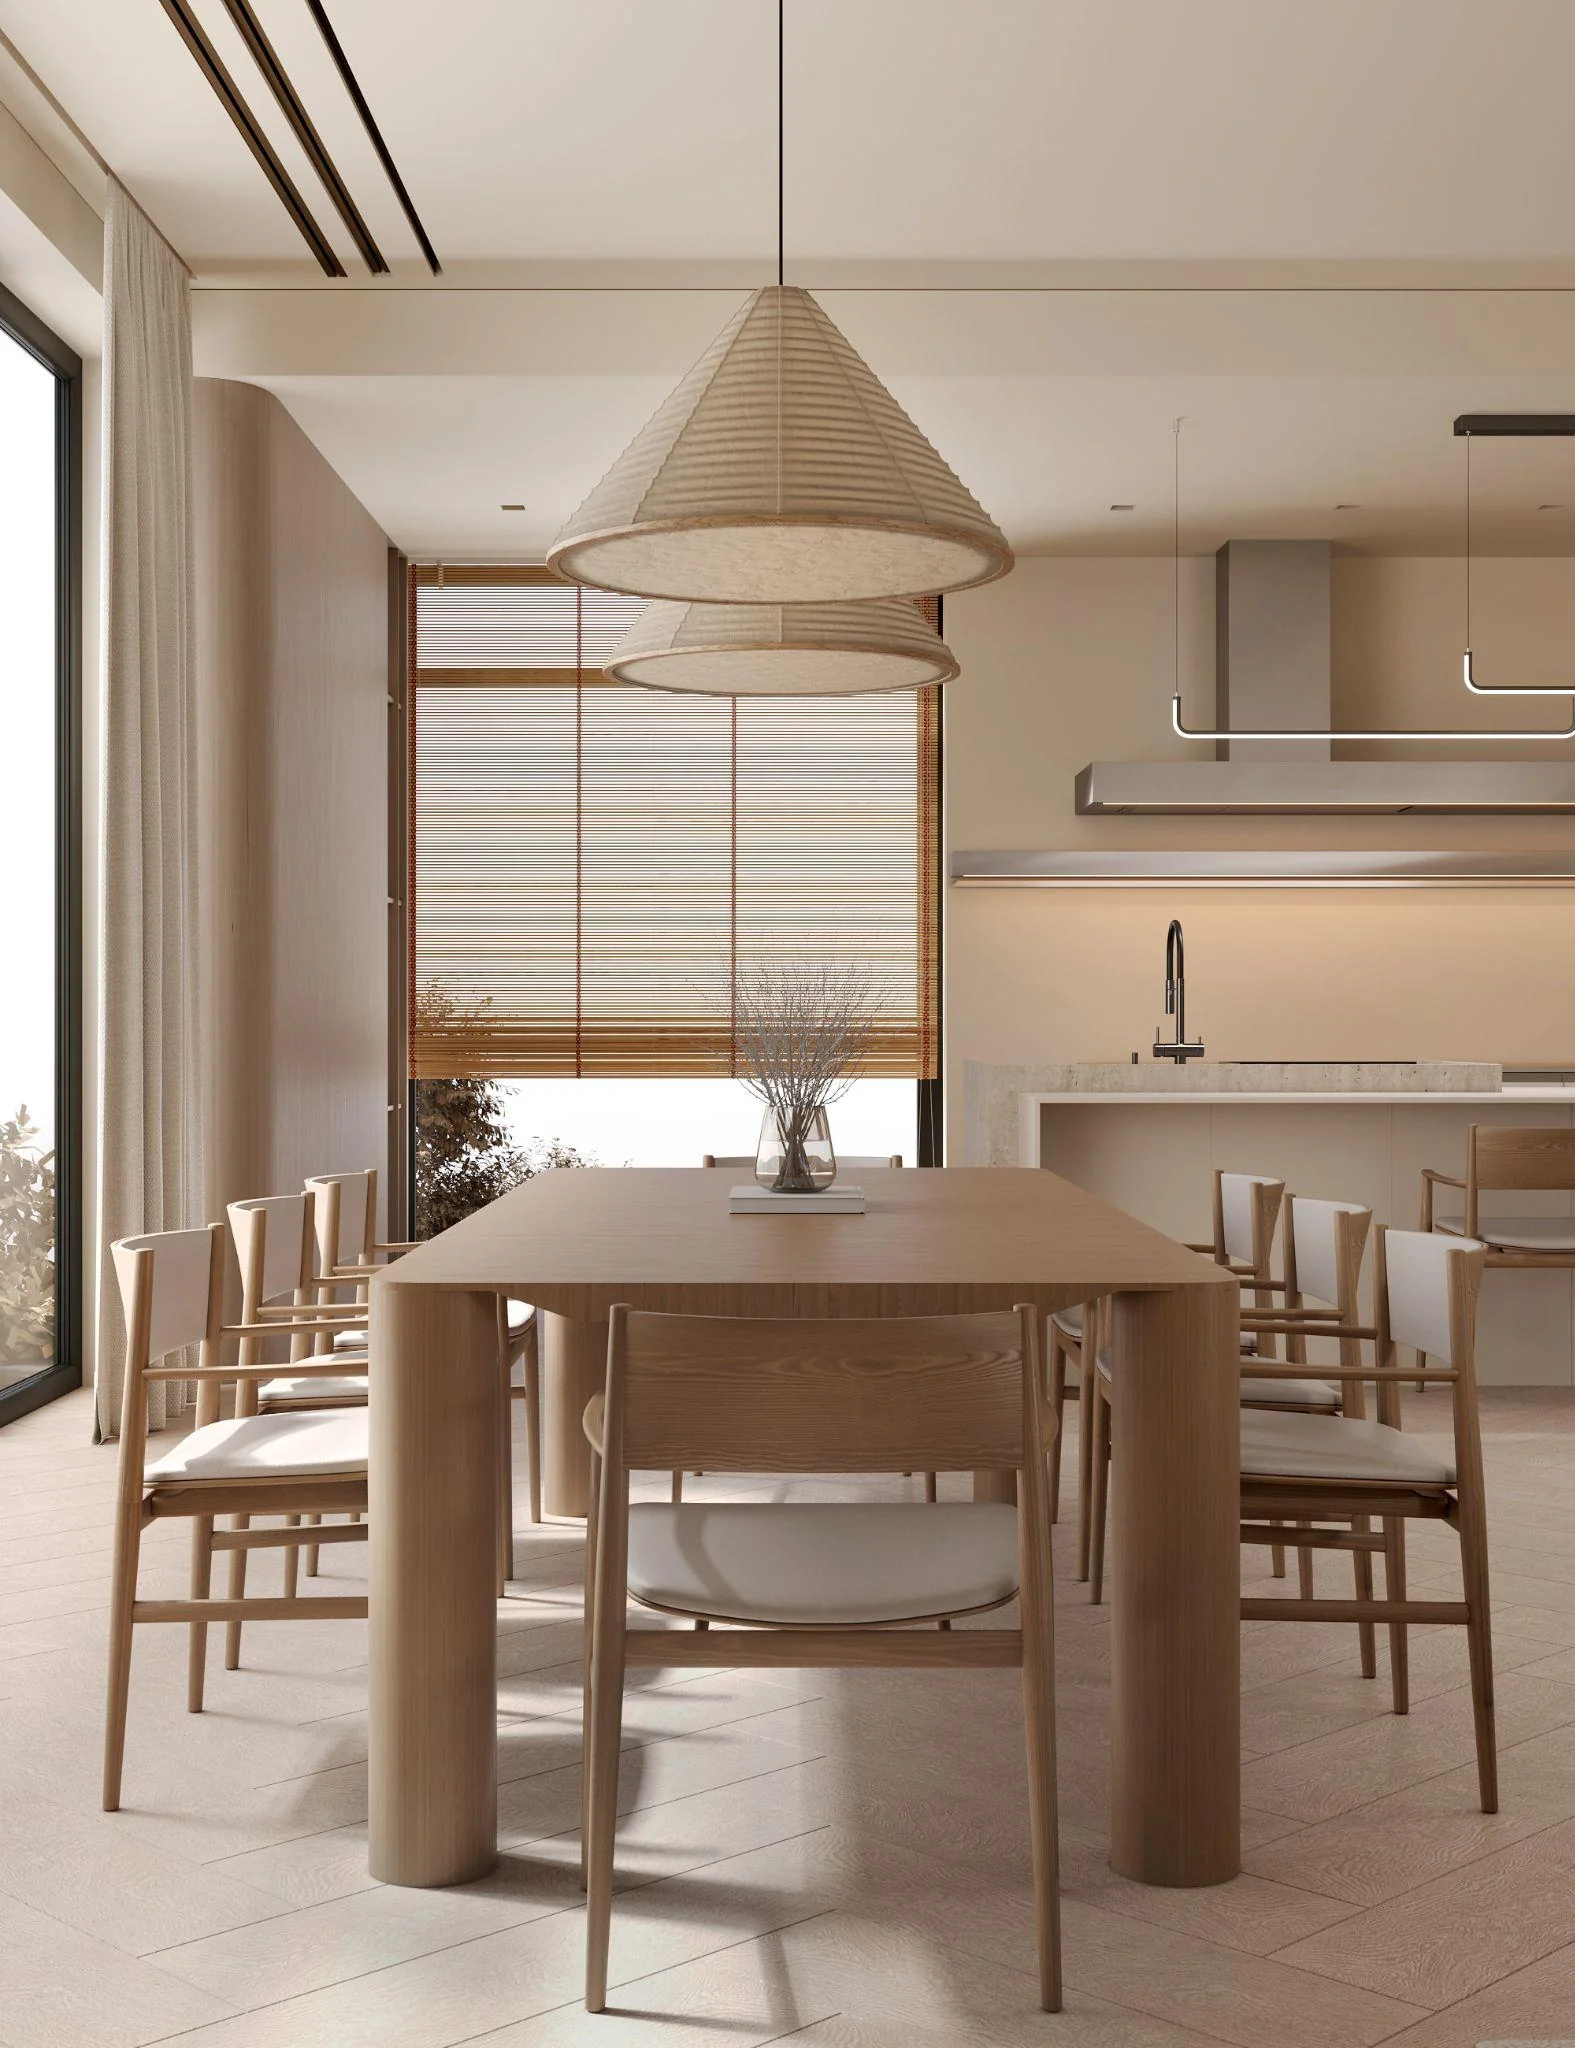
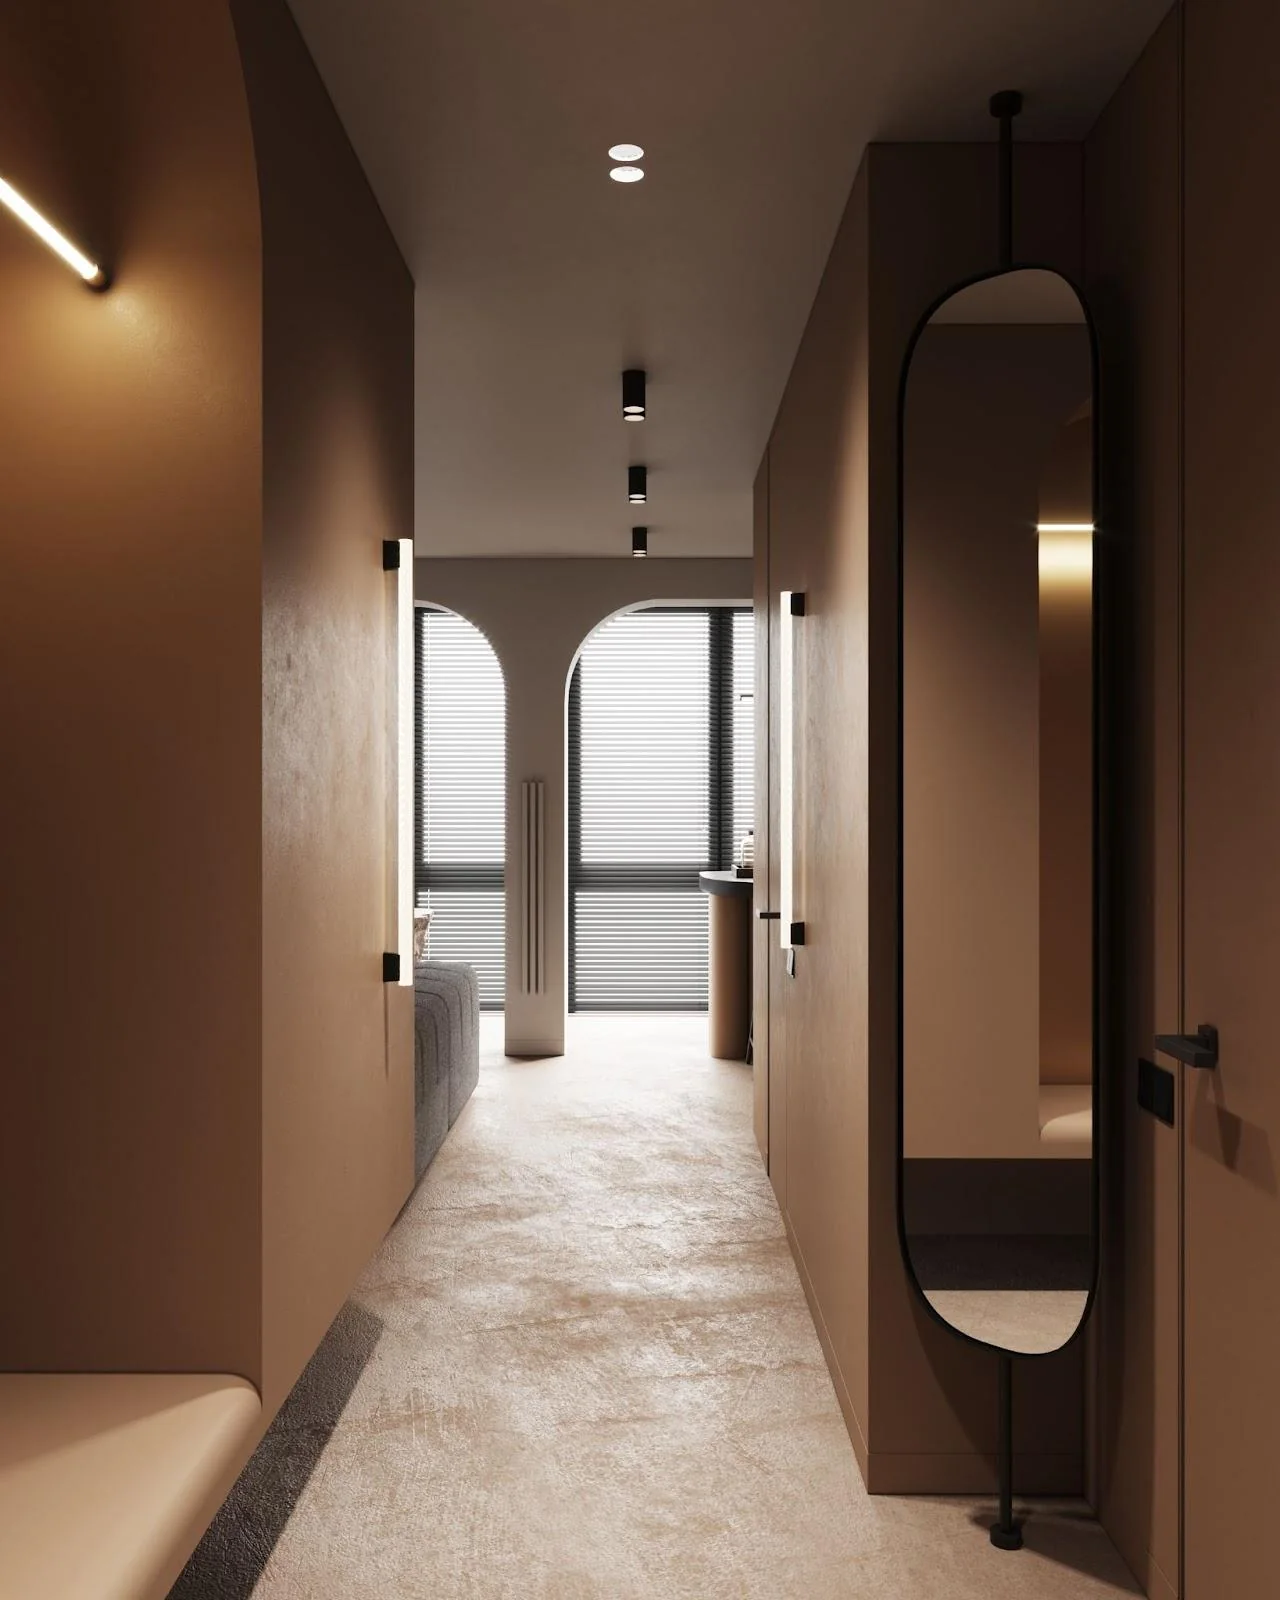
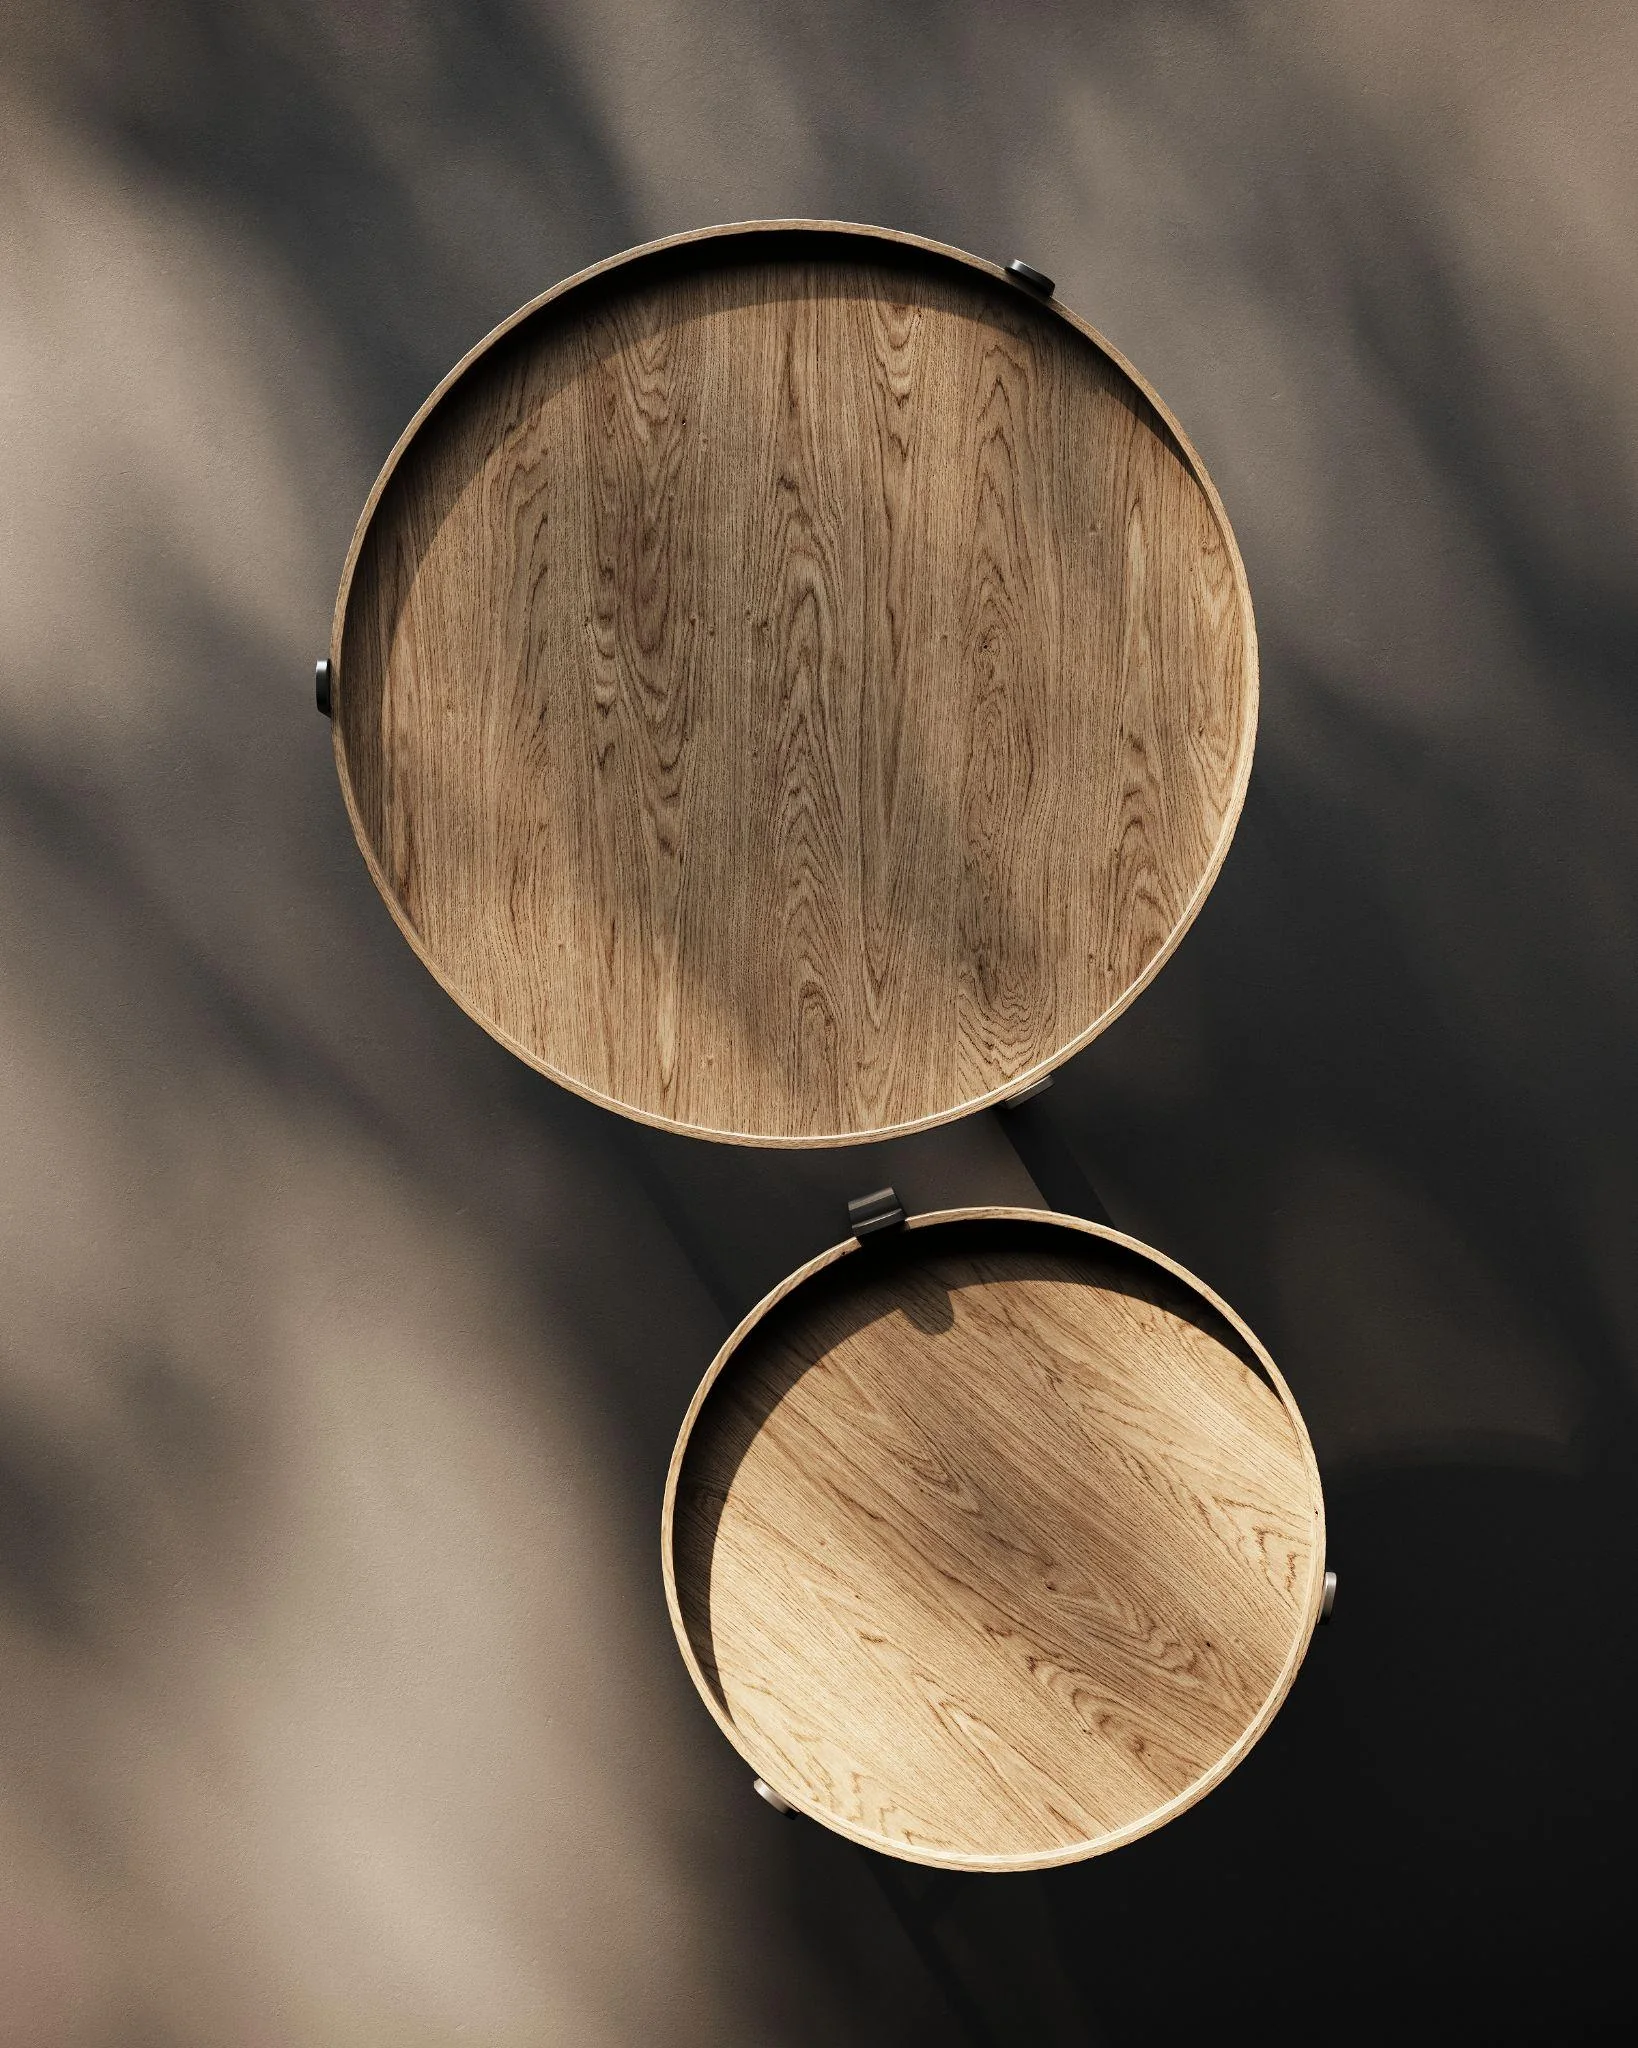
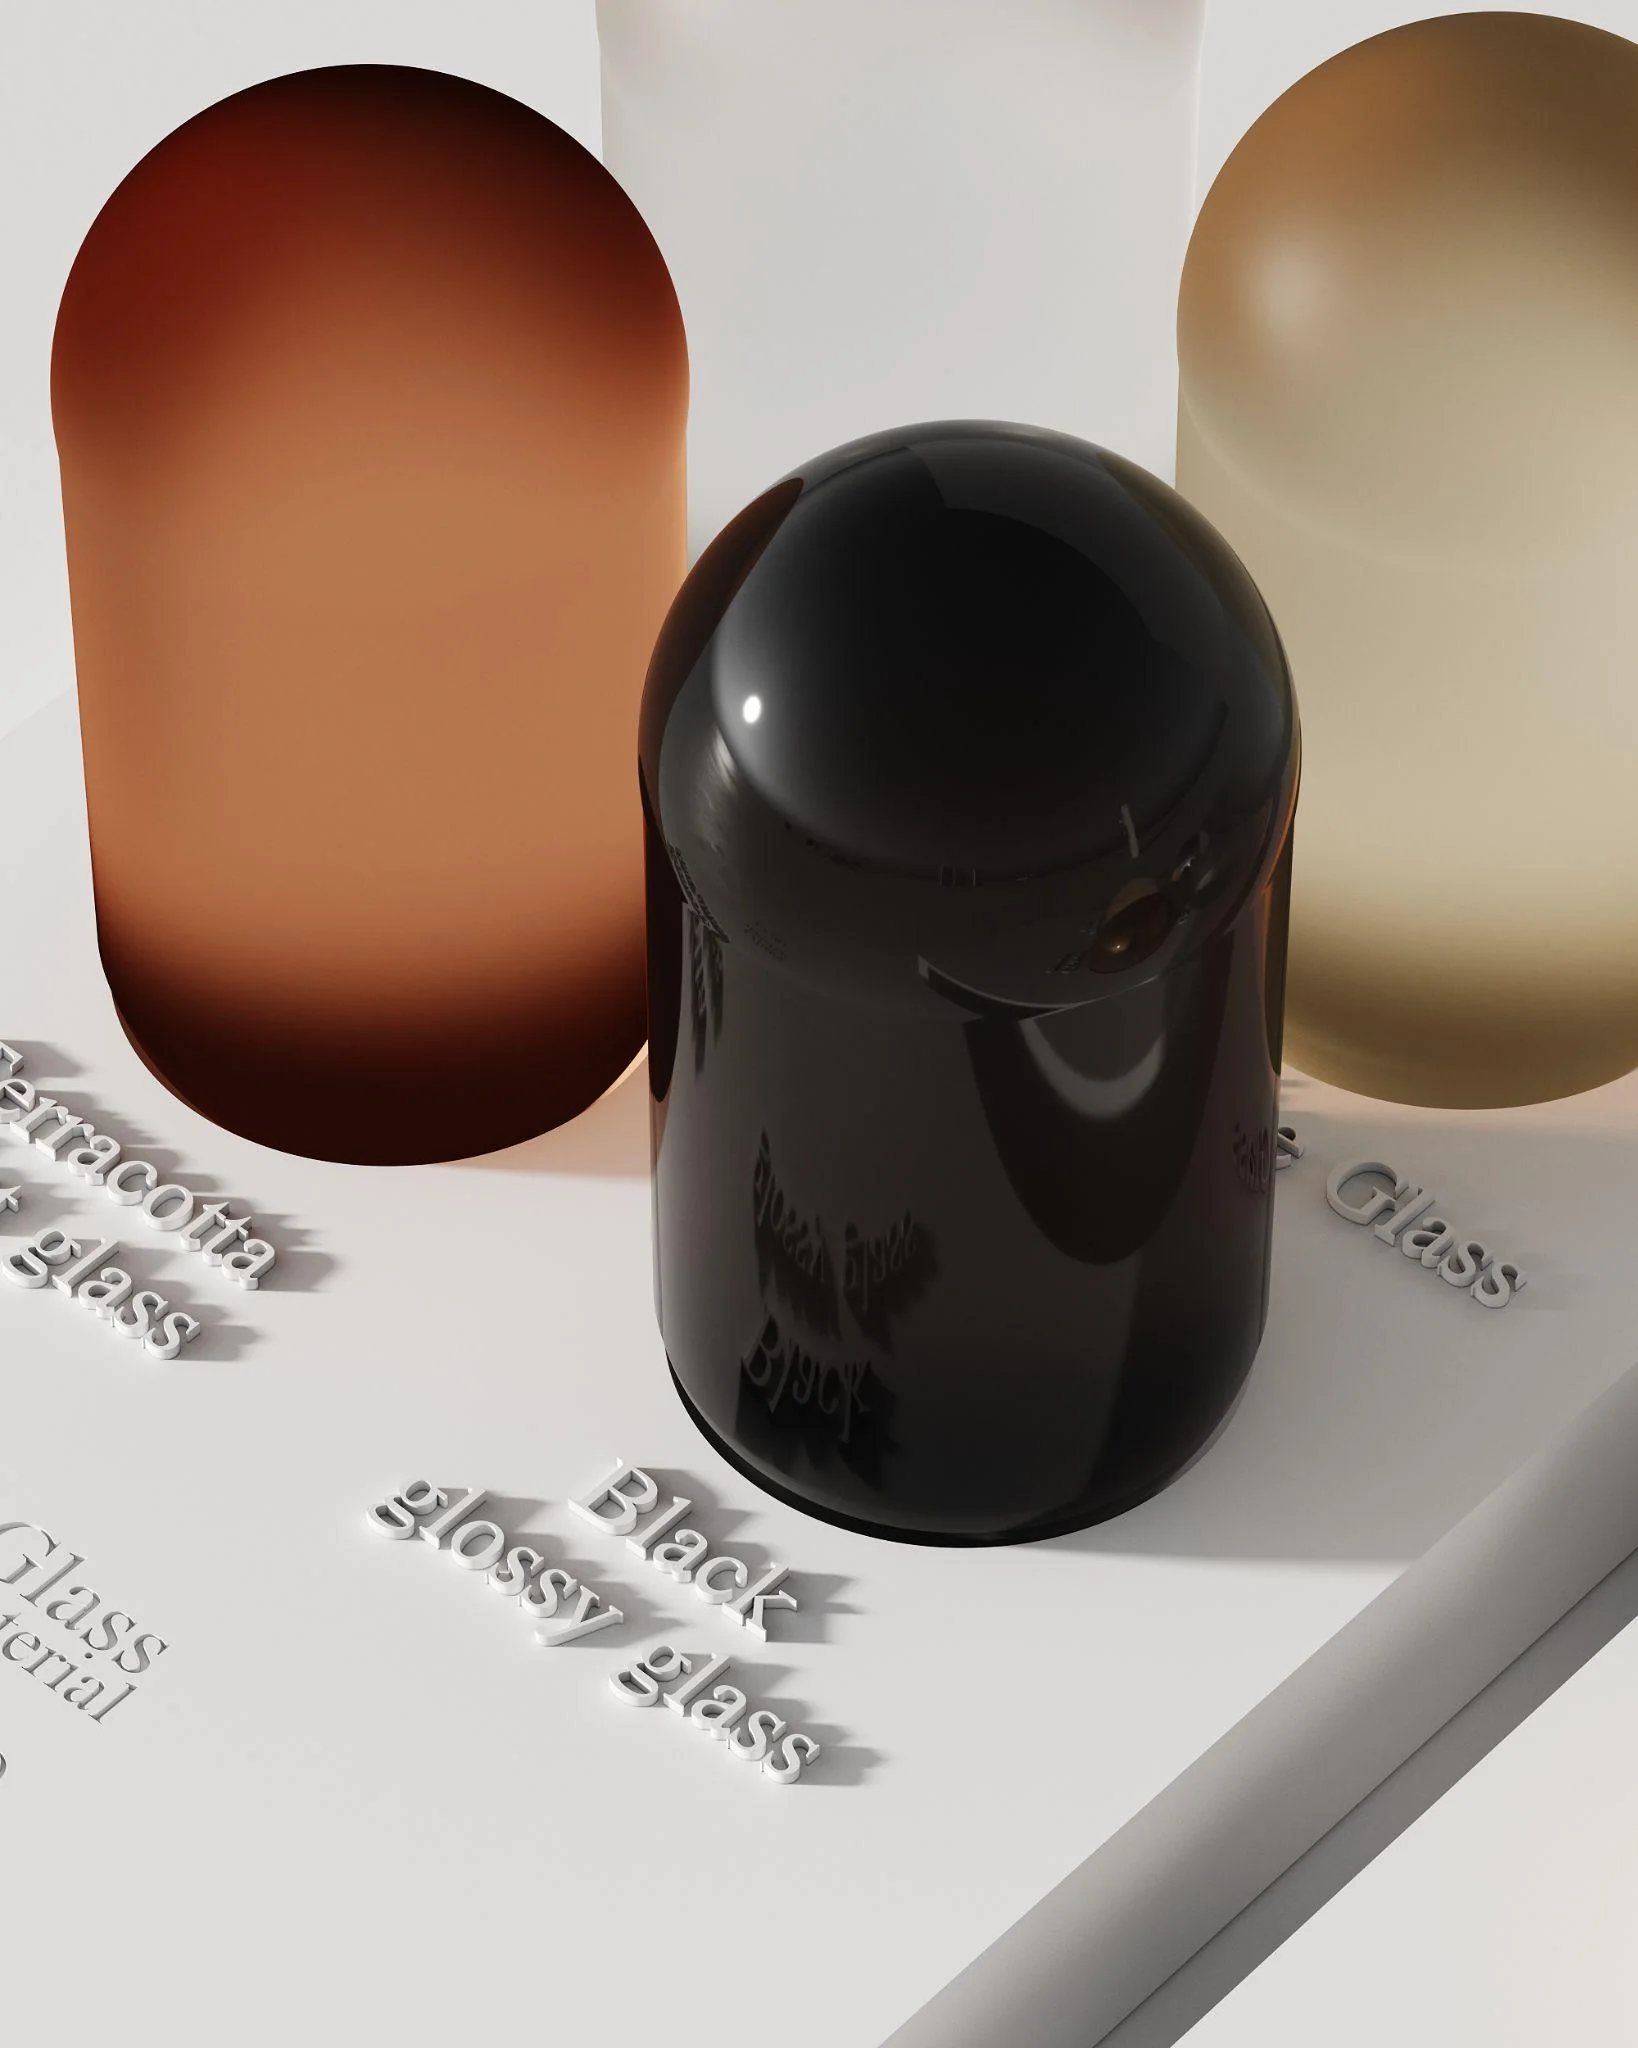
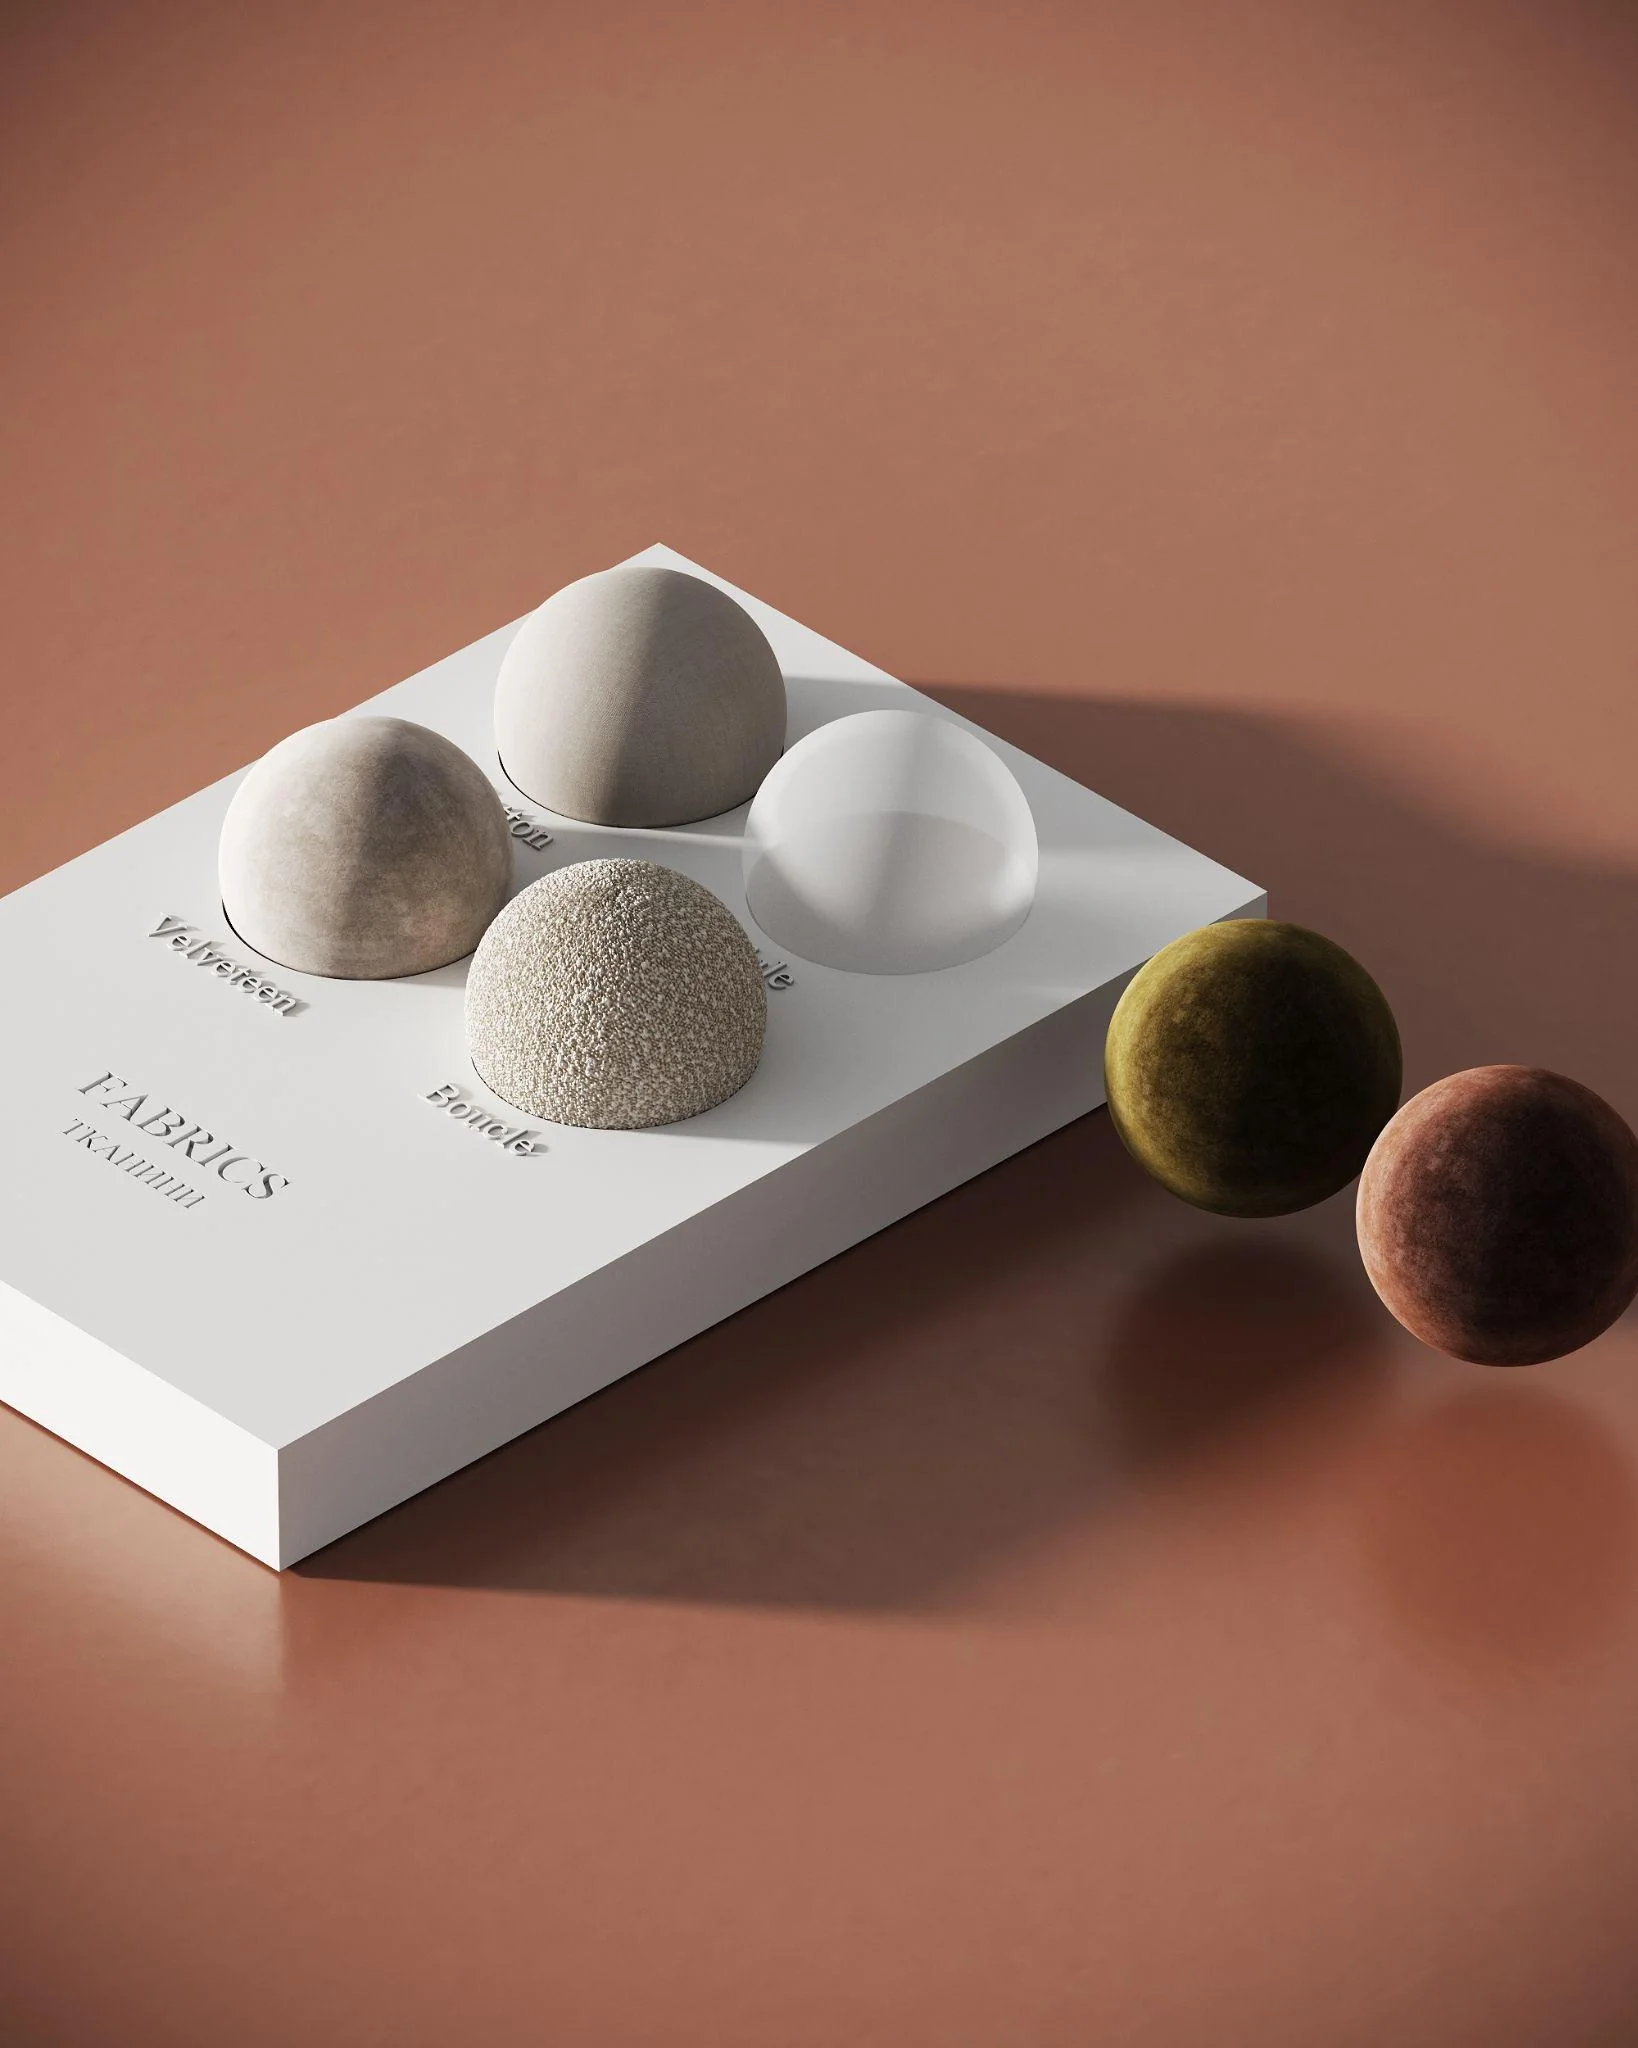
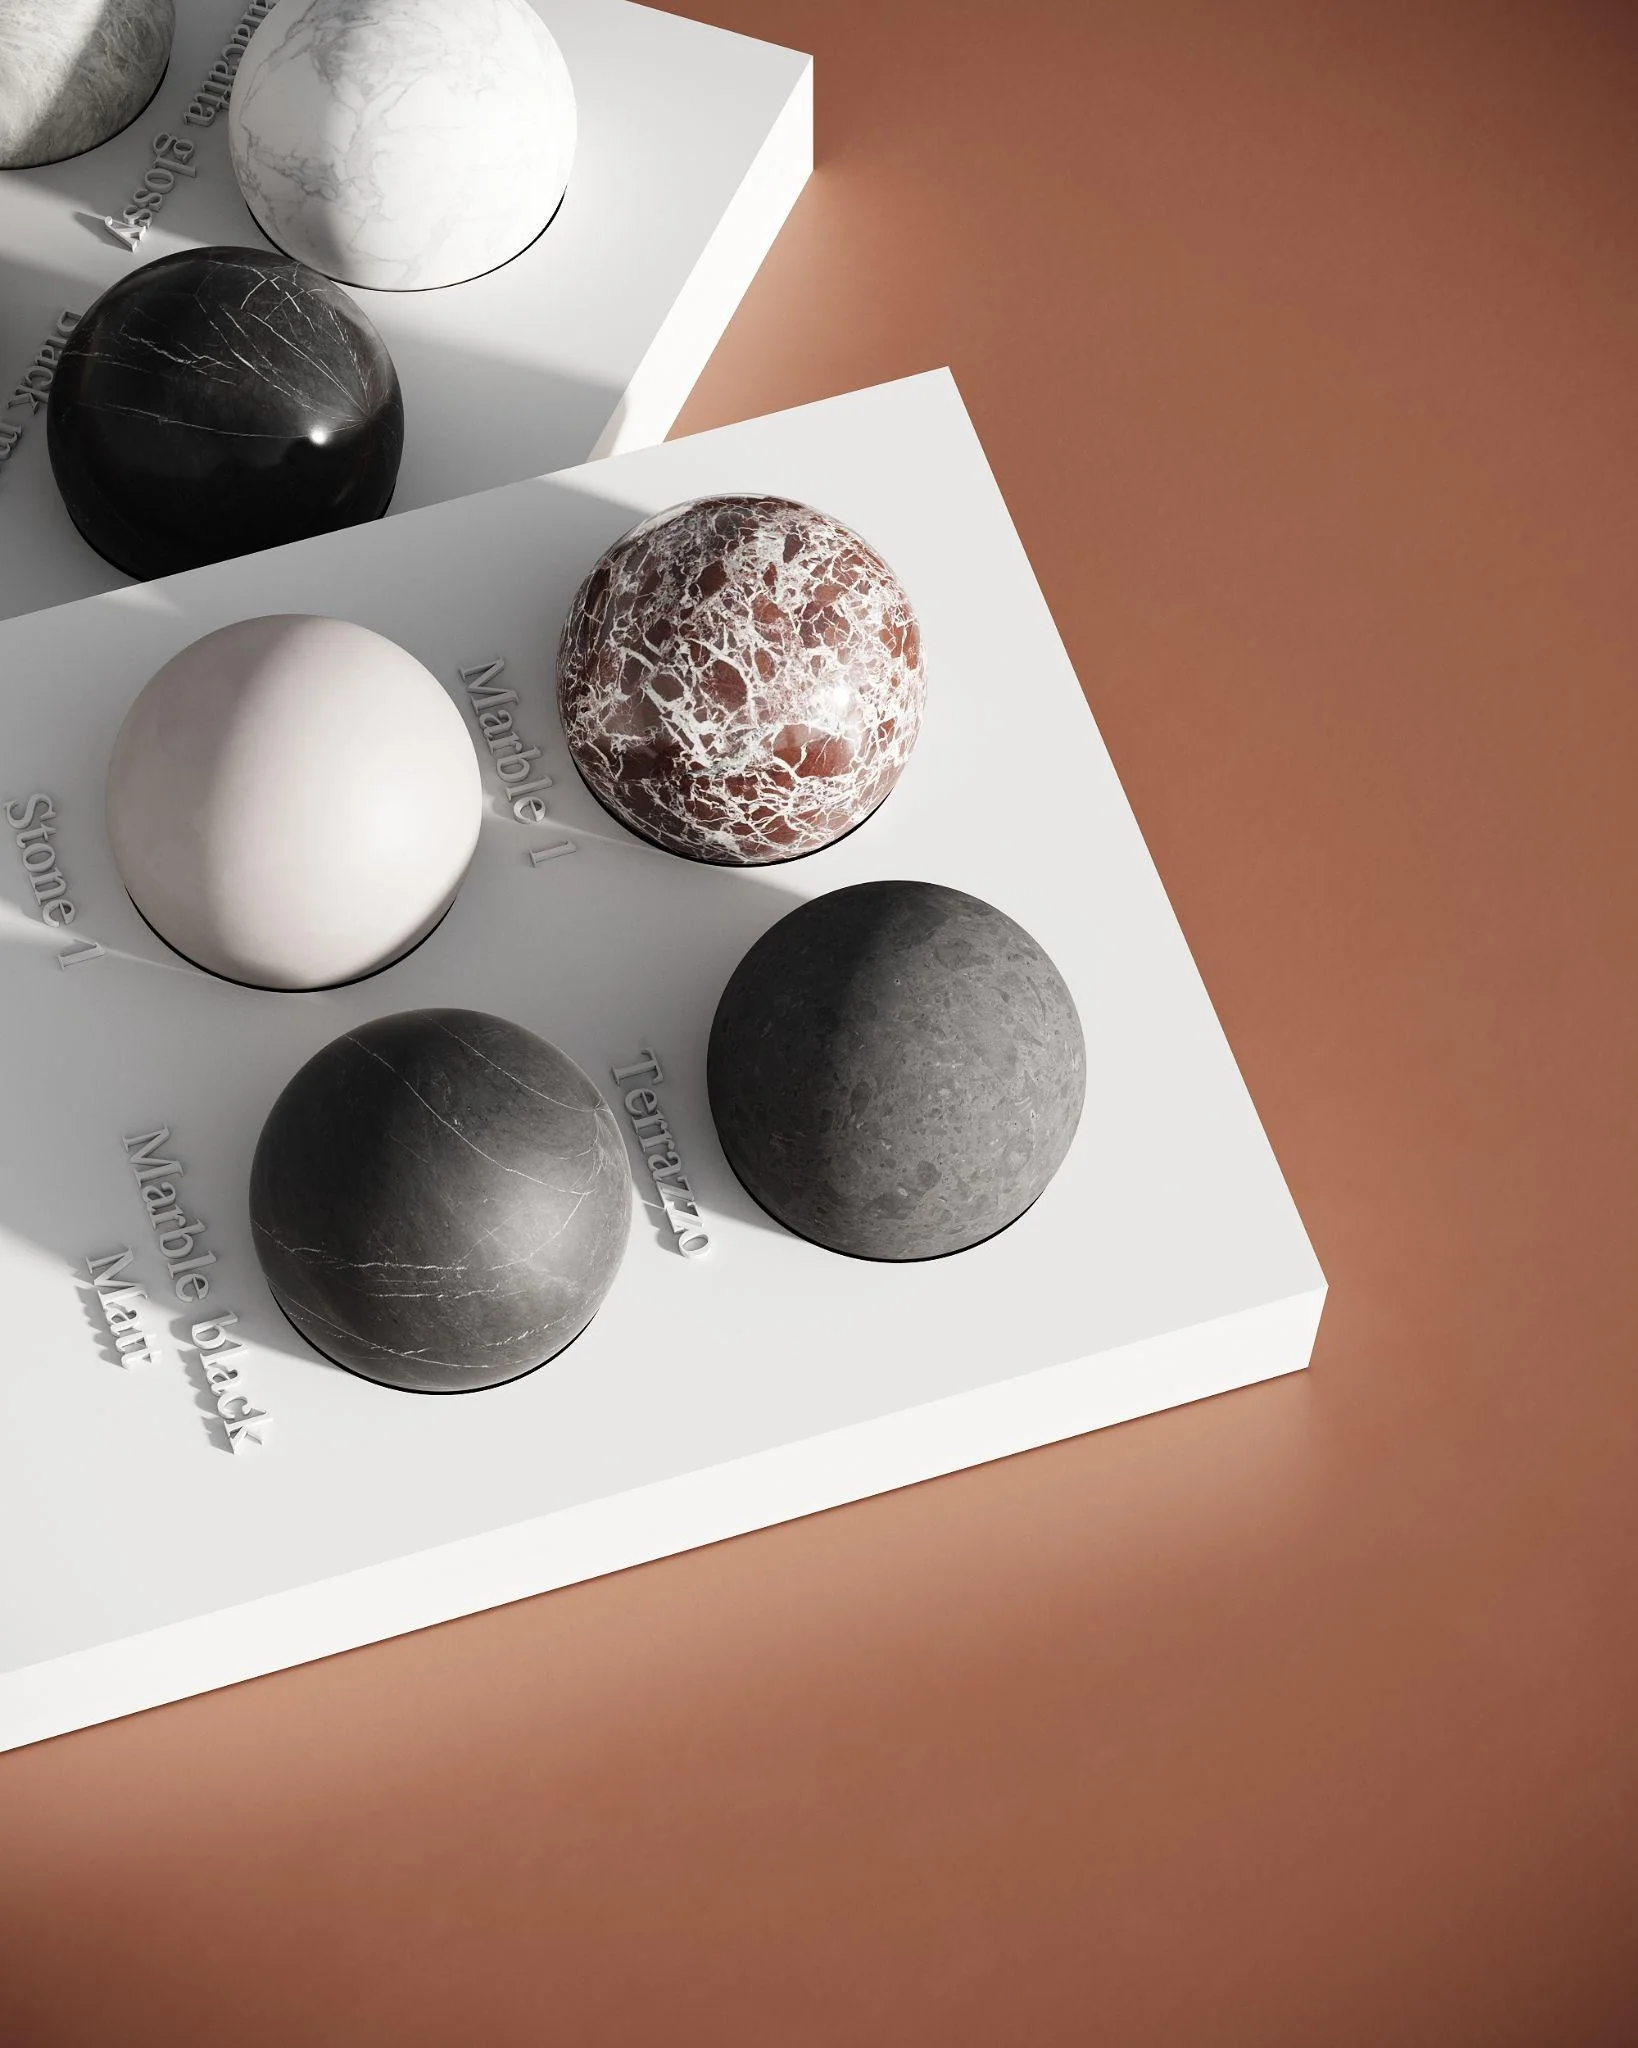
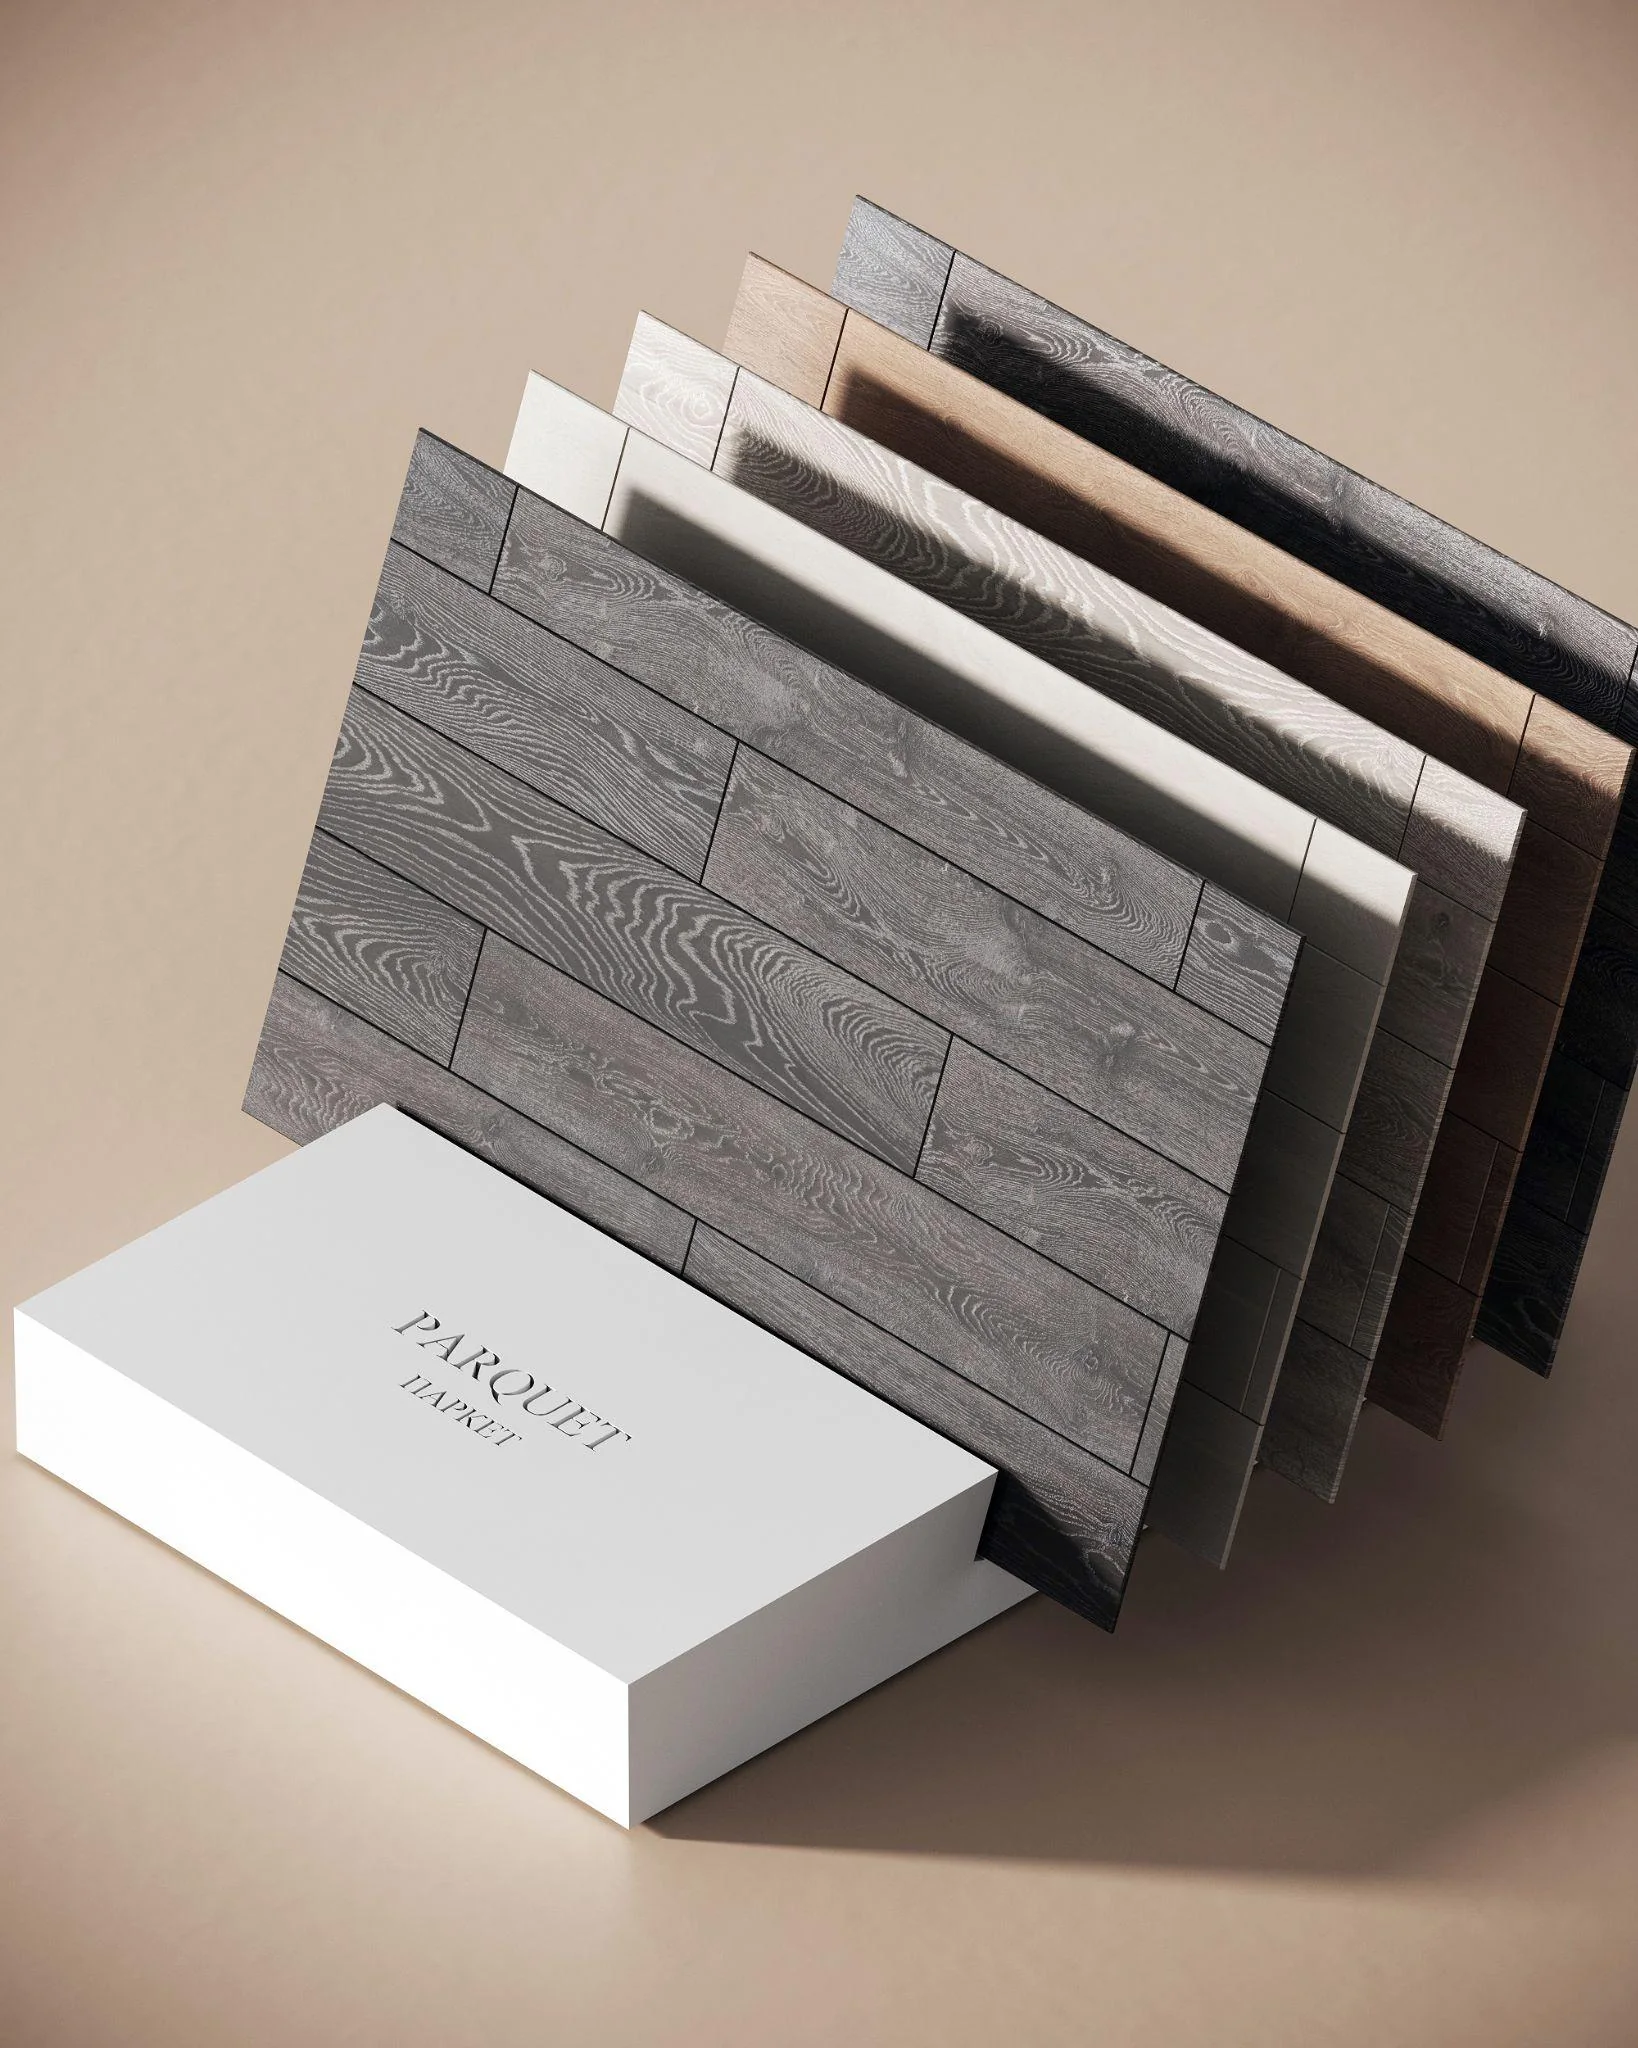
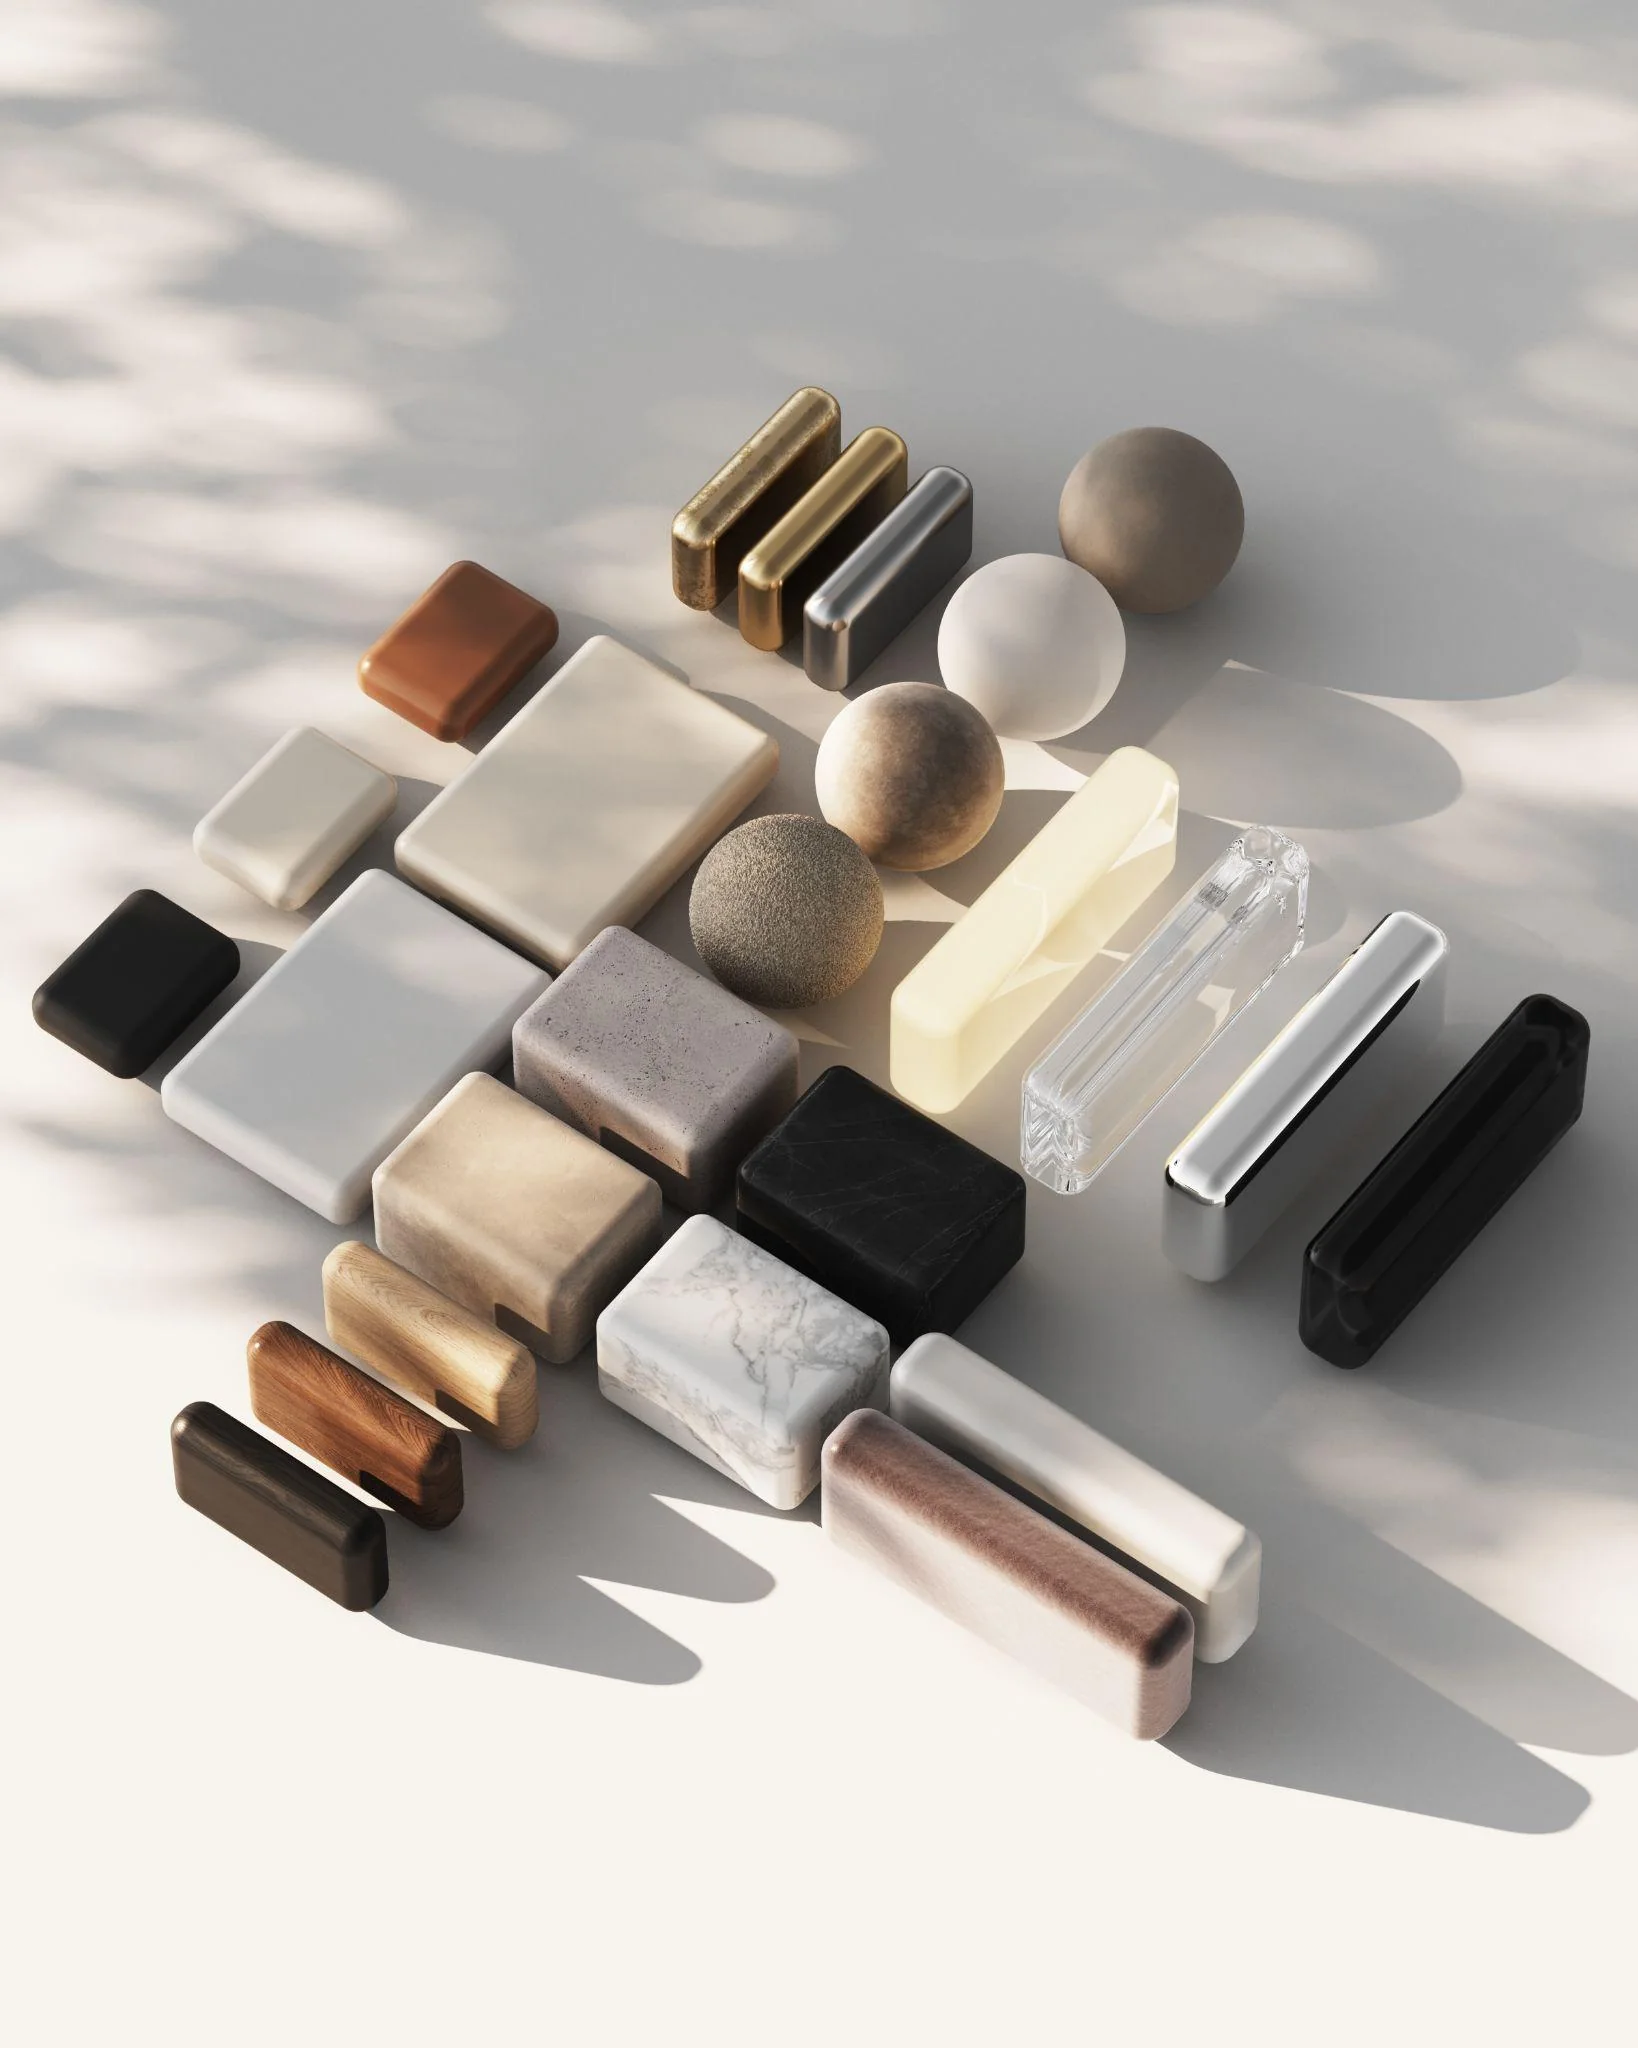
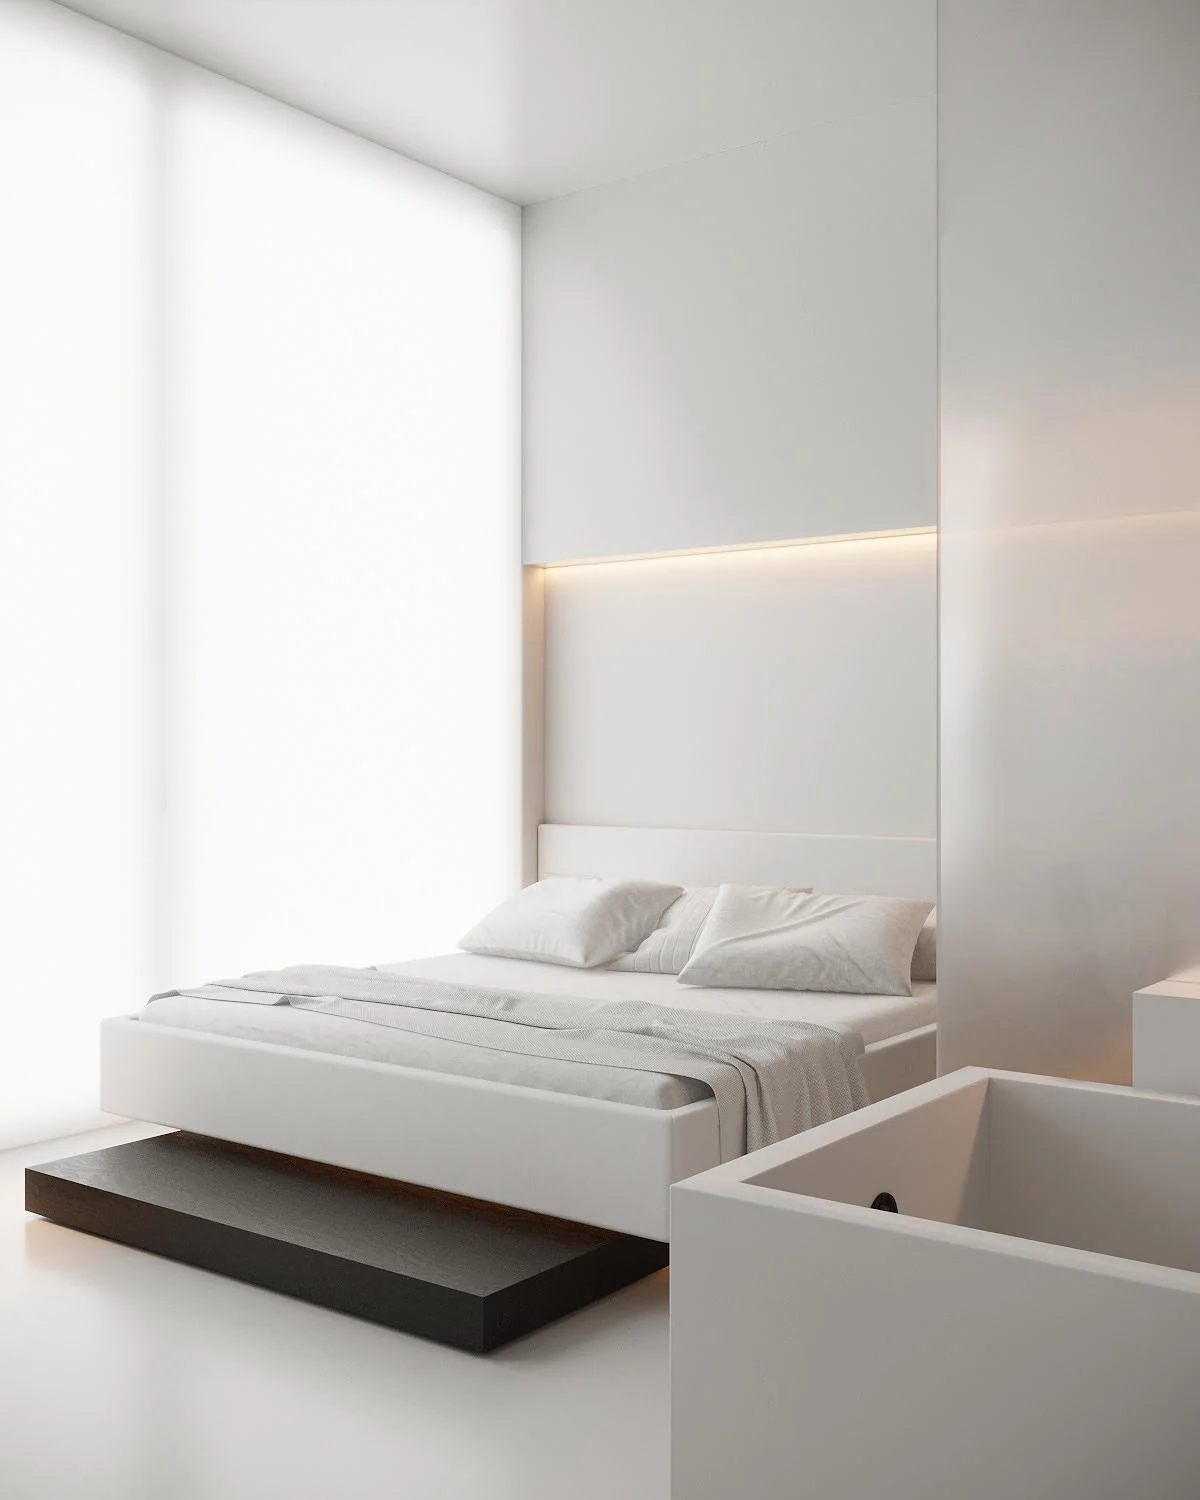
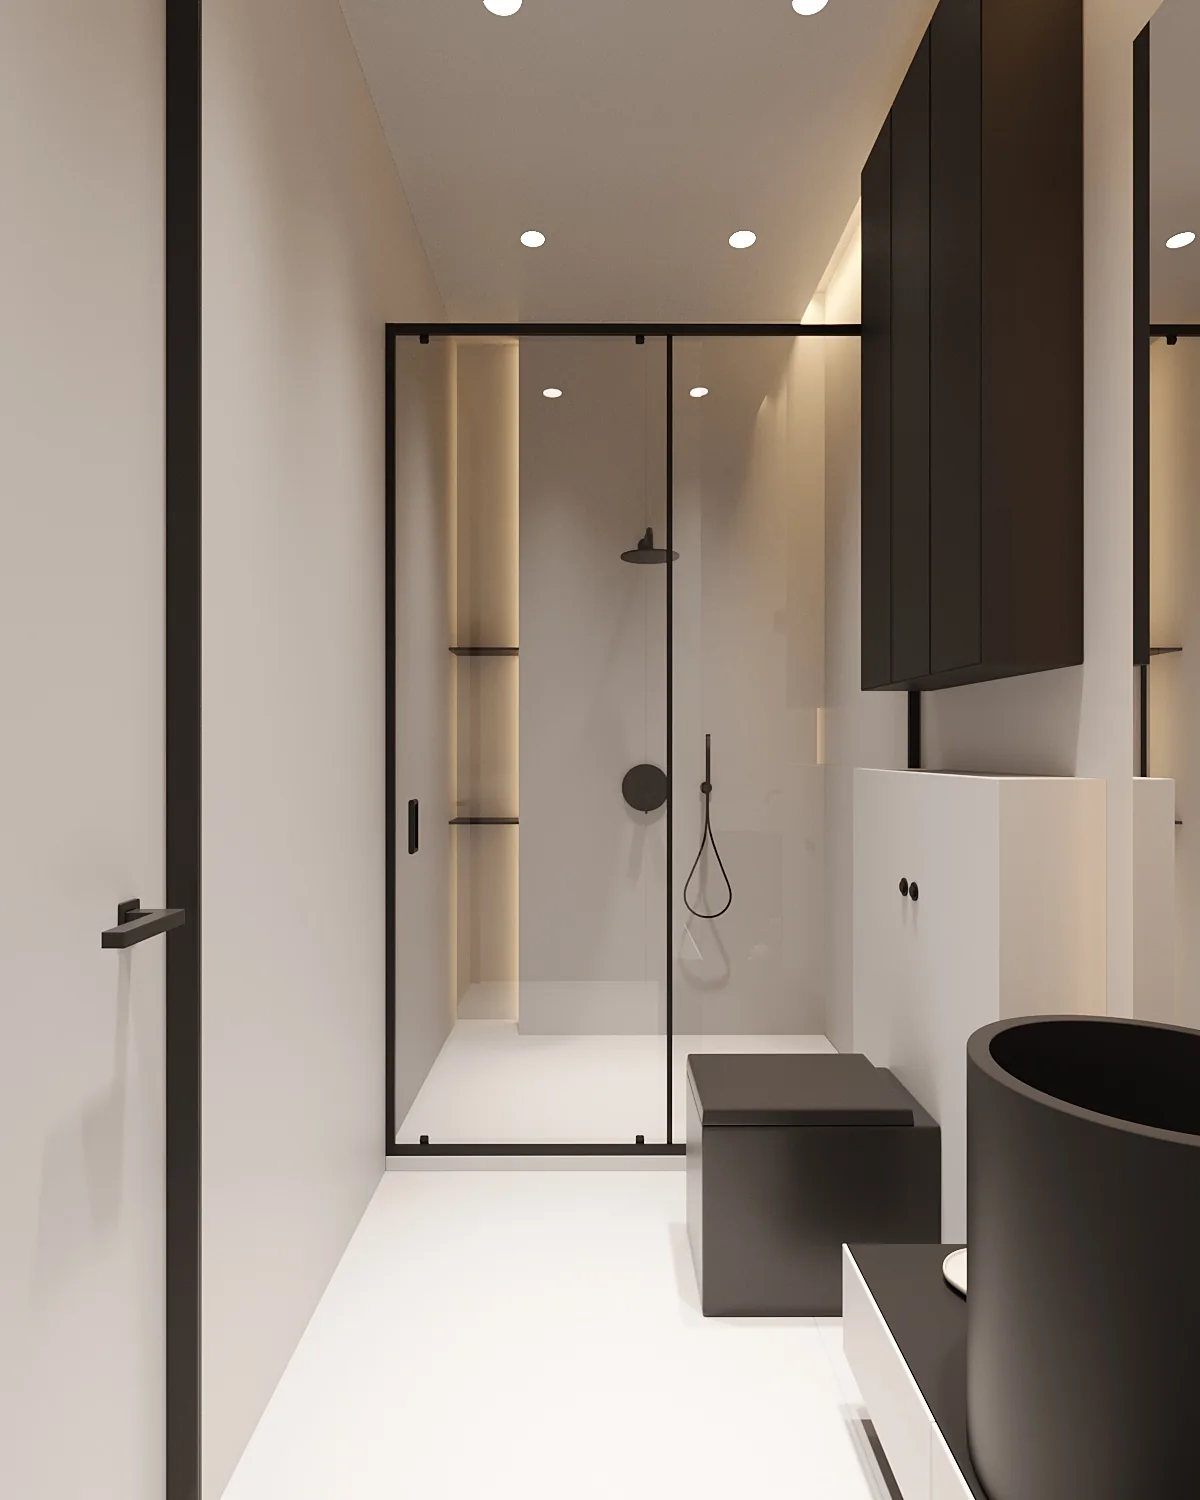
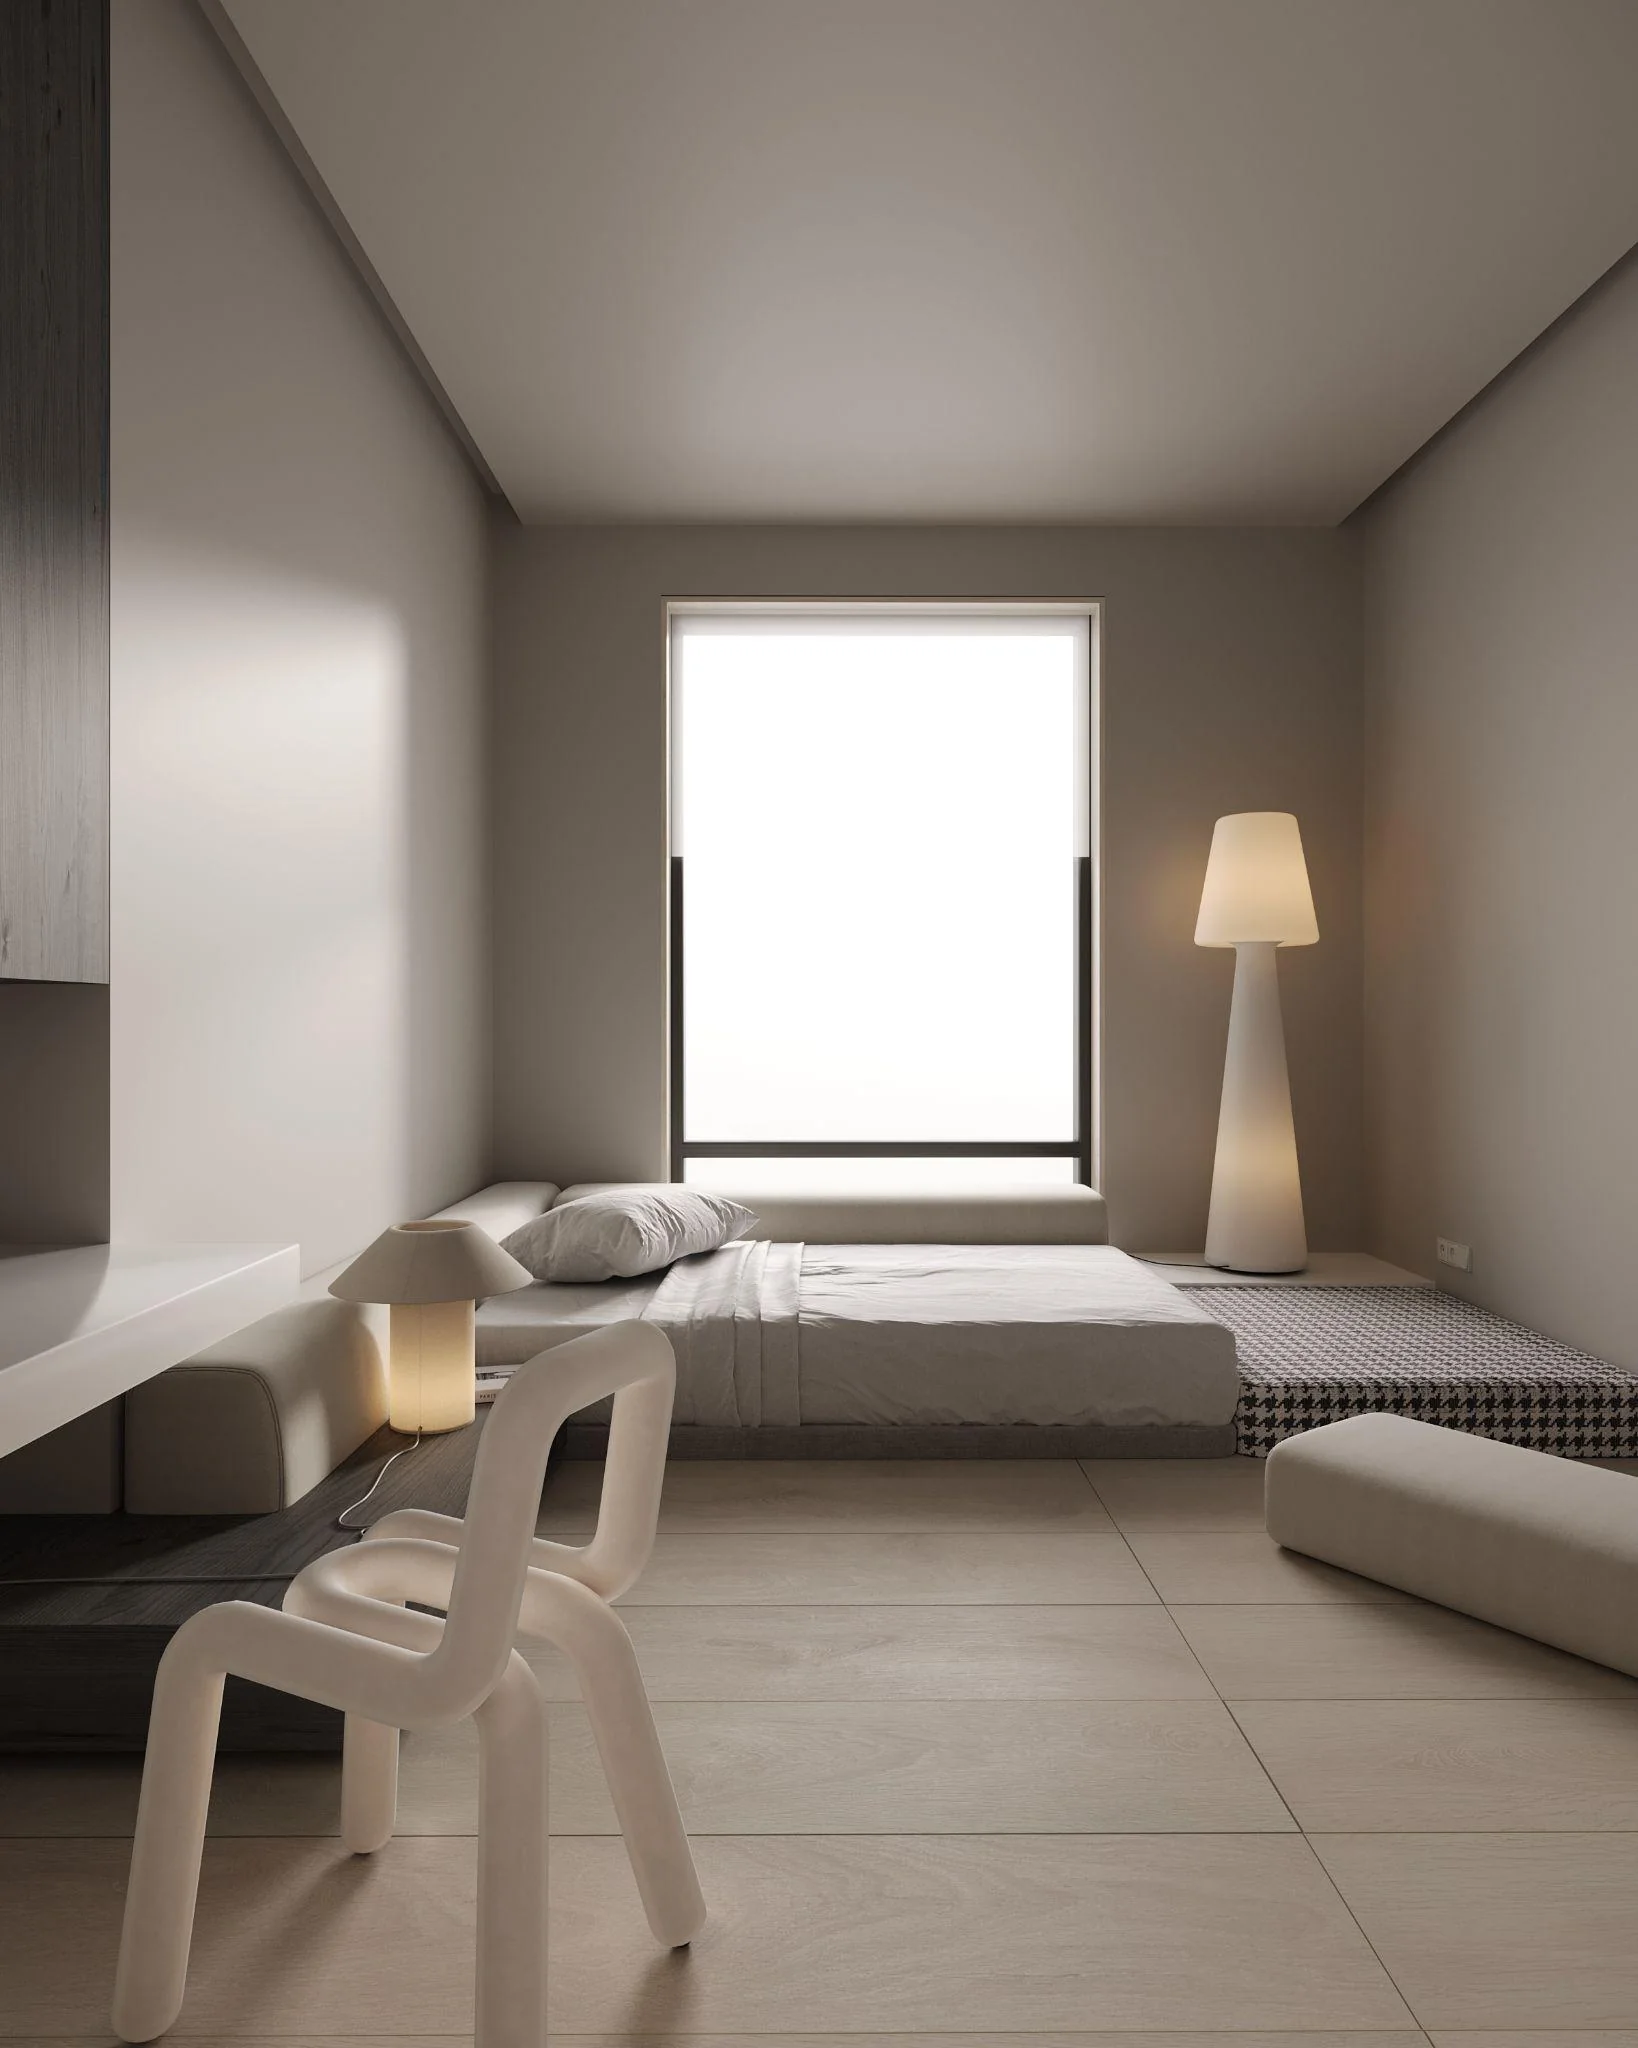
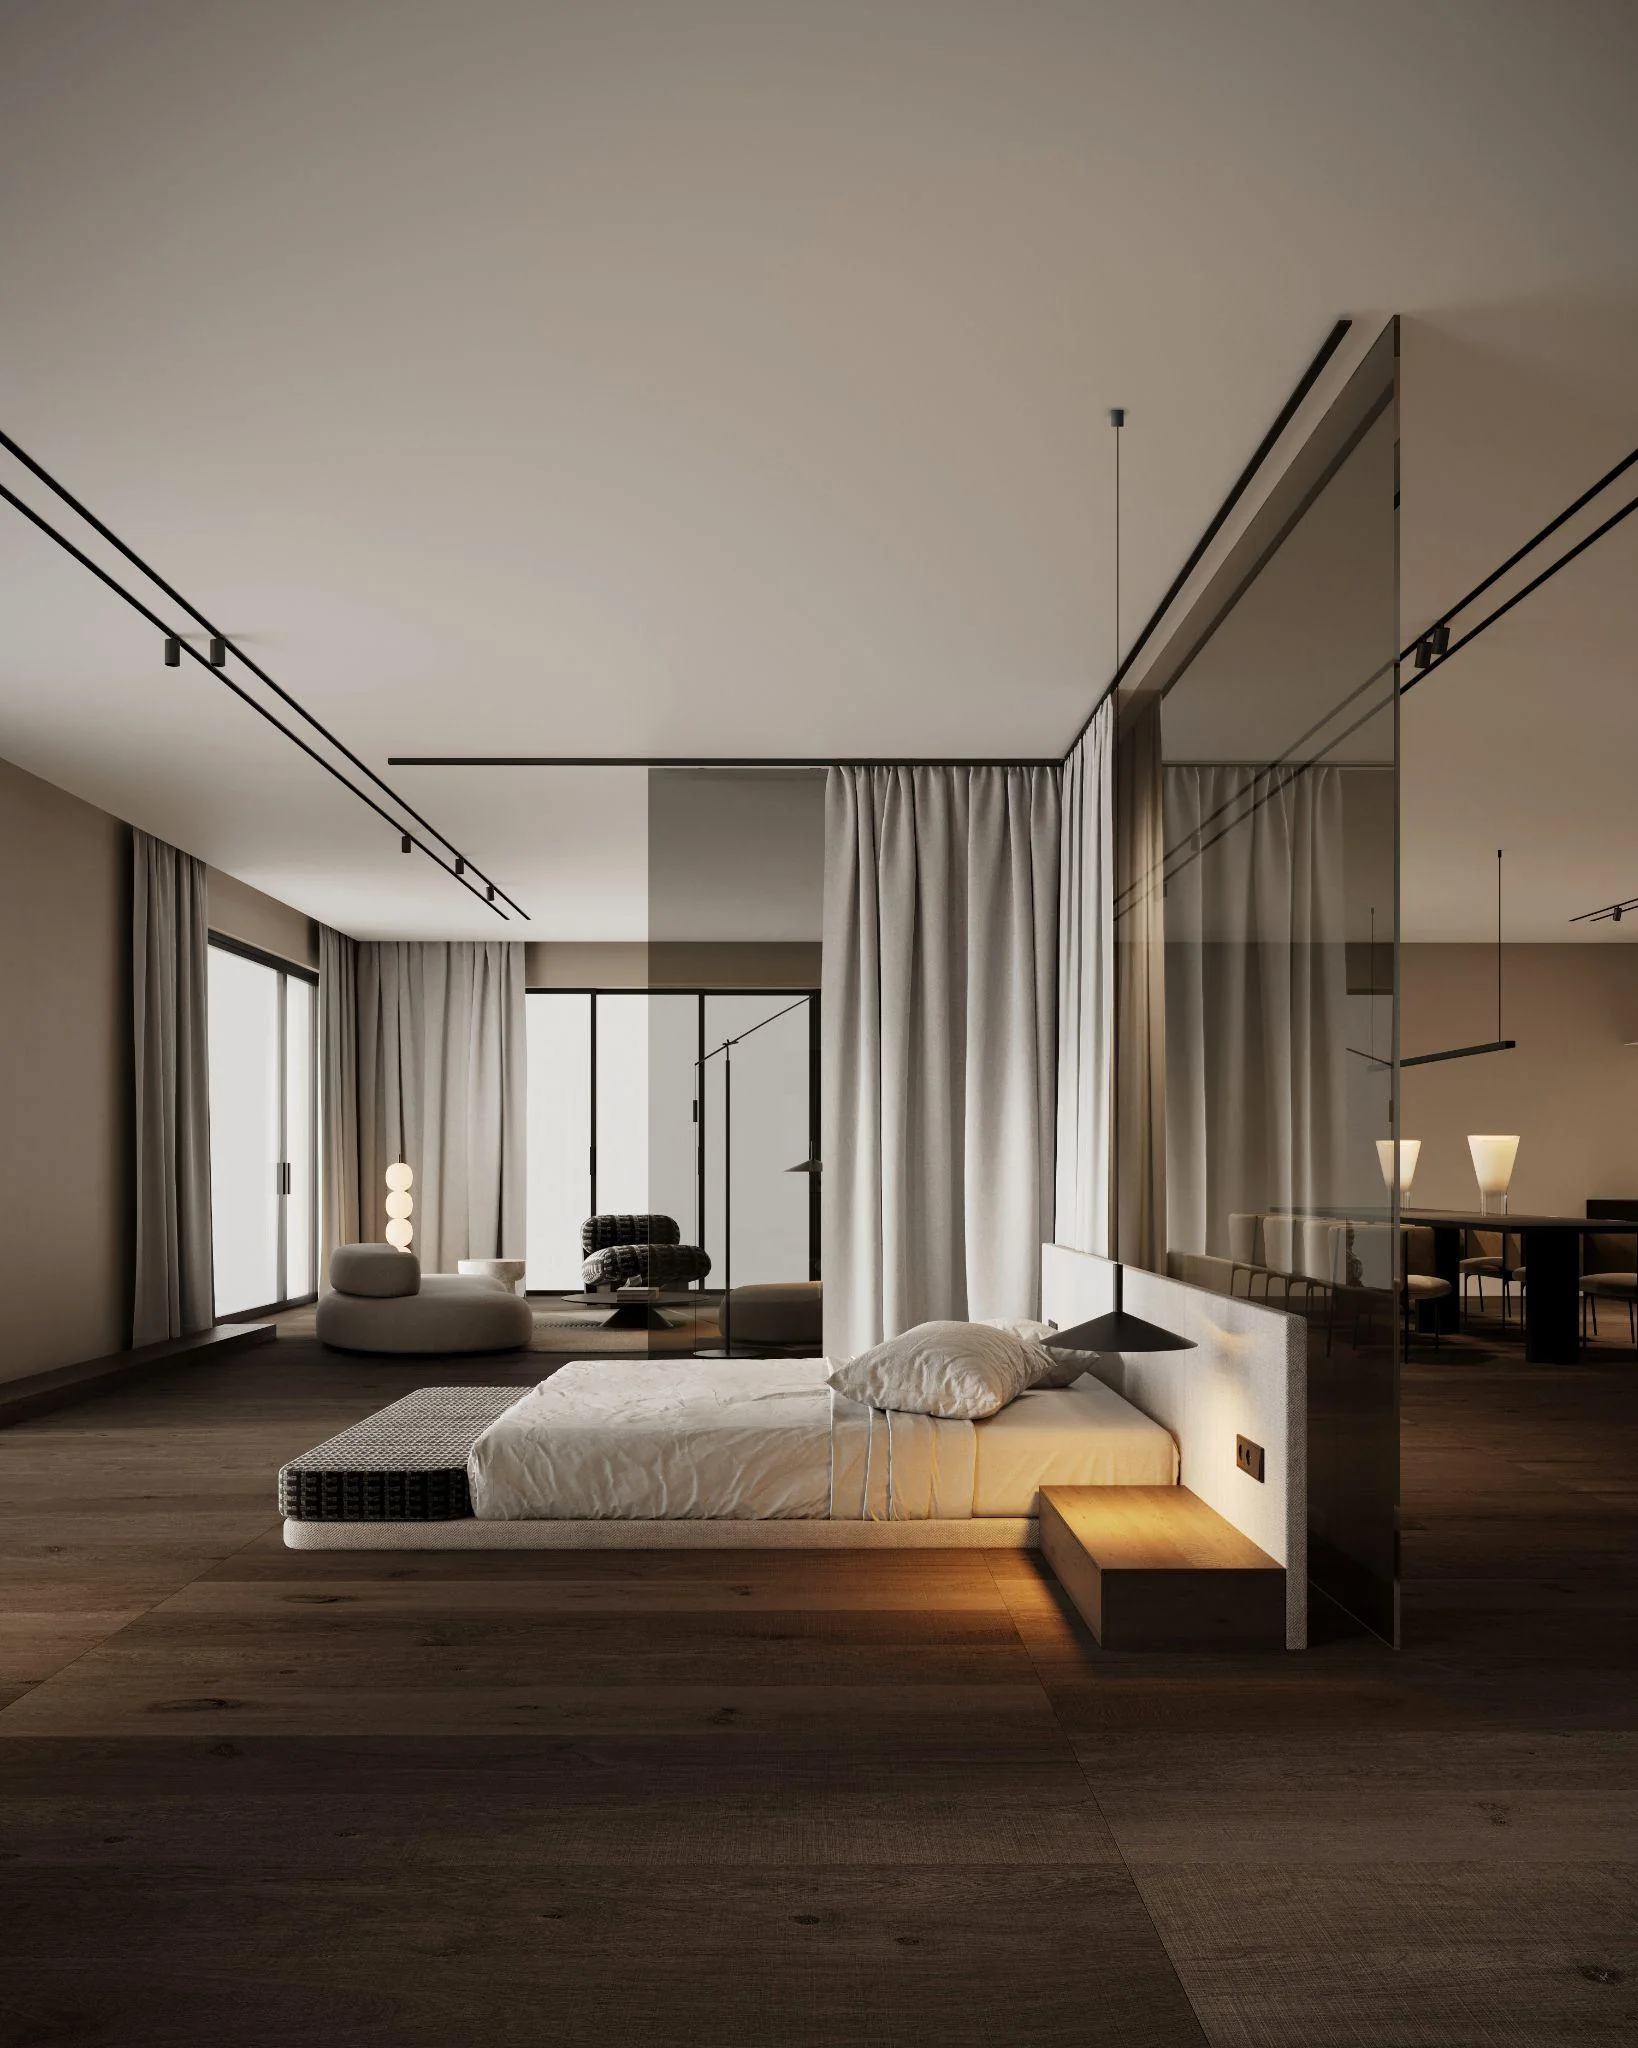
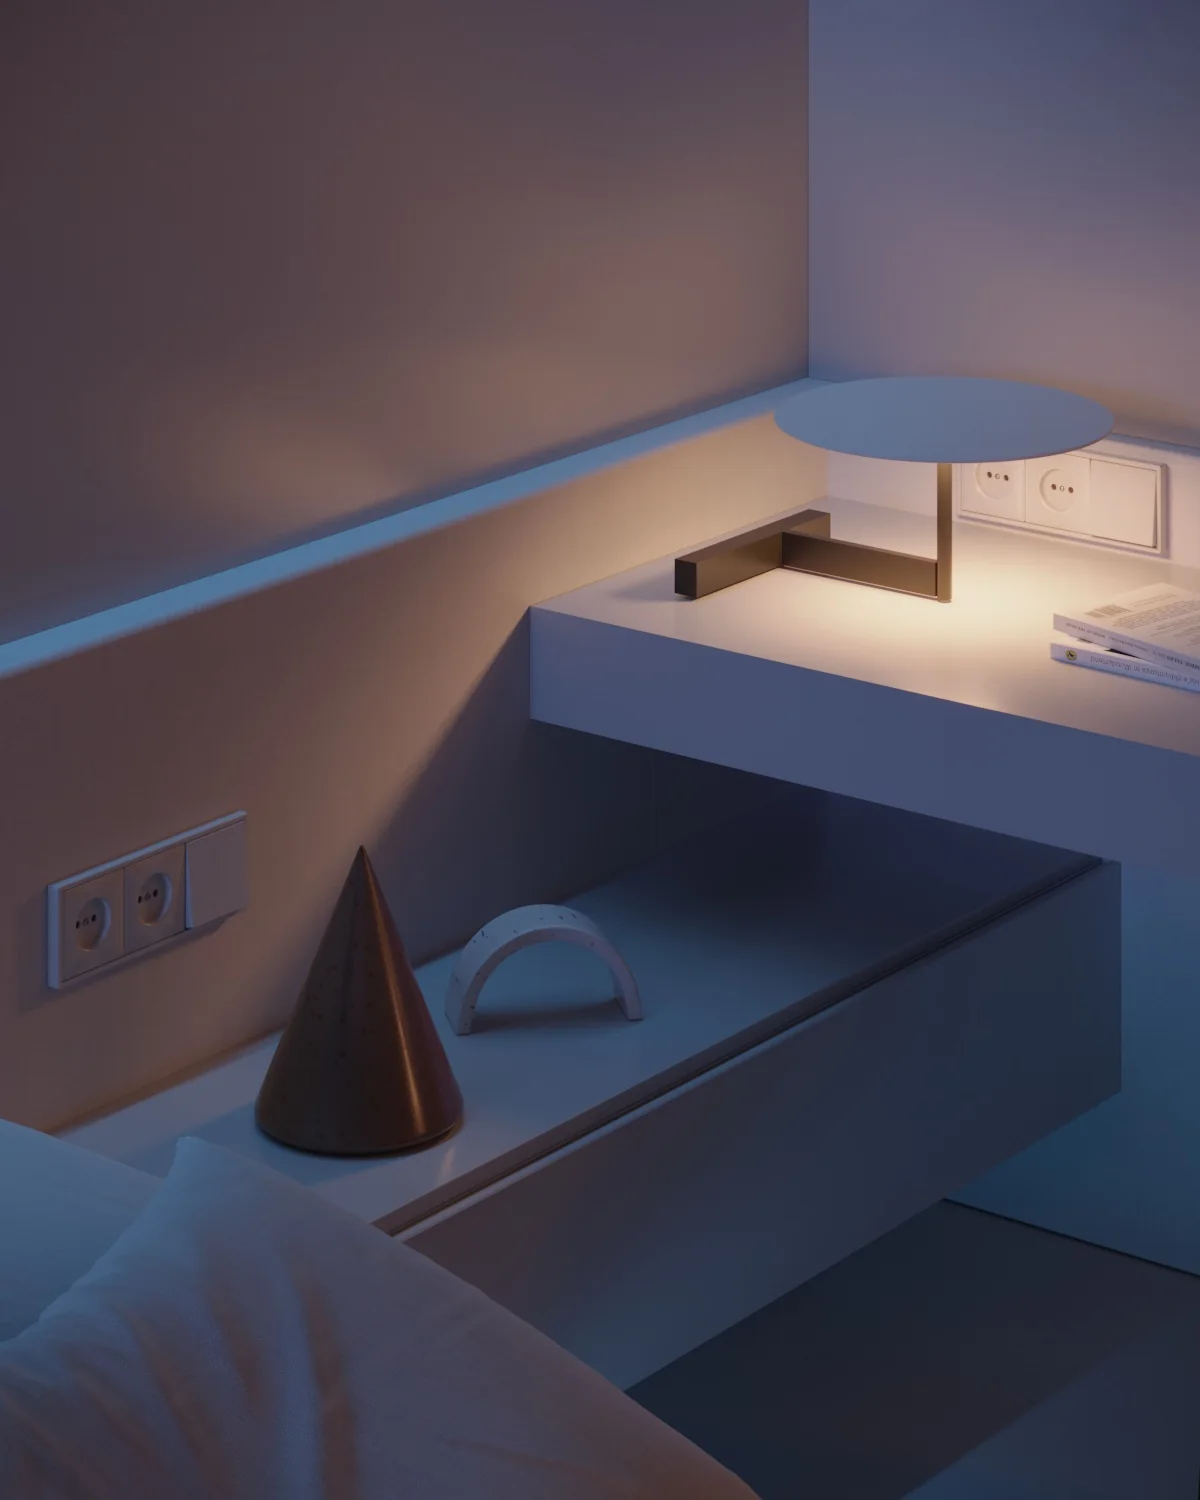
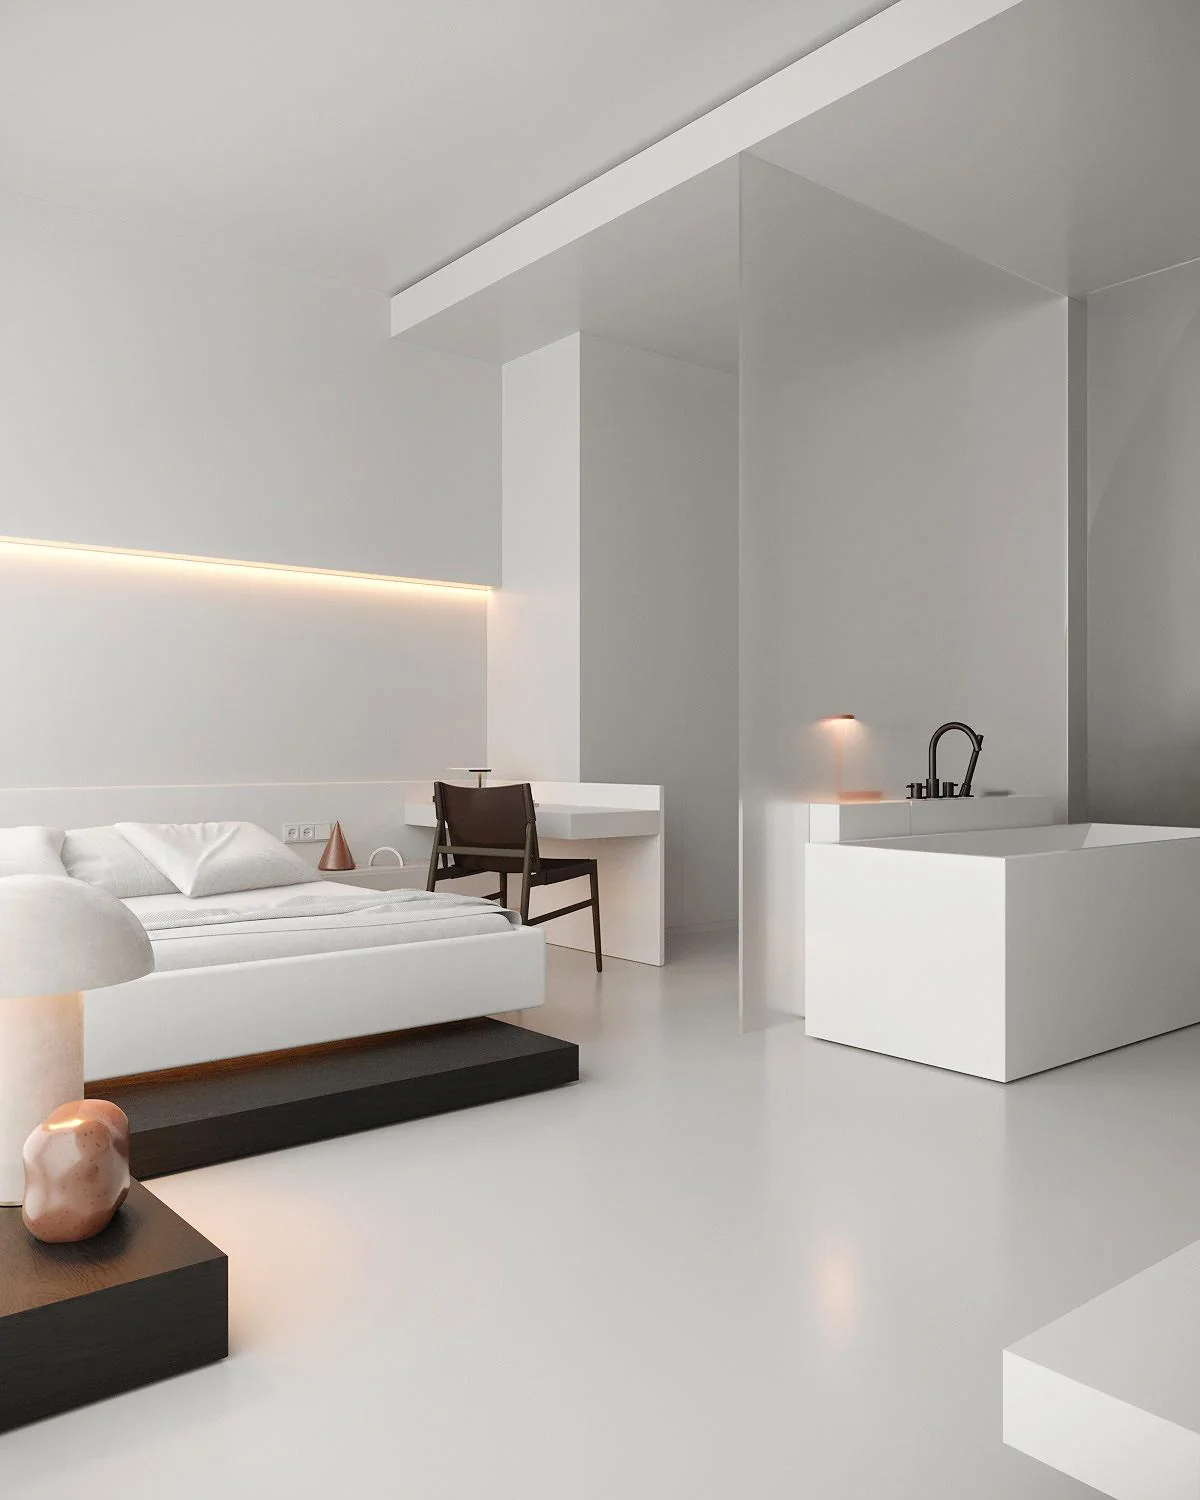
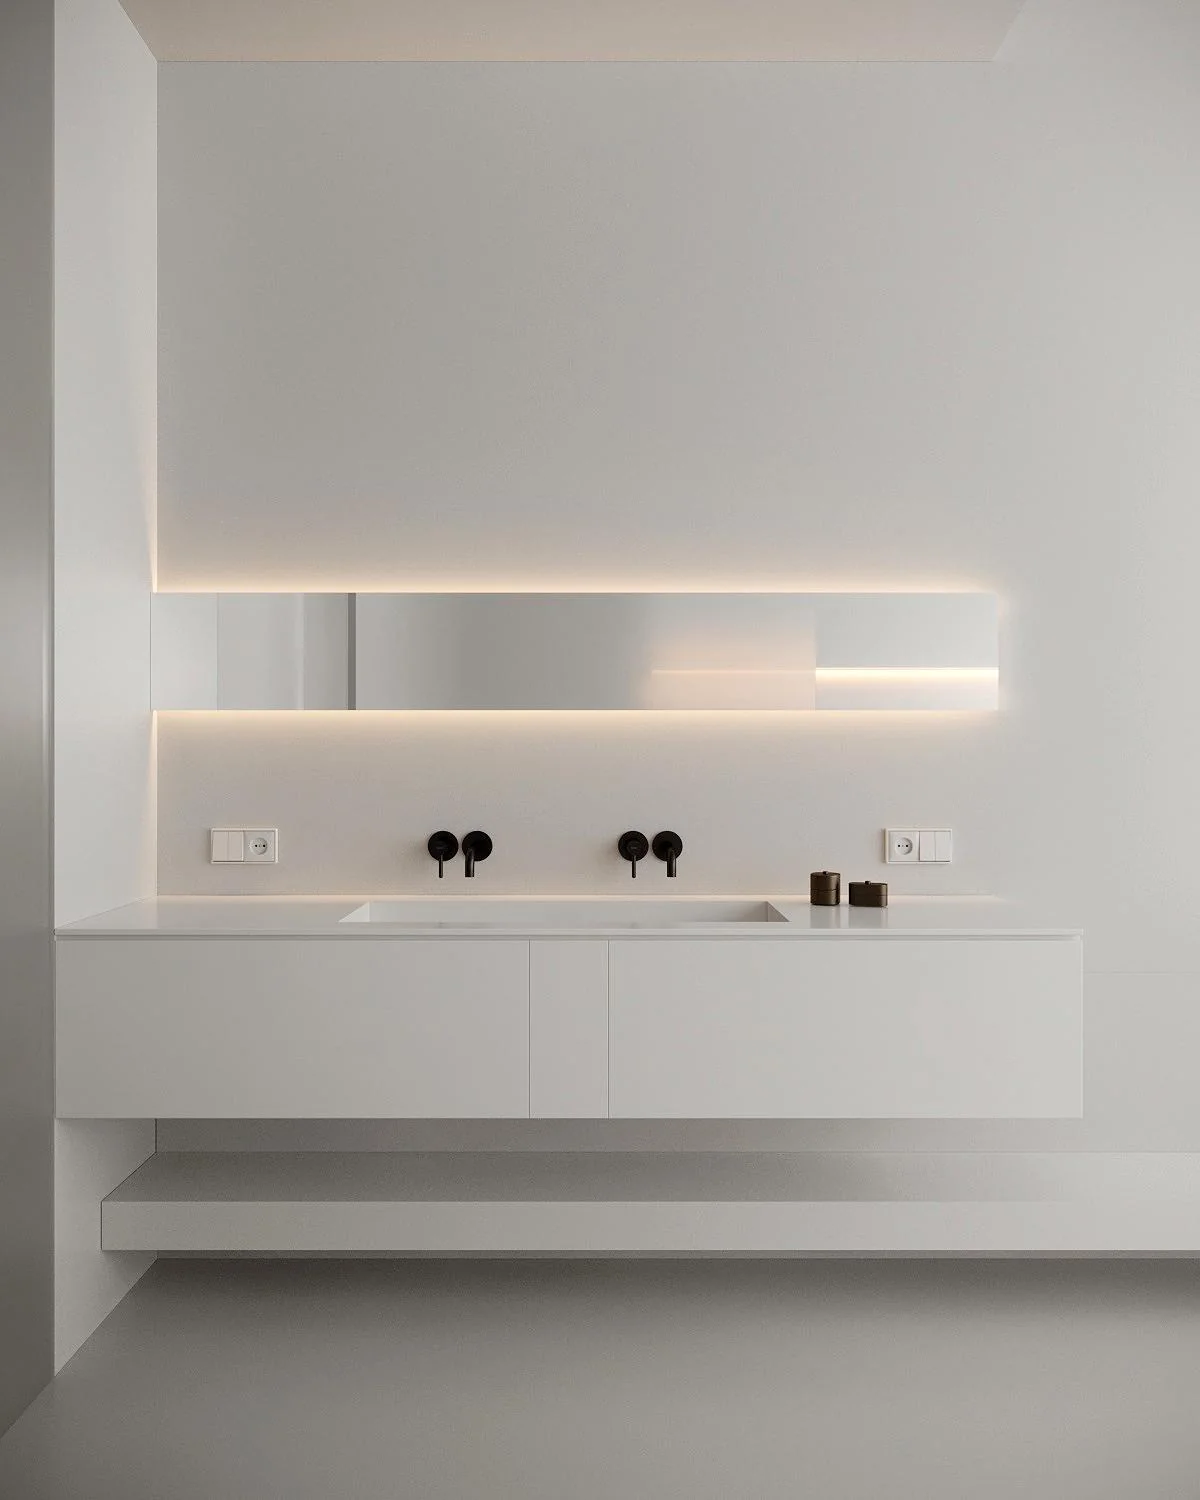
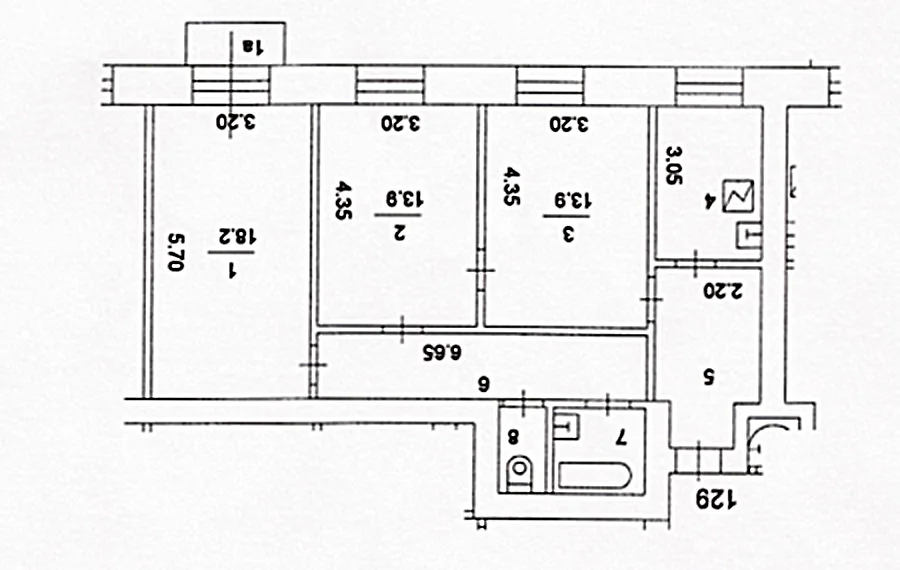
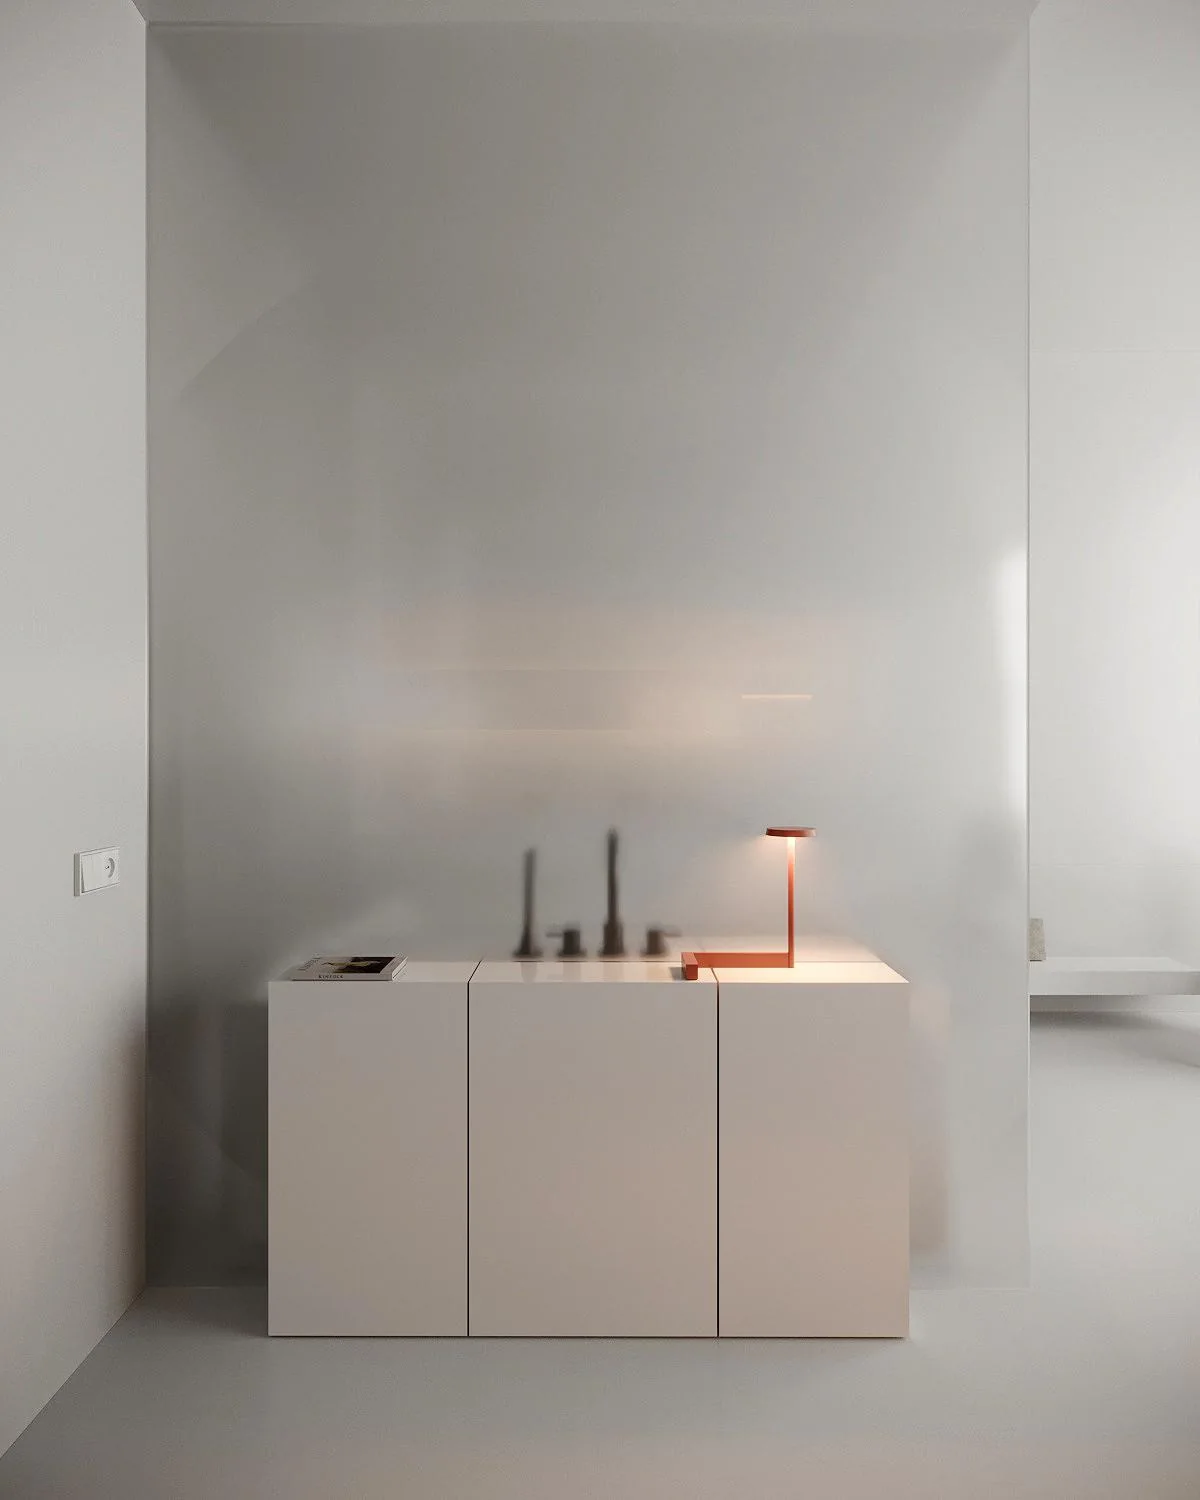
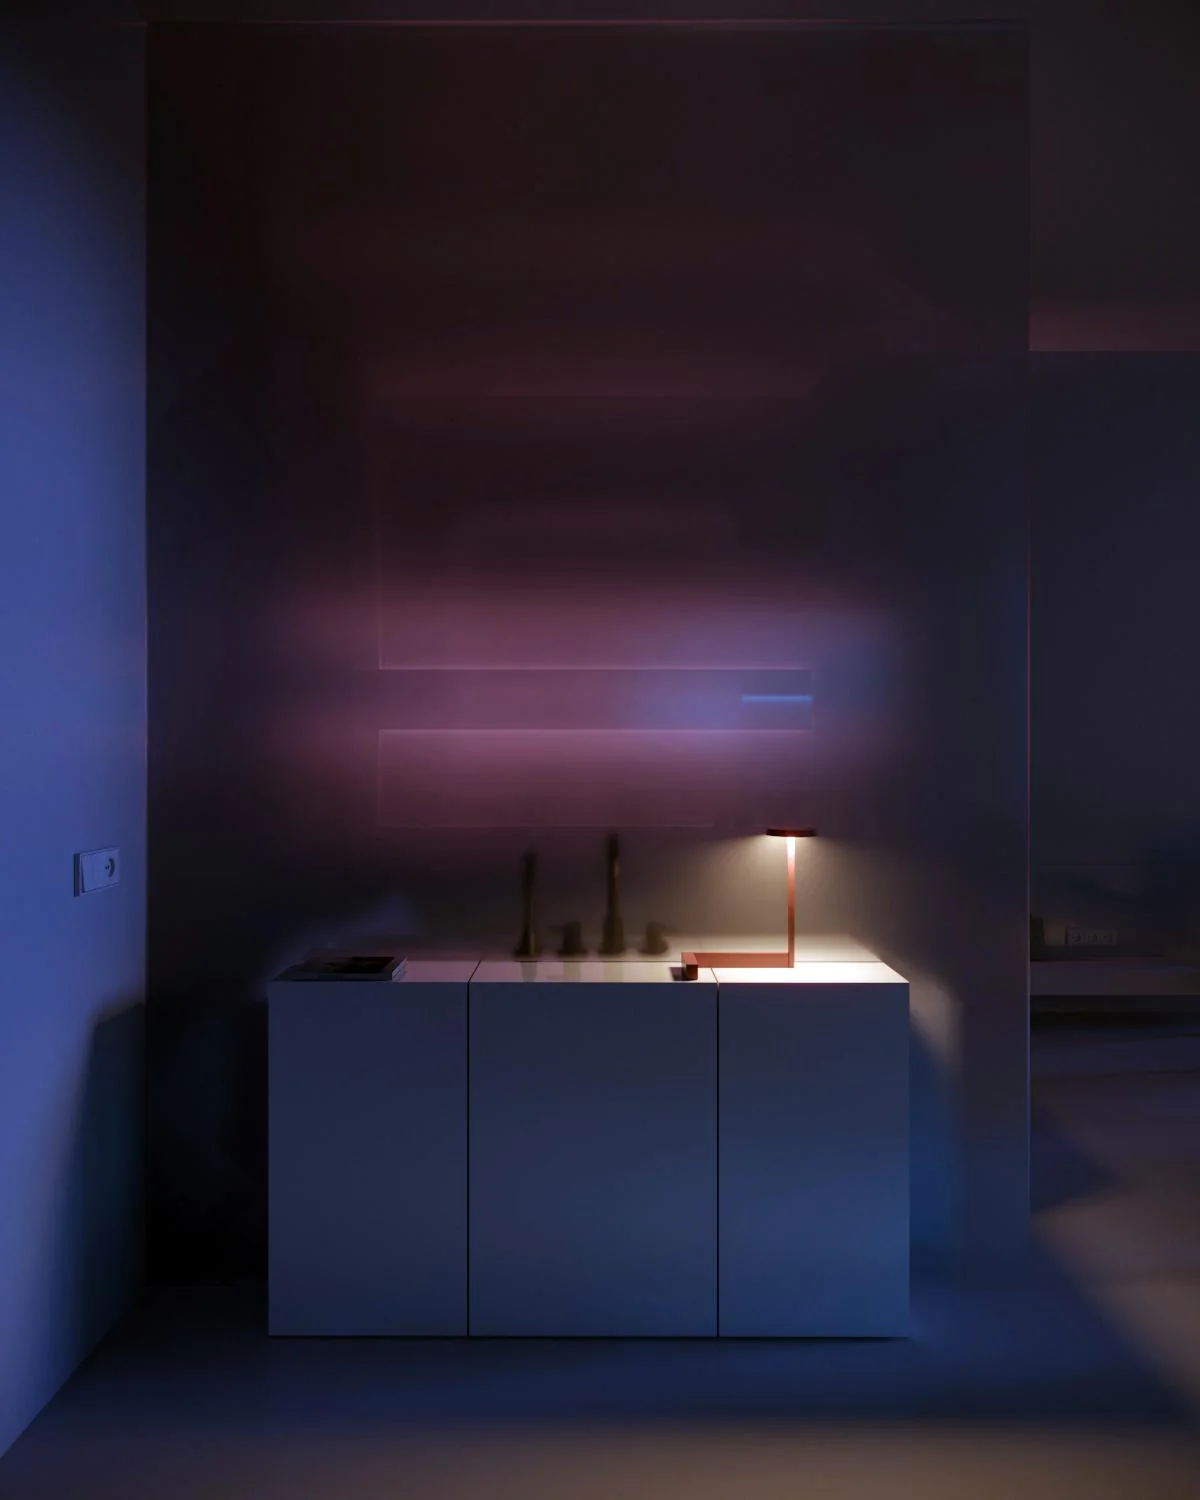
PROF TUTOR · 3DsMAX + CORONA RENDERER

PERFECT
RENDER

Advanced course in interior and object visualization.

KF.SCHOOL 2023BY KFSOLUTIONS
START COURSE ↓
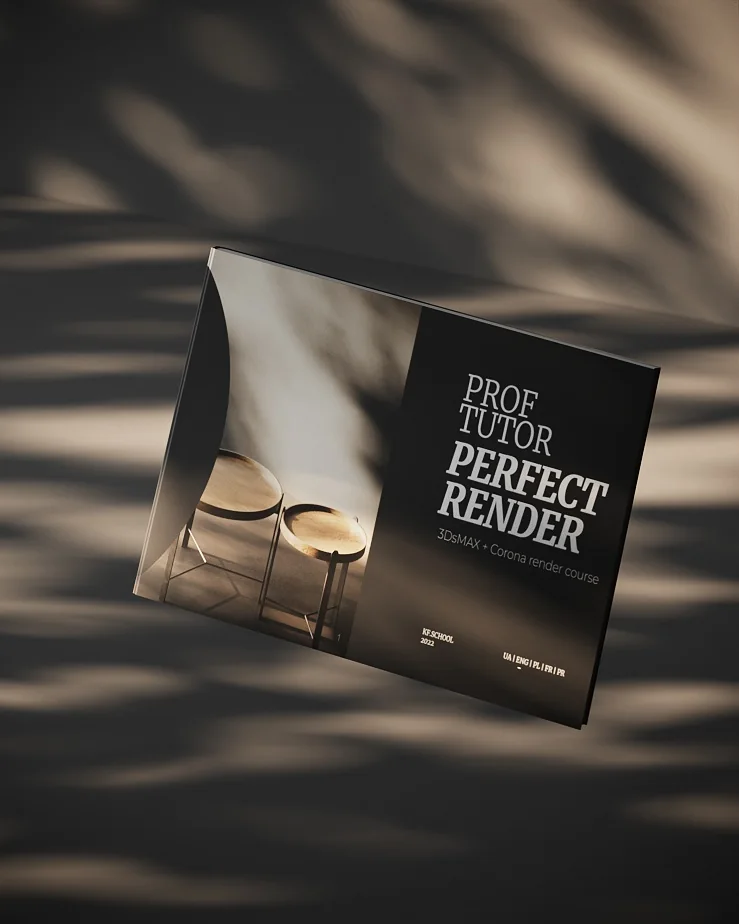
Perfect Render cover visual
01

DEDICATED TO YOU

Achieving impressive results, inspiration, belief in yourself and your strengths in CG.

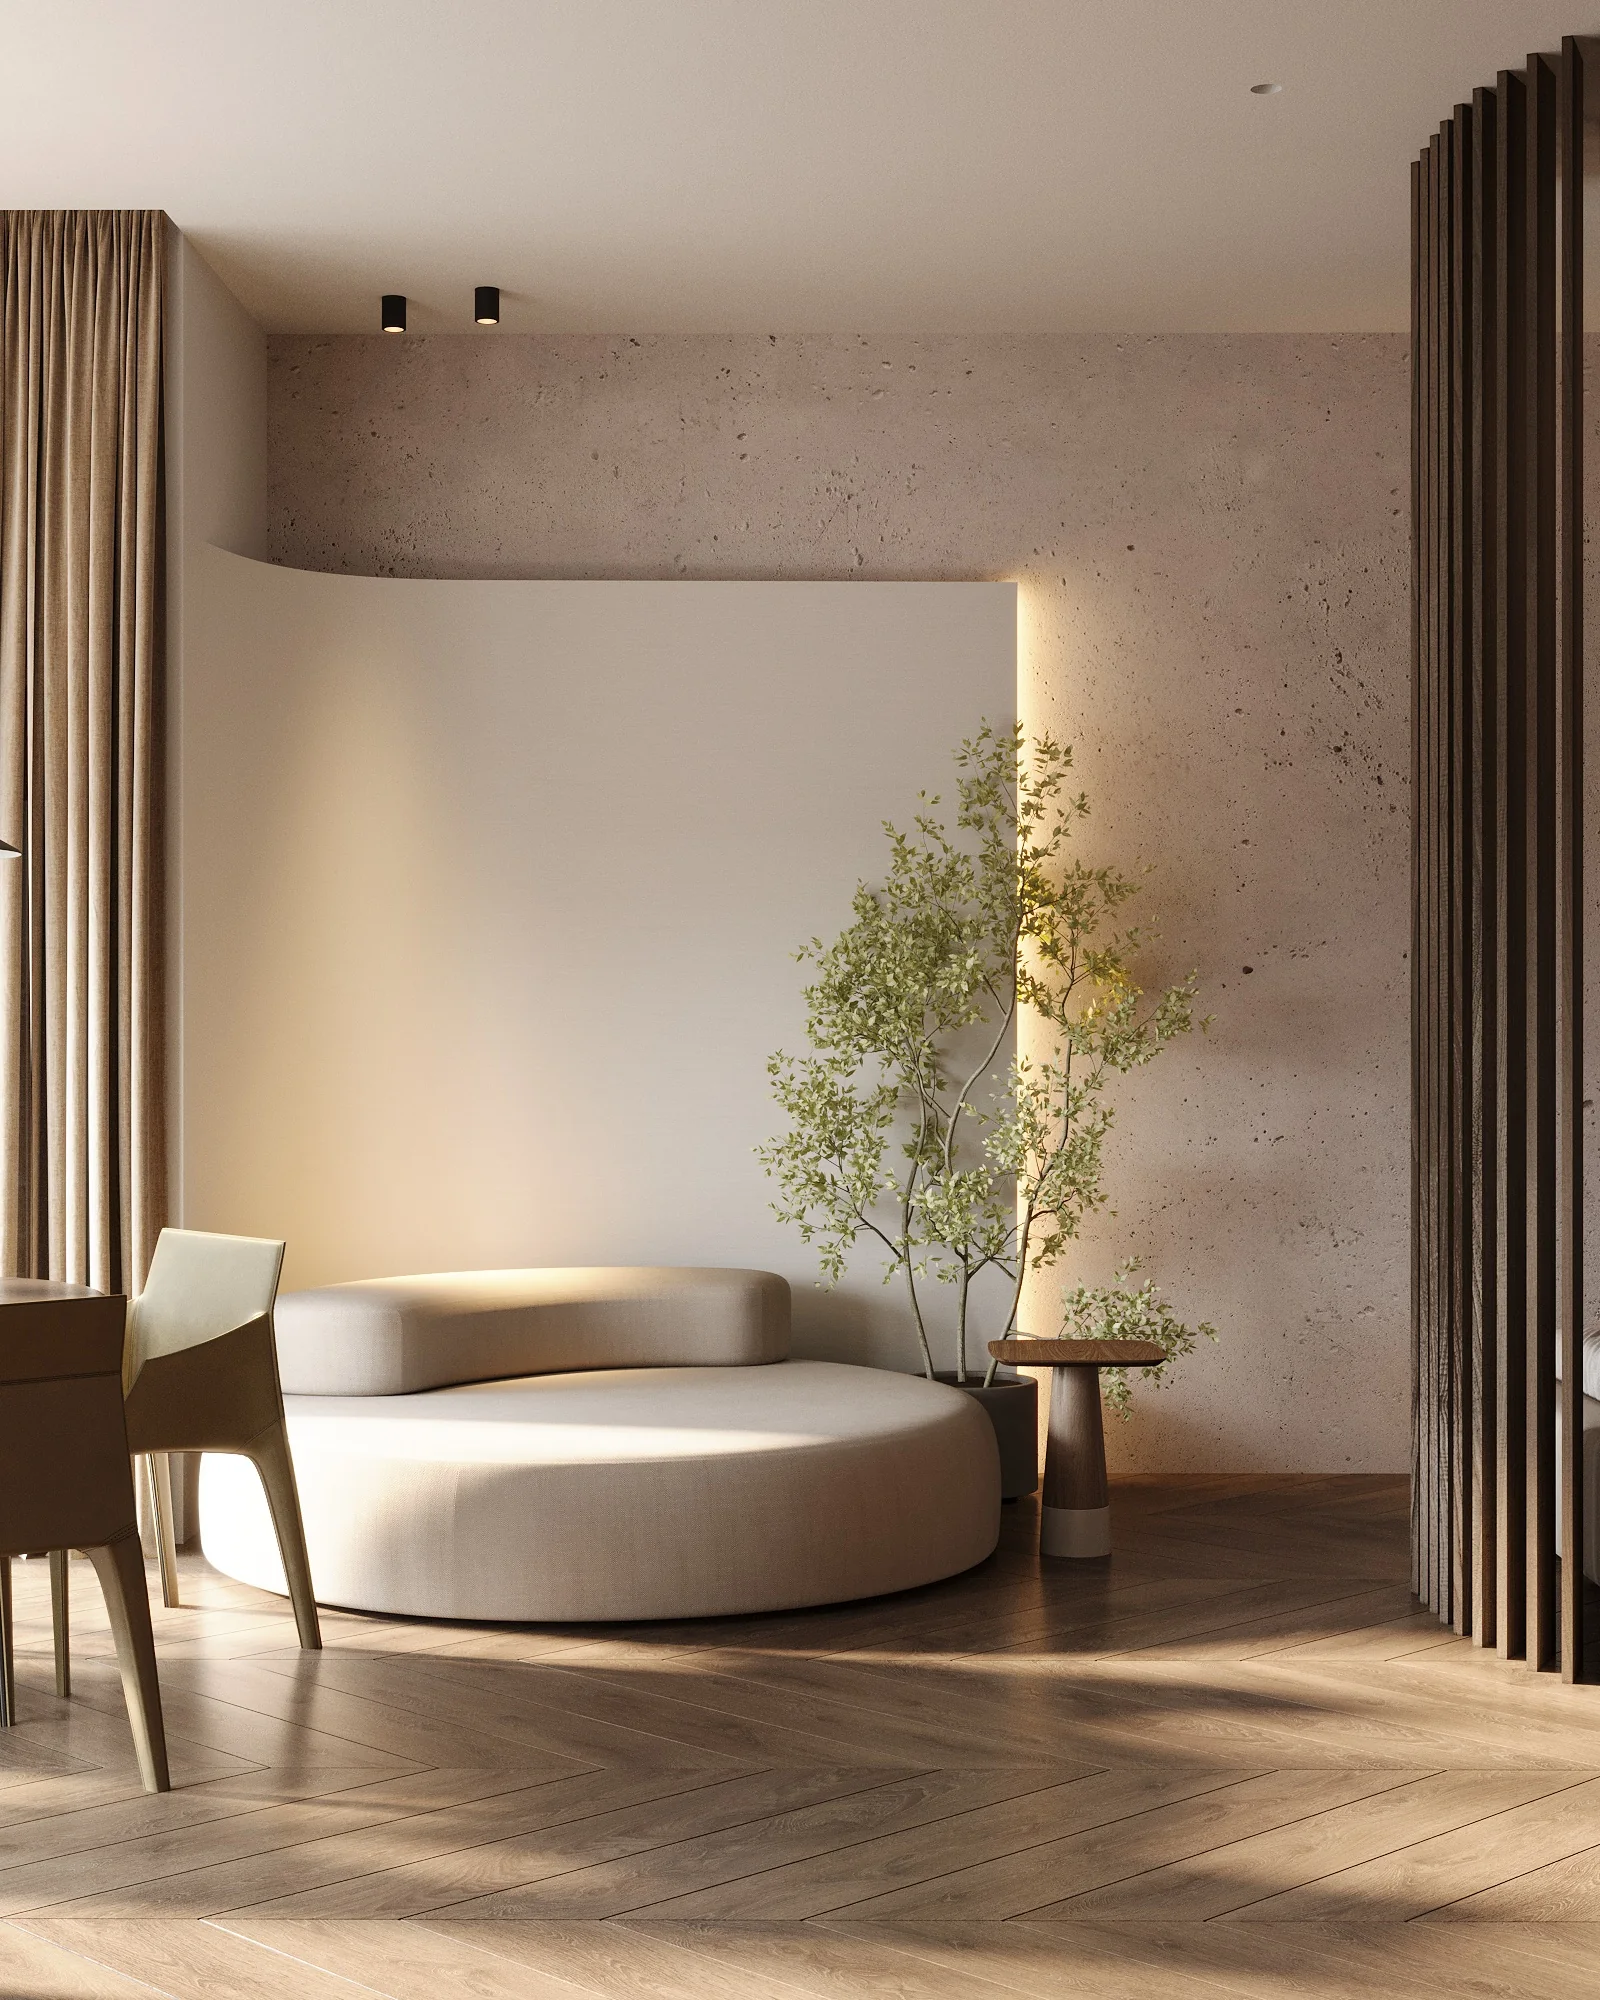
Large editorial image. The caption is intentionally separate from the artwork — this is how imagery will behave throughout the book.

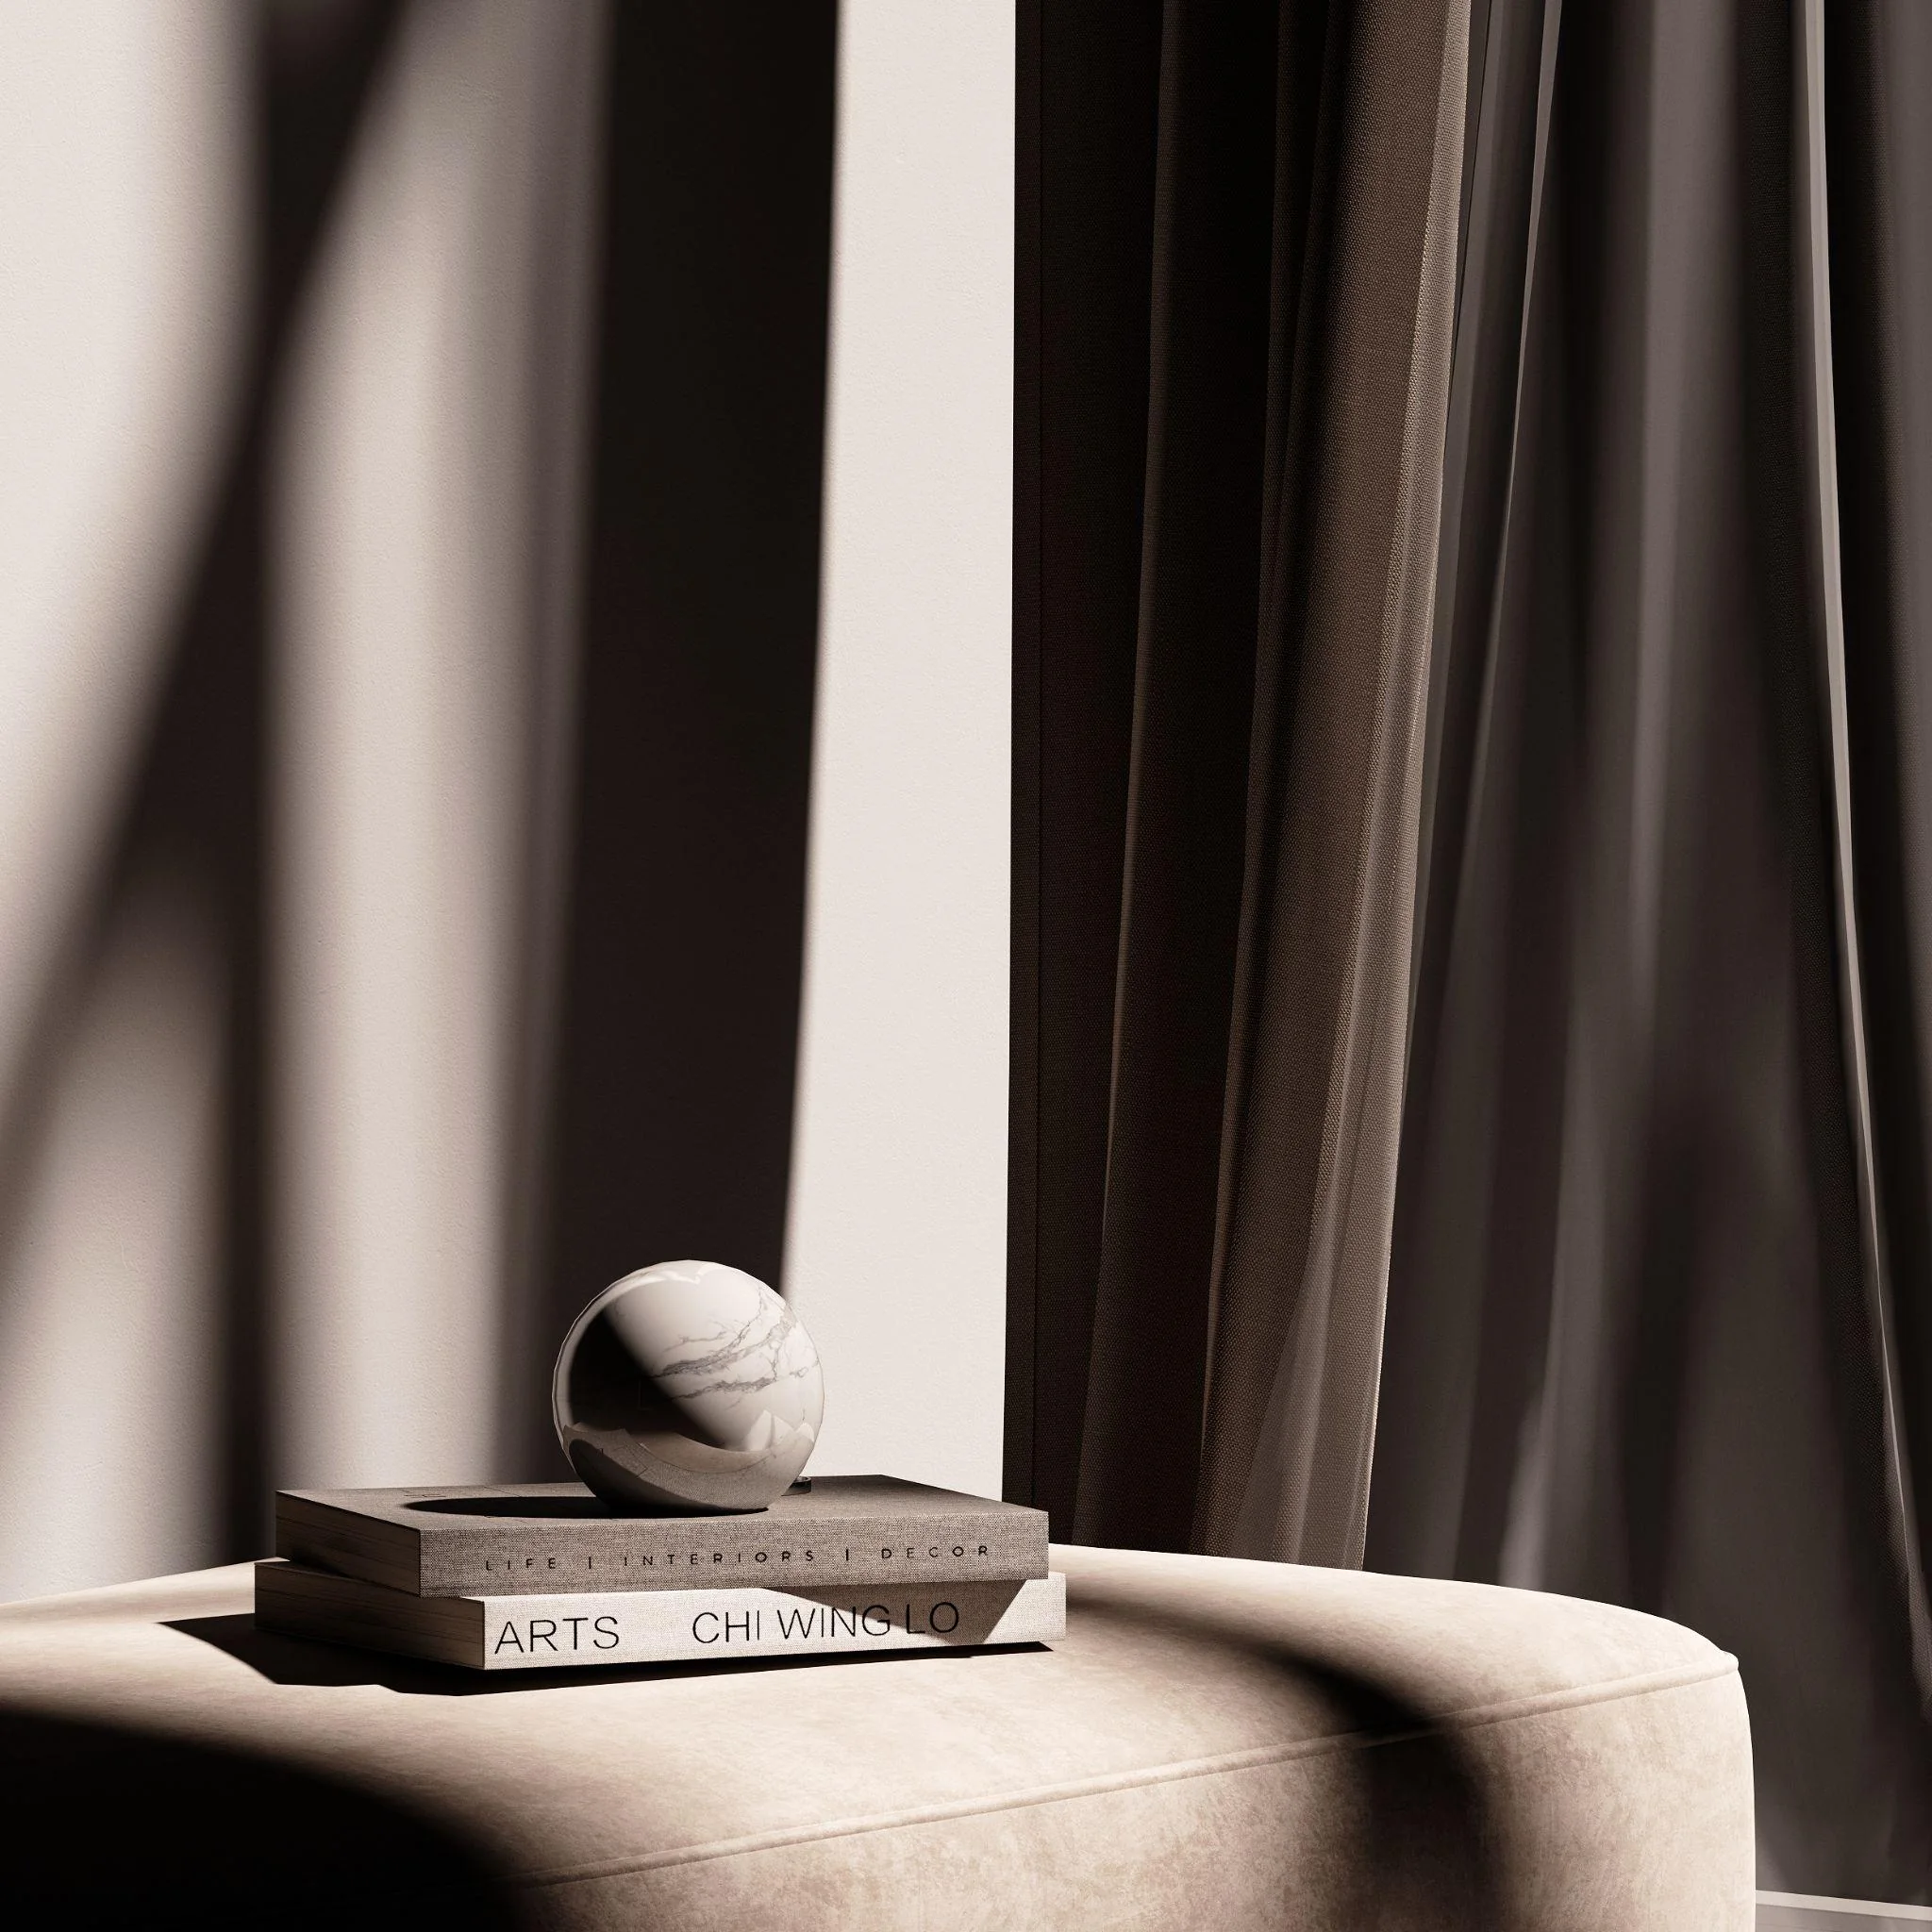
Perfect Render · dedication visual
ORIGINAL COURSE ARTWORK

Perfect Render · dedication visual

↗
02

NAVIGATION

Course contents

PowerPoint slide jumps become chapter anchors. The navigation remains available while reading.

03

DOWNLOAD HUB

All course materials

Each original link remains a separate resource. Nothing is merged behind a generic download button.

04

ABOUT PERFECT RENDER

A digital book, full-length lectures and micro-lessons.

PROF TUTOR PERFECT RENDER COURSE - 3d rendering course It was created based on the feedback of more than 600 students who completed any KF.SCHOOL courses during the past year.

Our educational programs have proven to be very productive, which is why we decided to make one improved product, which consists of a digital book, full-length video lectures and micro-lessons.

Perfect render consists of blocks that are connected by one simple idea - to make learning simple and pleasant and to optimize work so that you can enjoy the process and understand it at all levels.

KF.SCHOOL UA | ENG | PL | FR | PR

We were inspired to improve the course by our students, whose feedback made us understand that we were not wrong and that the training format we invented has very effective results.

The secret of our program is that we rely on a comprehensive training format, which consists of lectures on professional duties, basic knowledge of composition and exercises to practice this knowledge, general knowledge of technical features of interior construction and nuances of materials; knowledge of building subject visualization and 3d visualization; lectures on creating a personal brand and website.

That is, this course will give you the opportunity to acquire fundamental systematized knowledge of interior visualization, composition, create your own brand and effectively promote yourself on the Internet.

KF.SCHOOL UA | ENG | PL | FR | PR

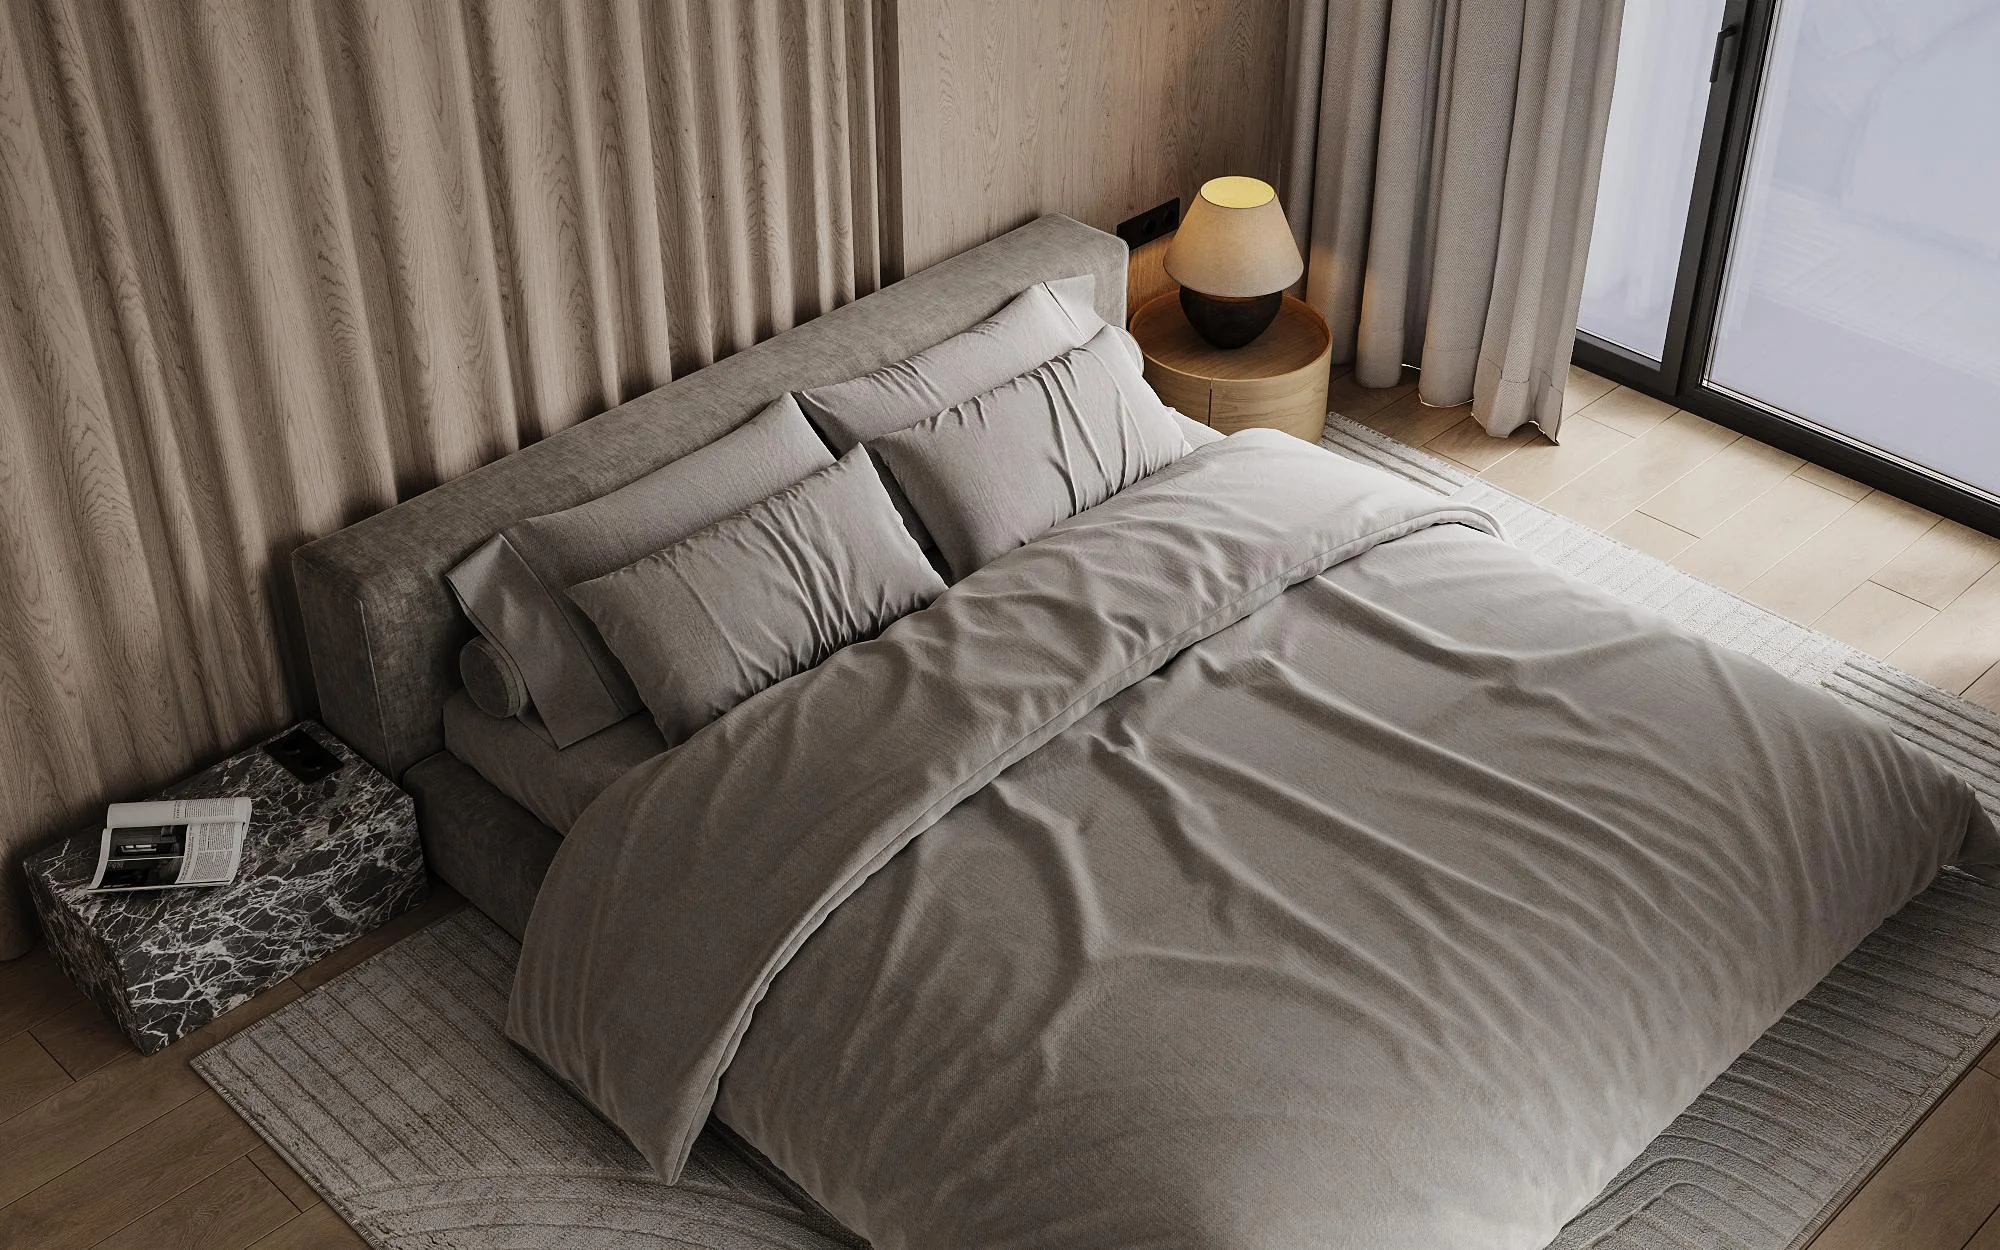
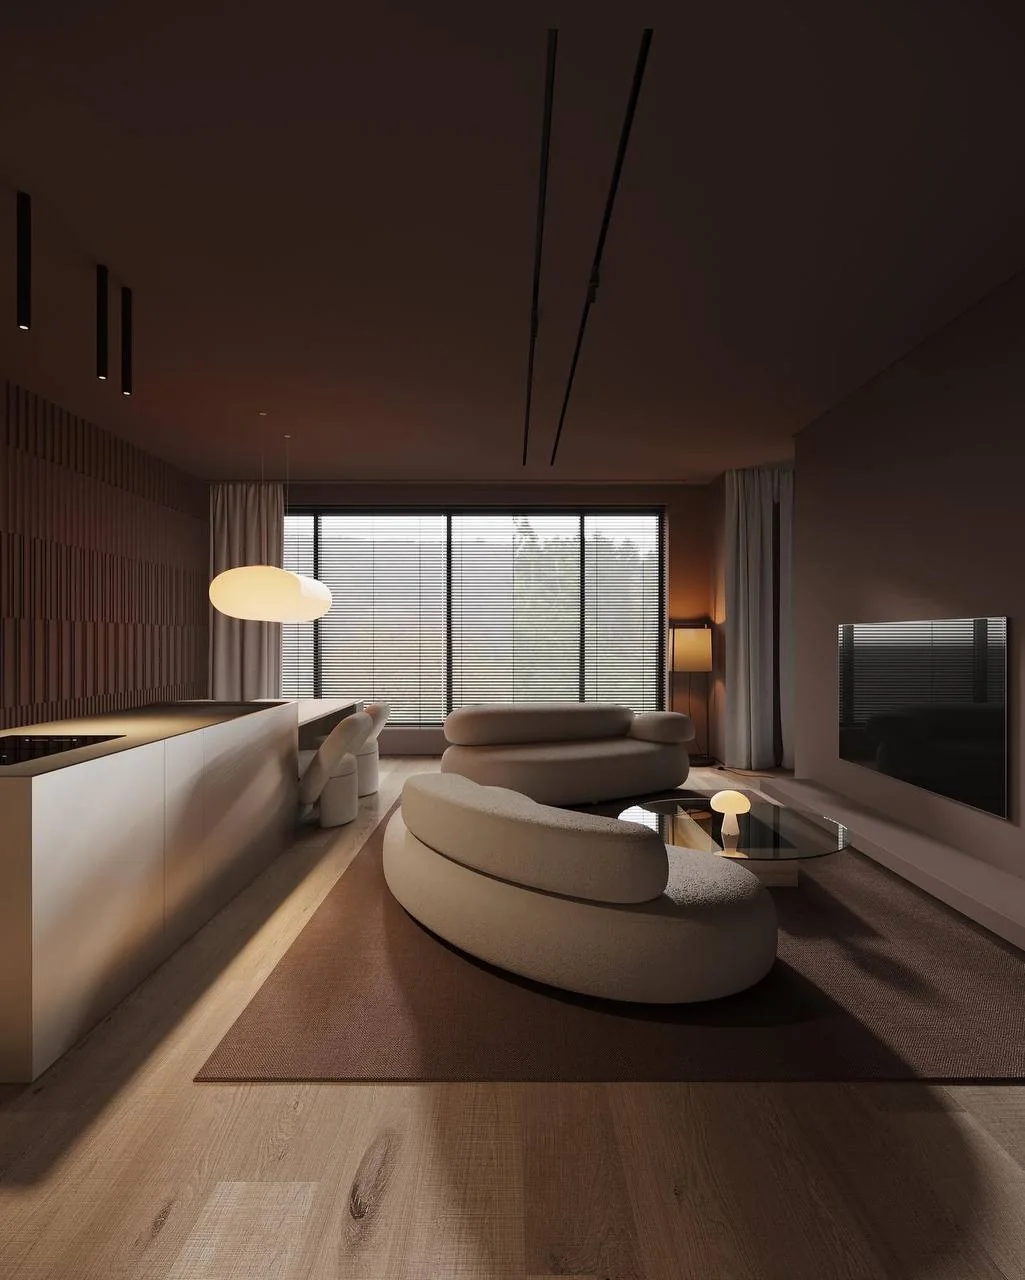
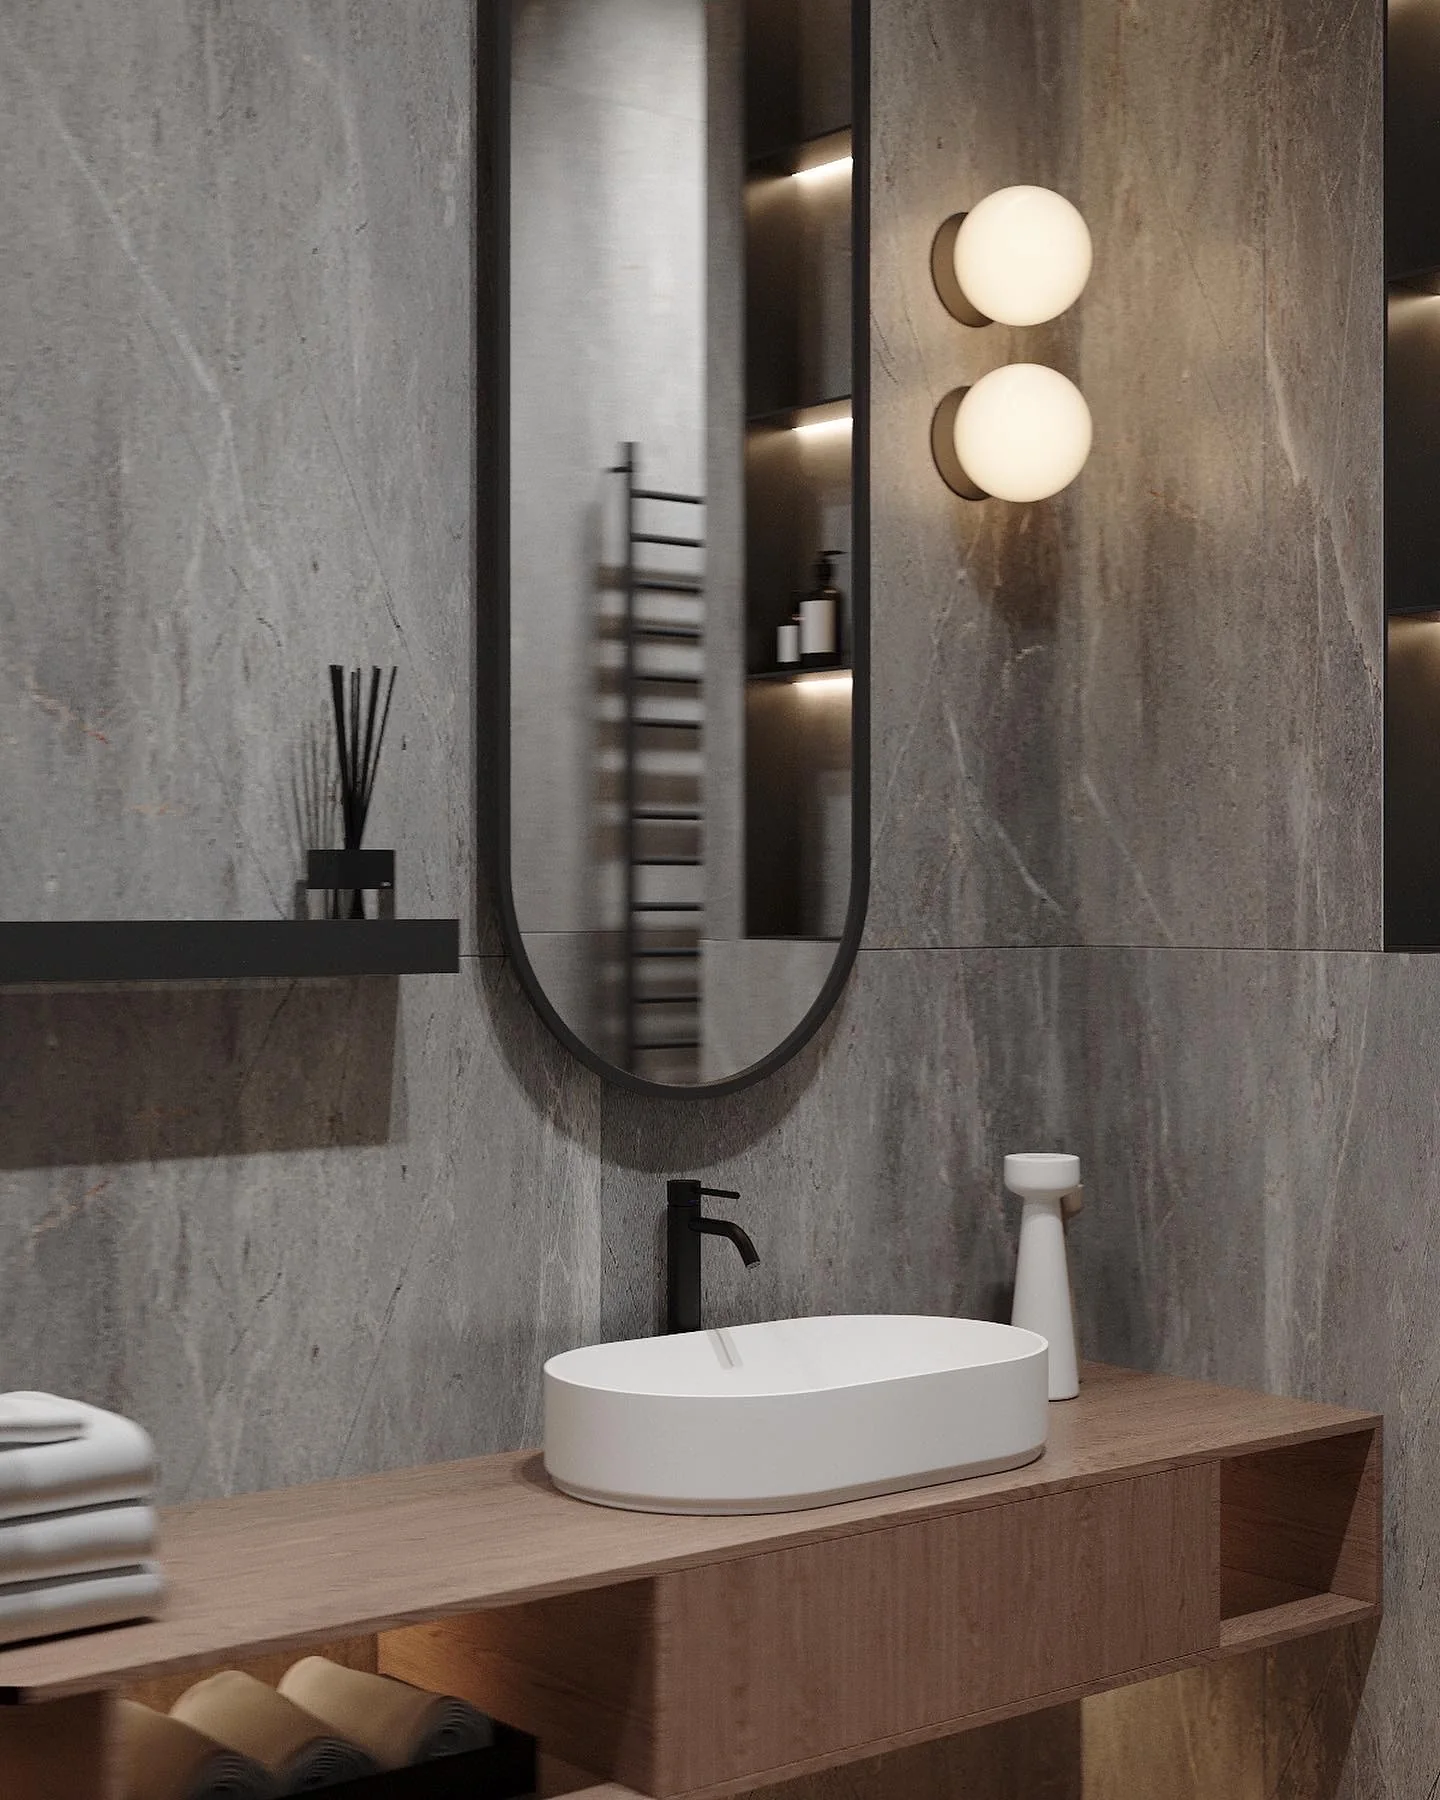
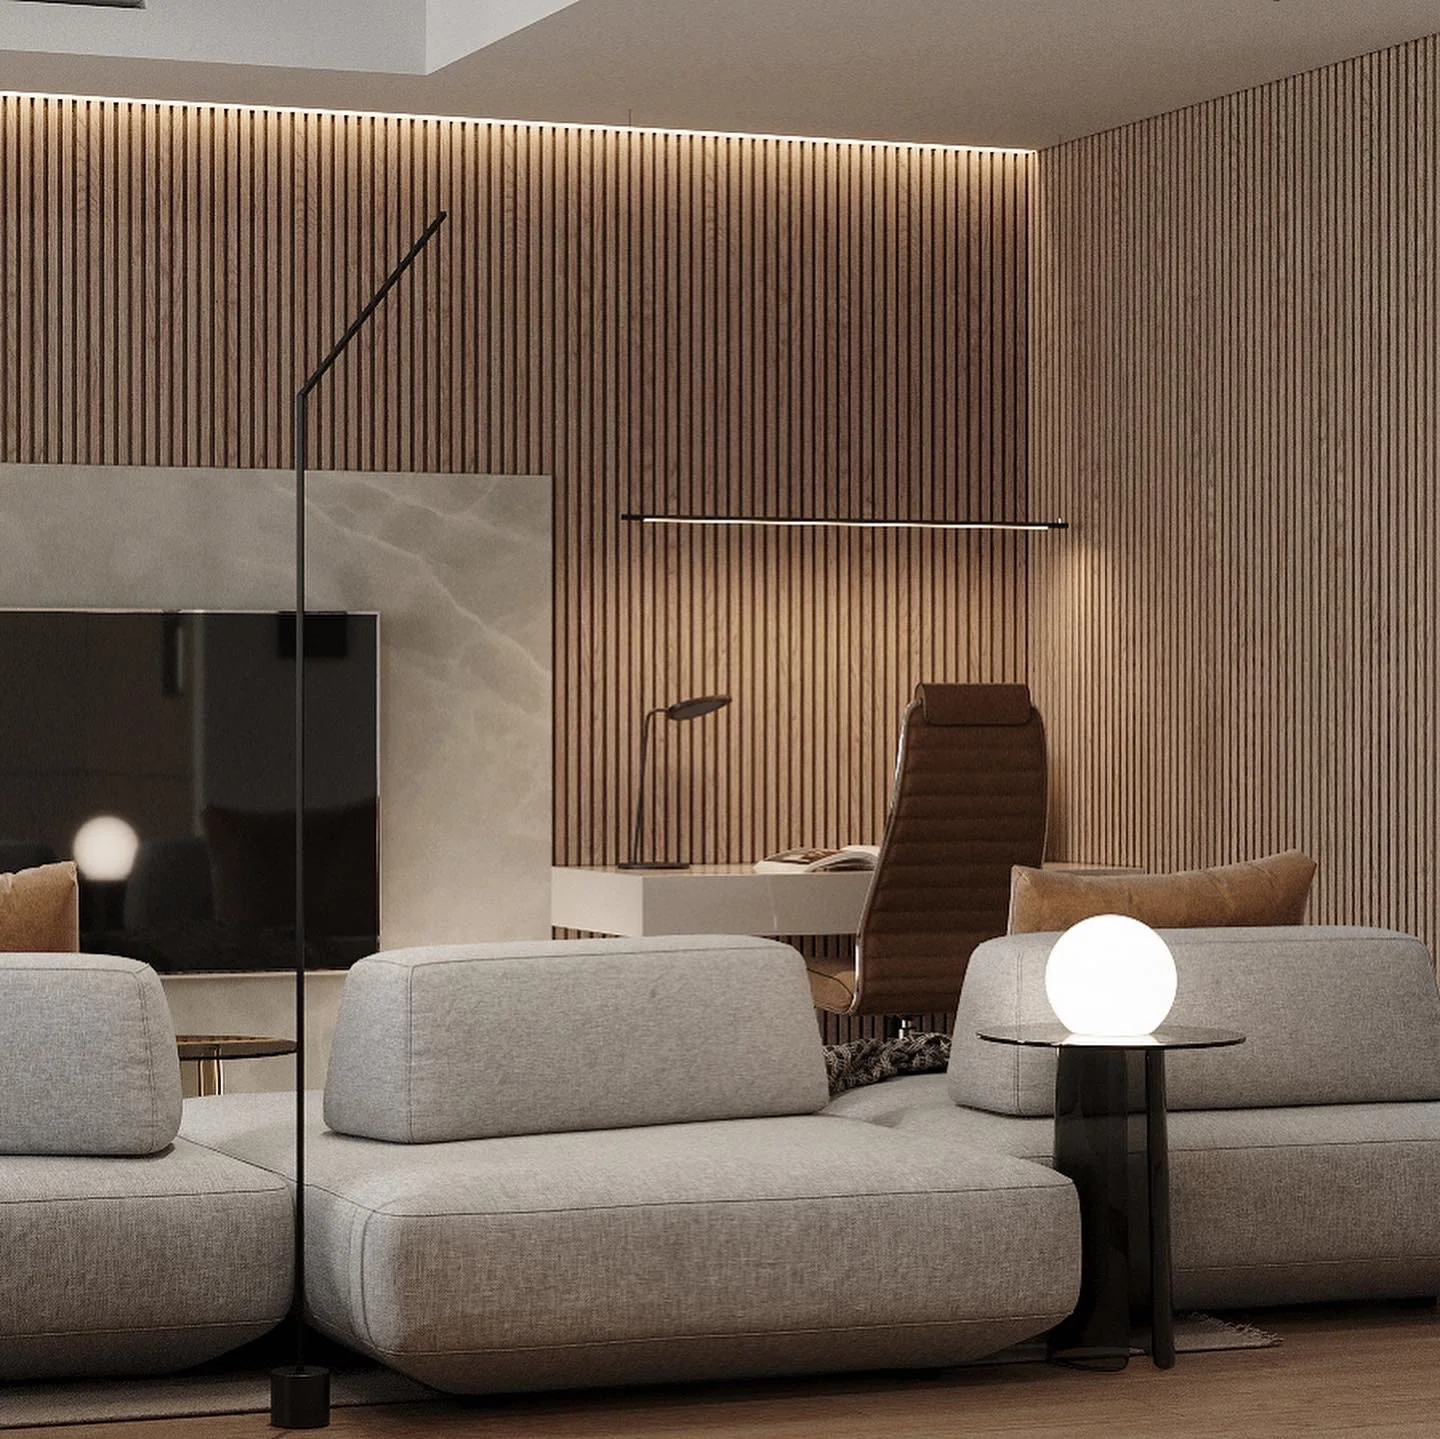
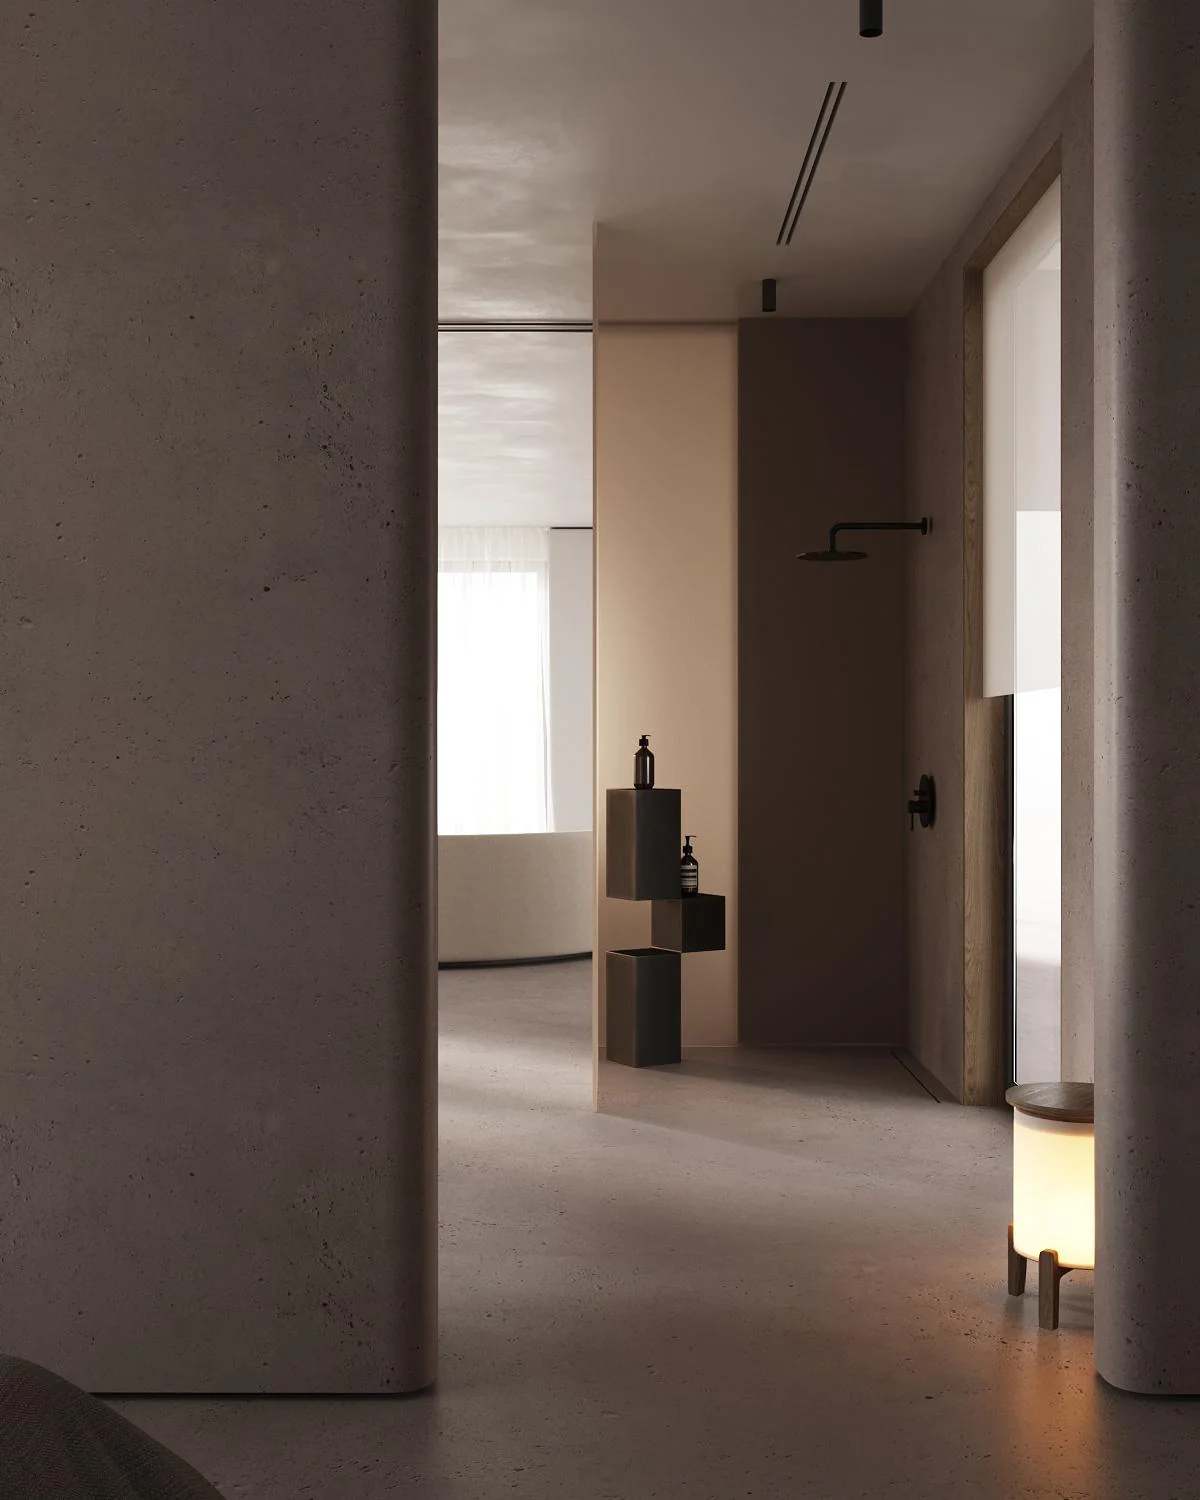
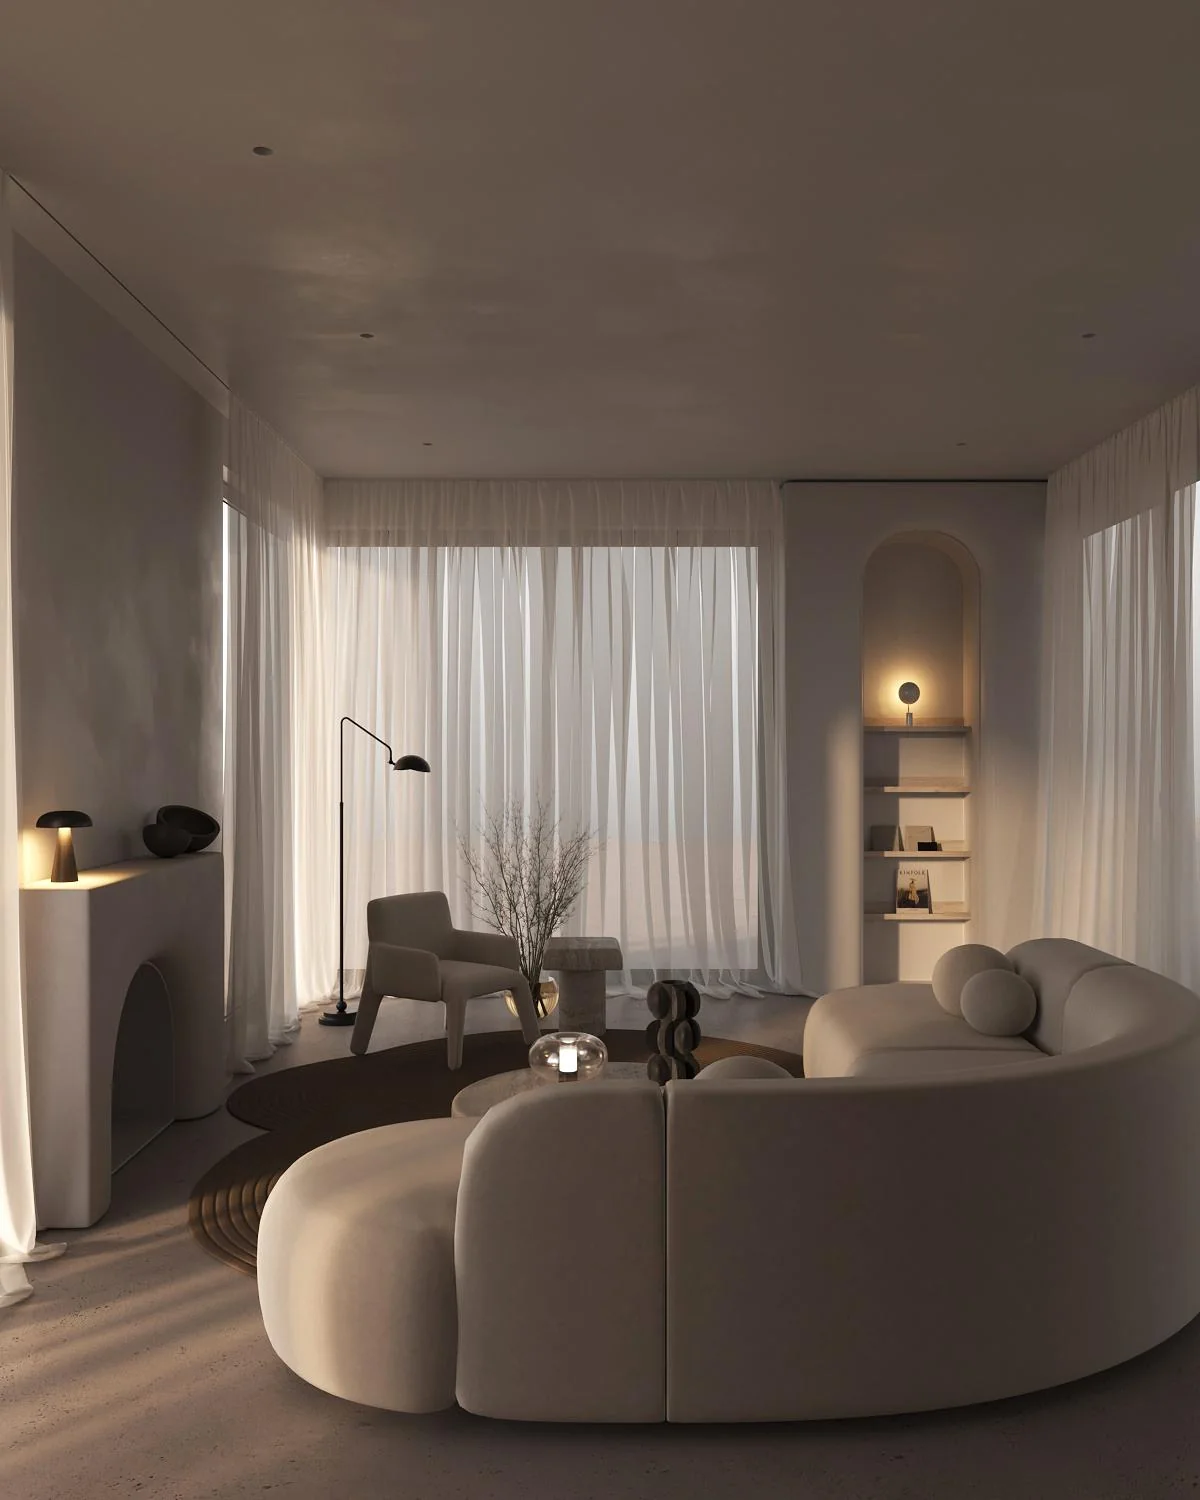
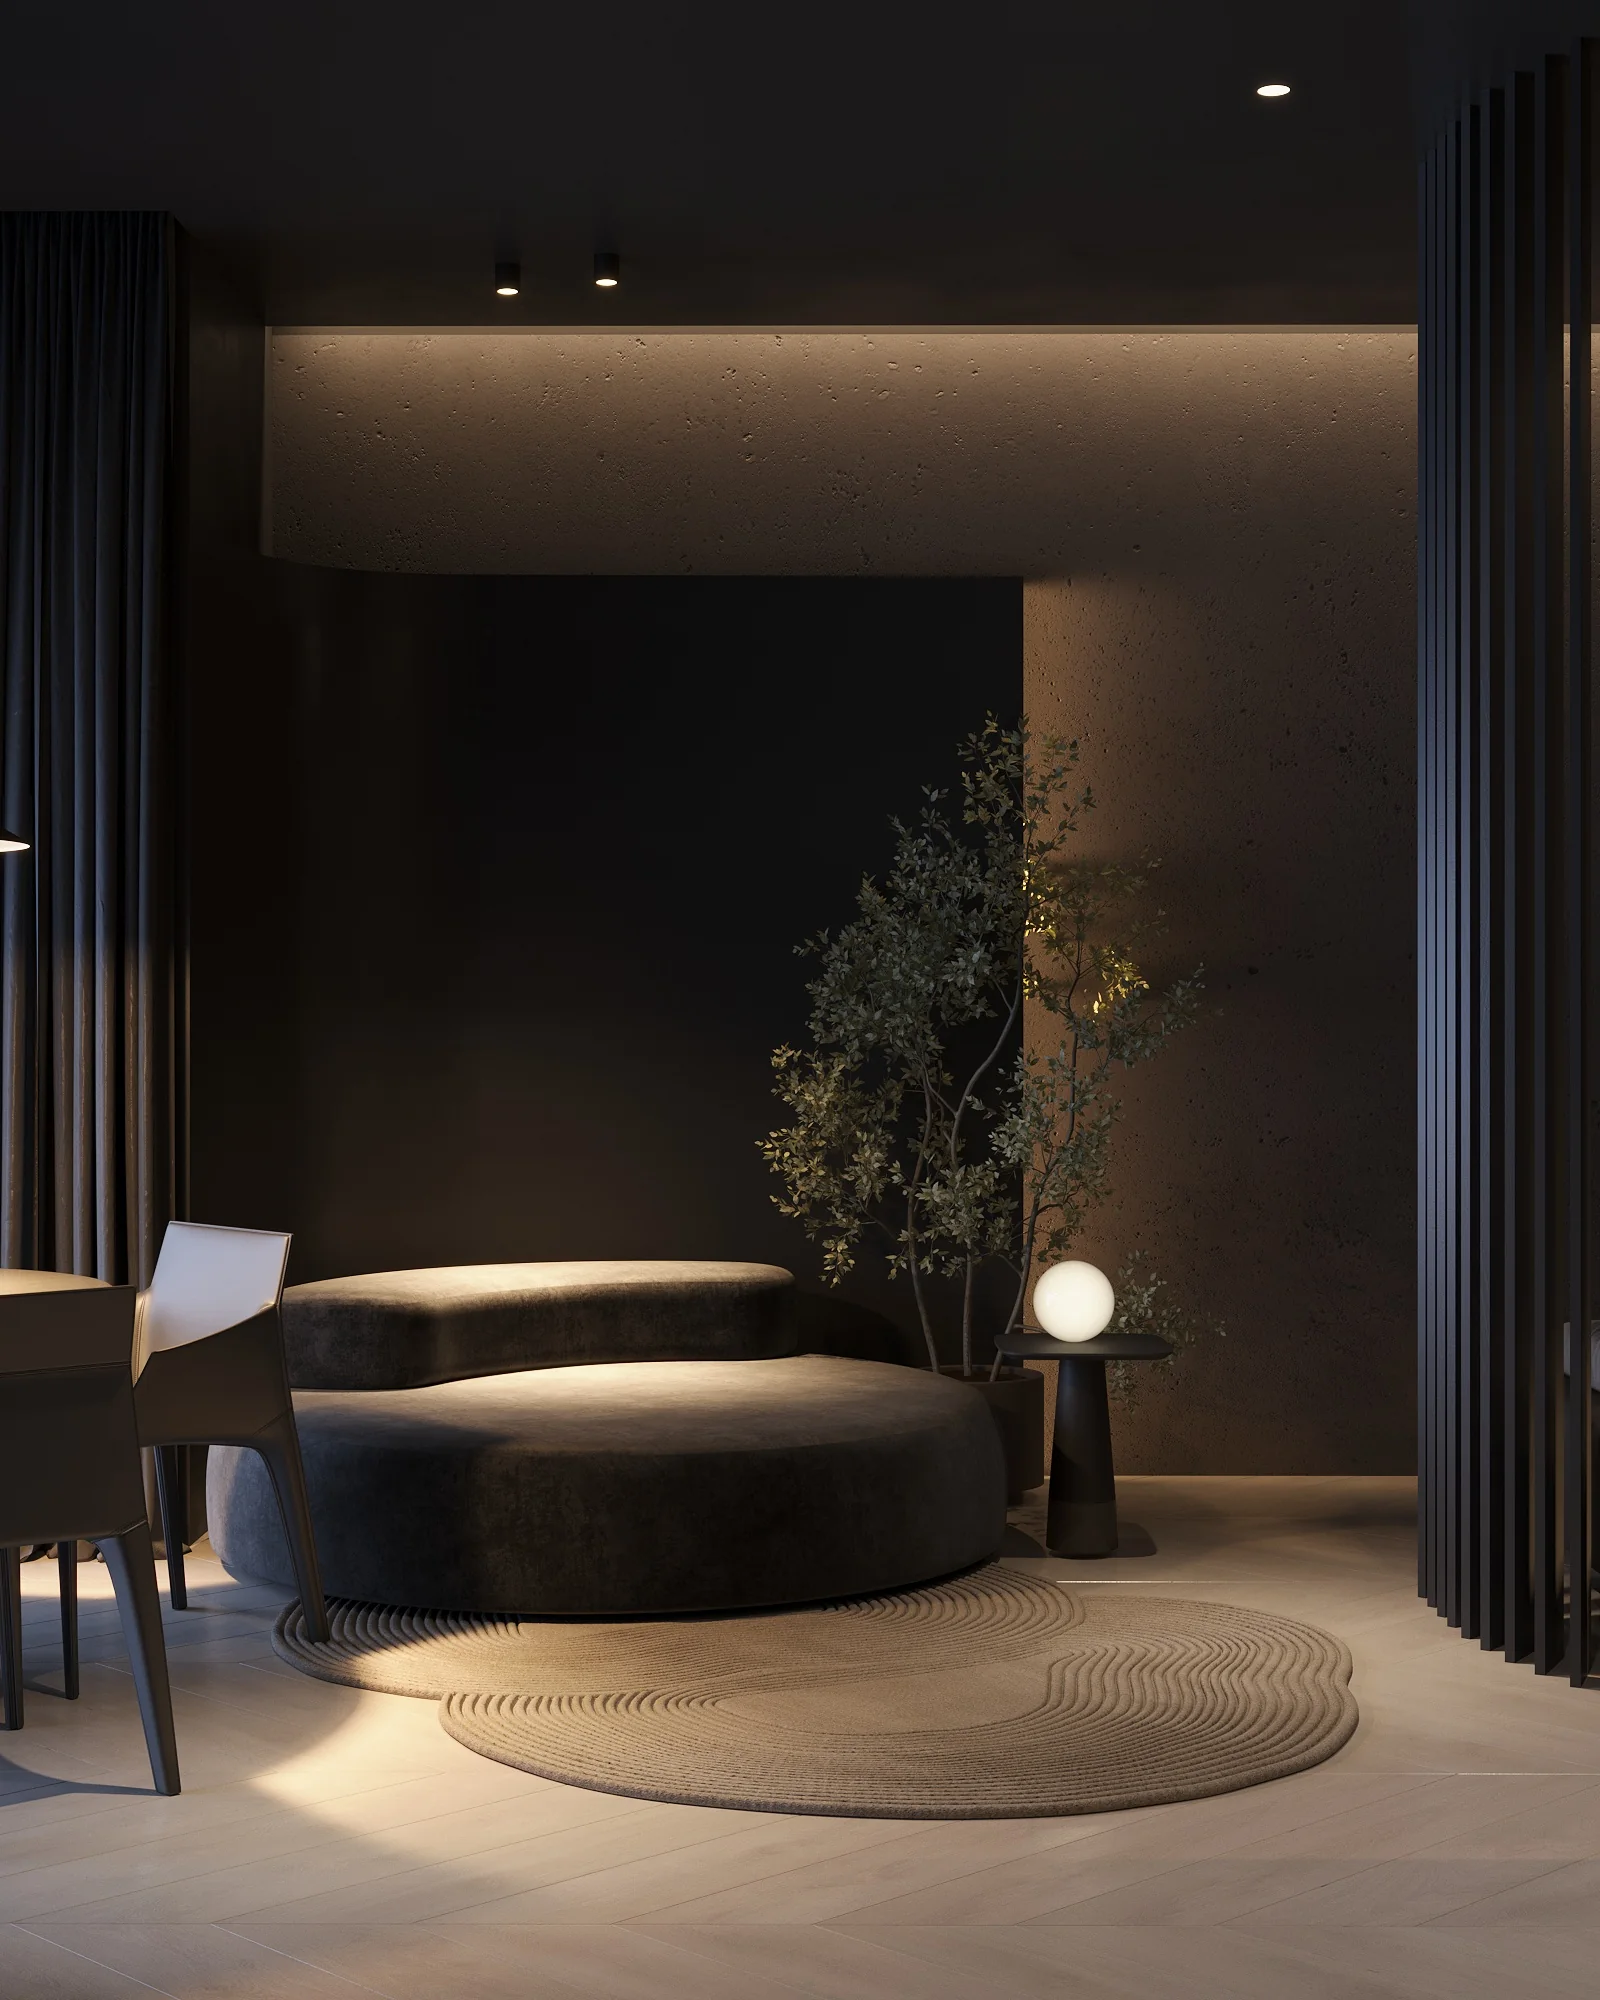
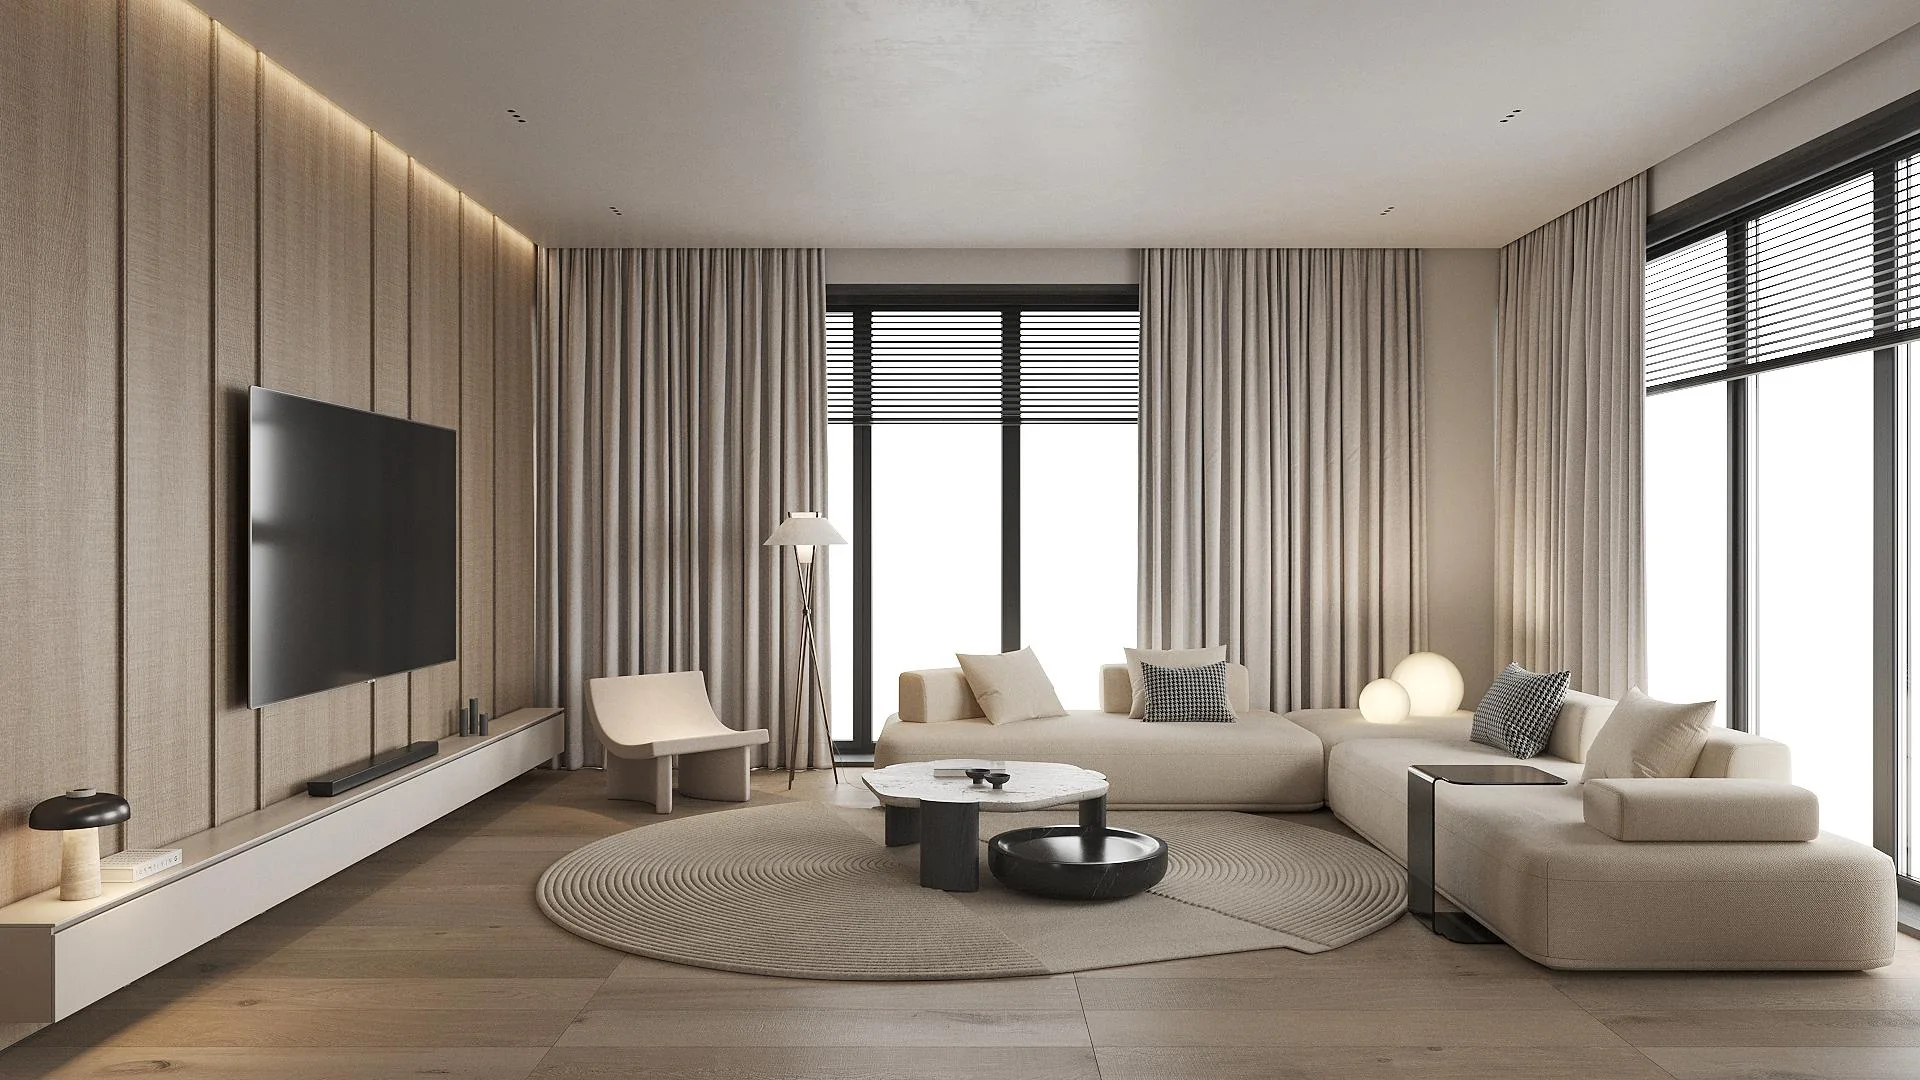
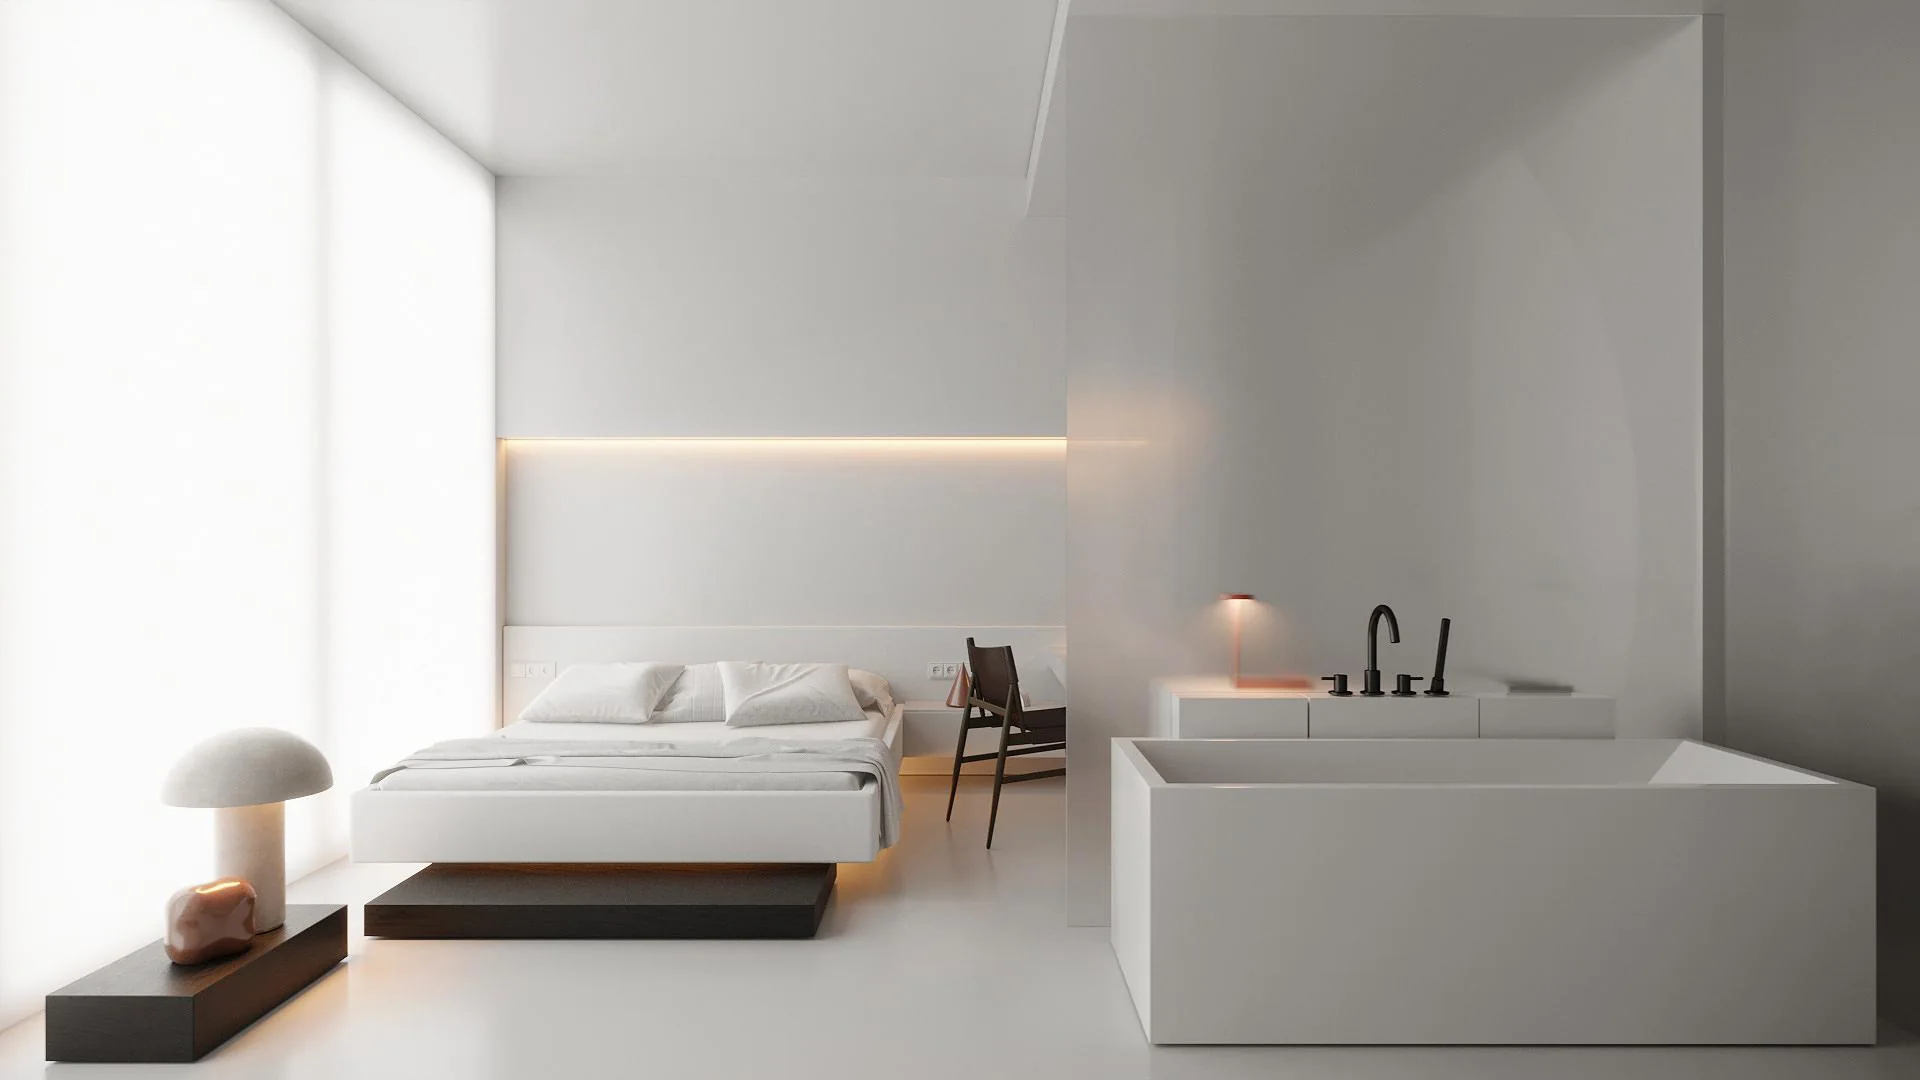
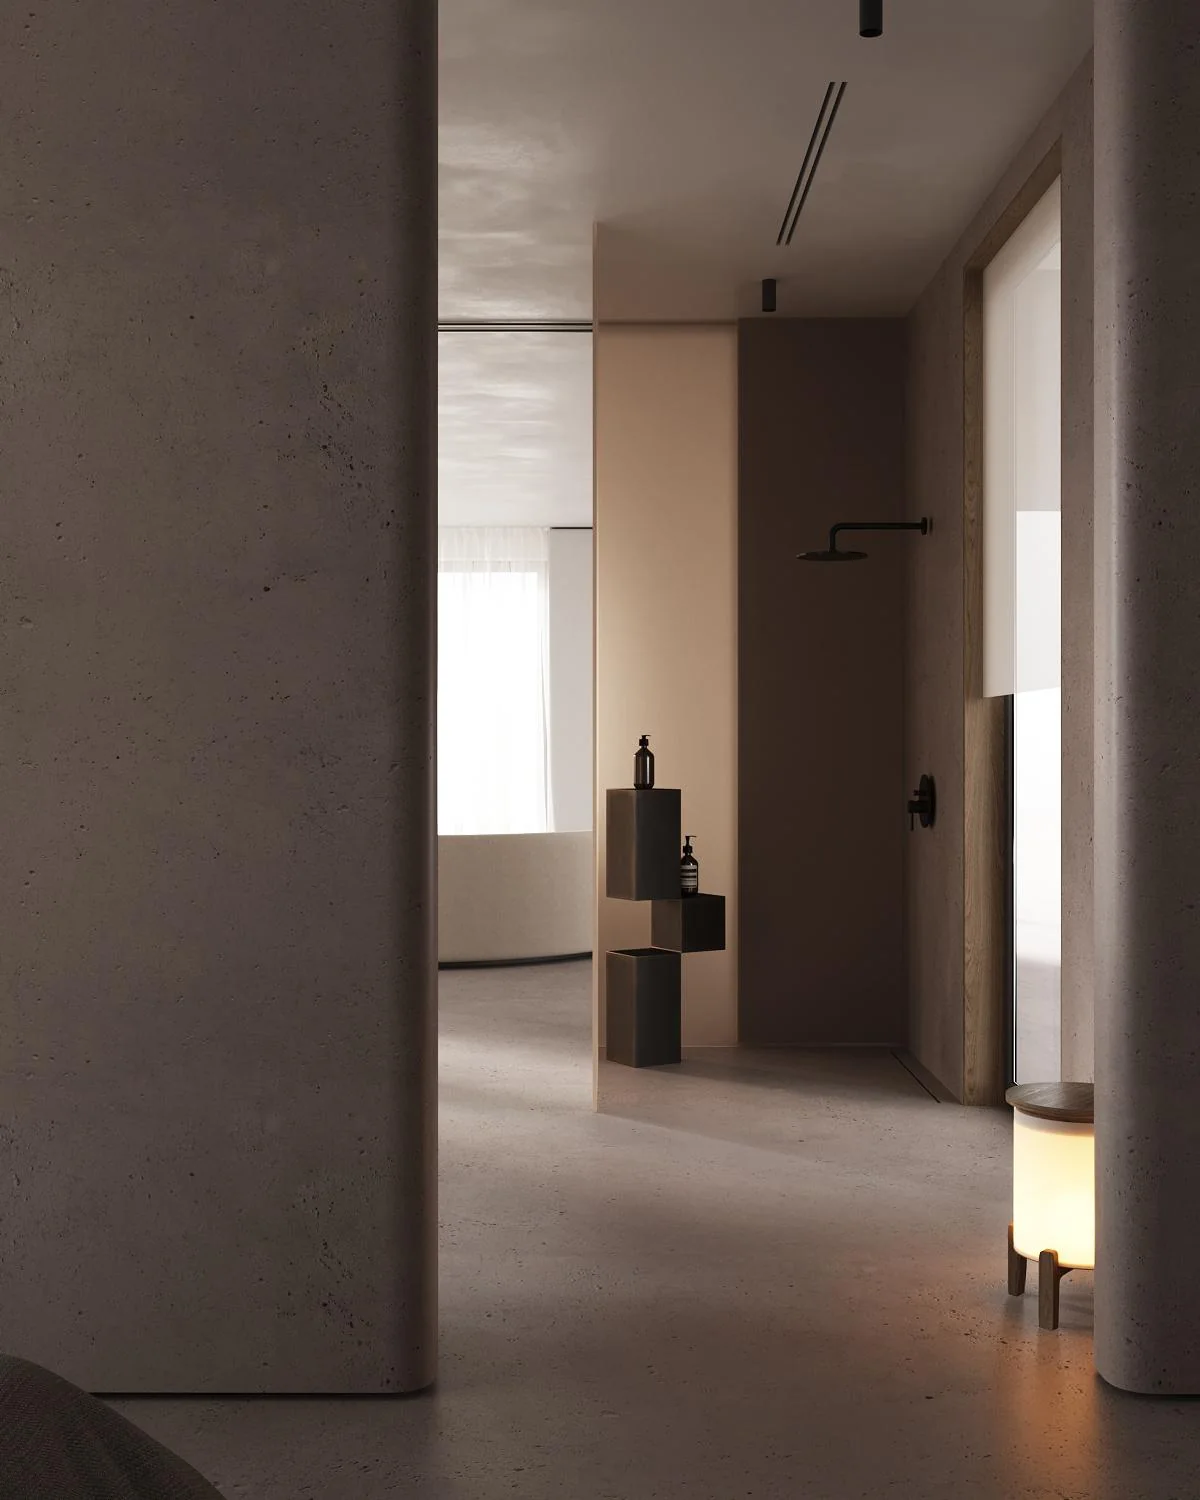
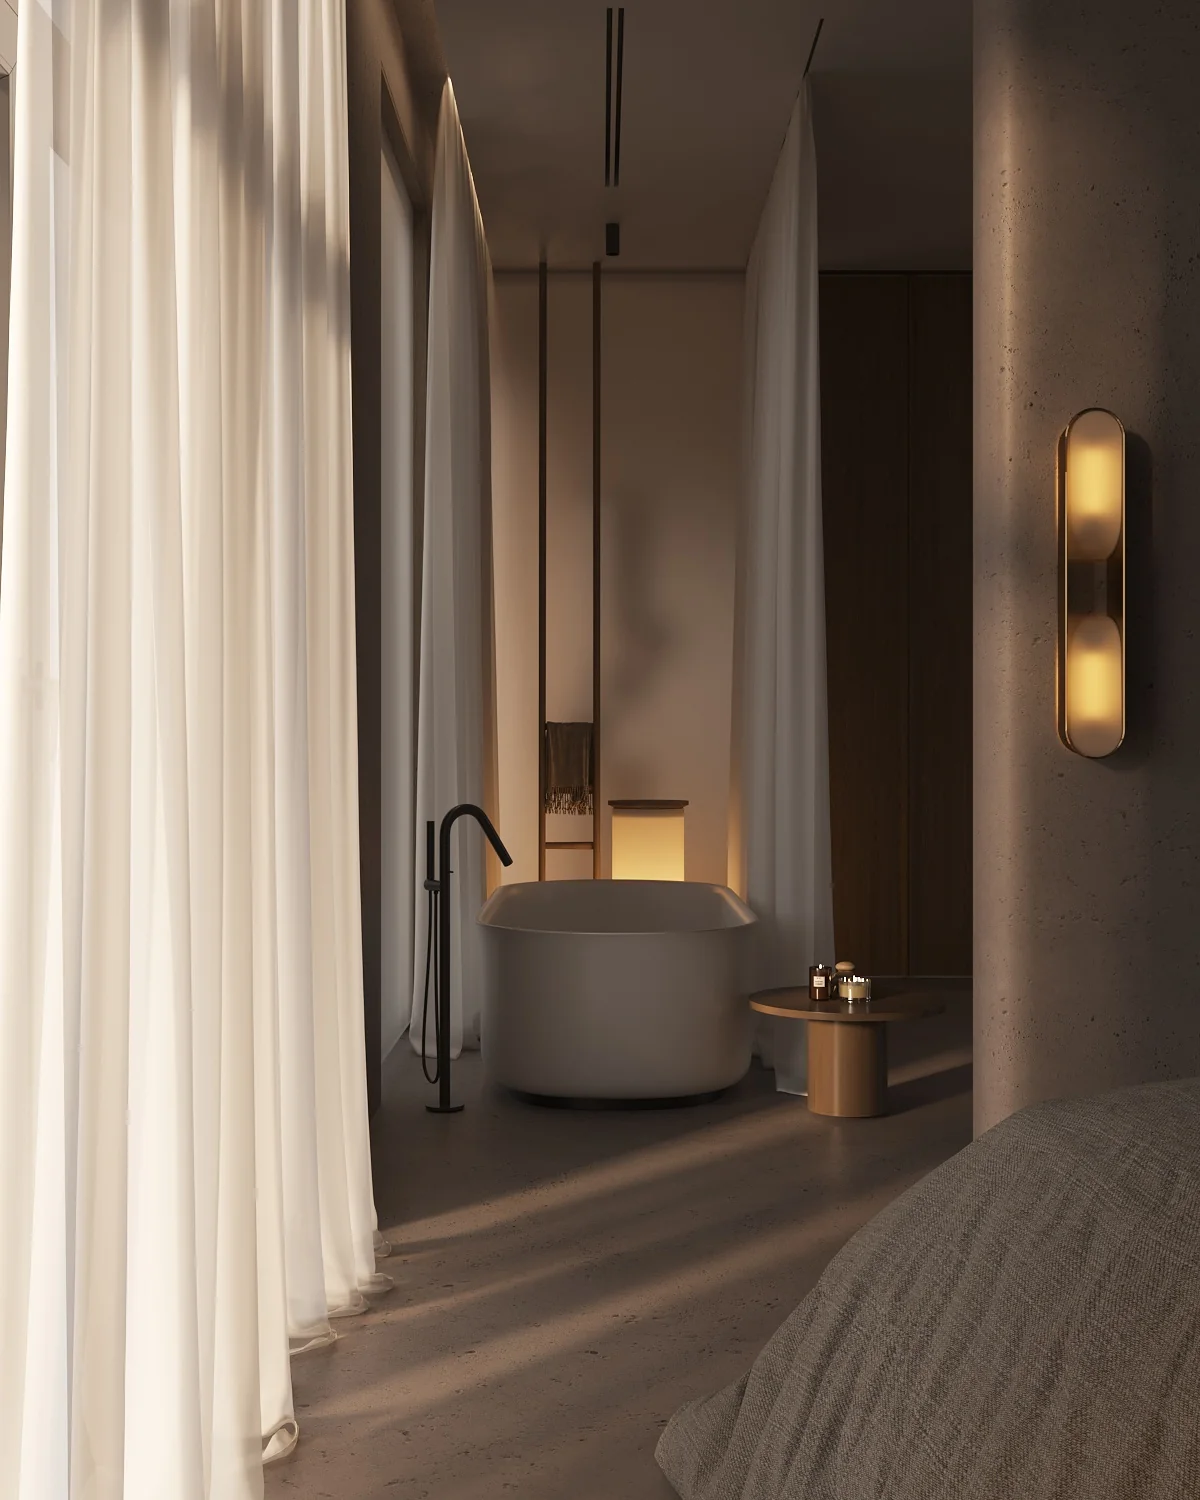
Interior visualization example from the original course
COURSE VISUAL

Interior visualization example from the original course

↗
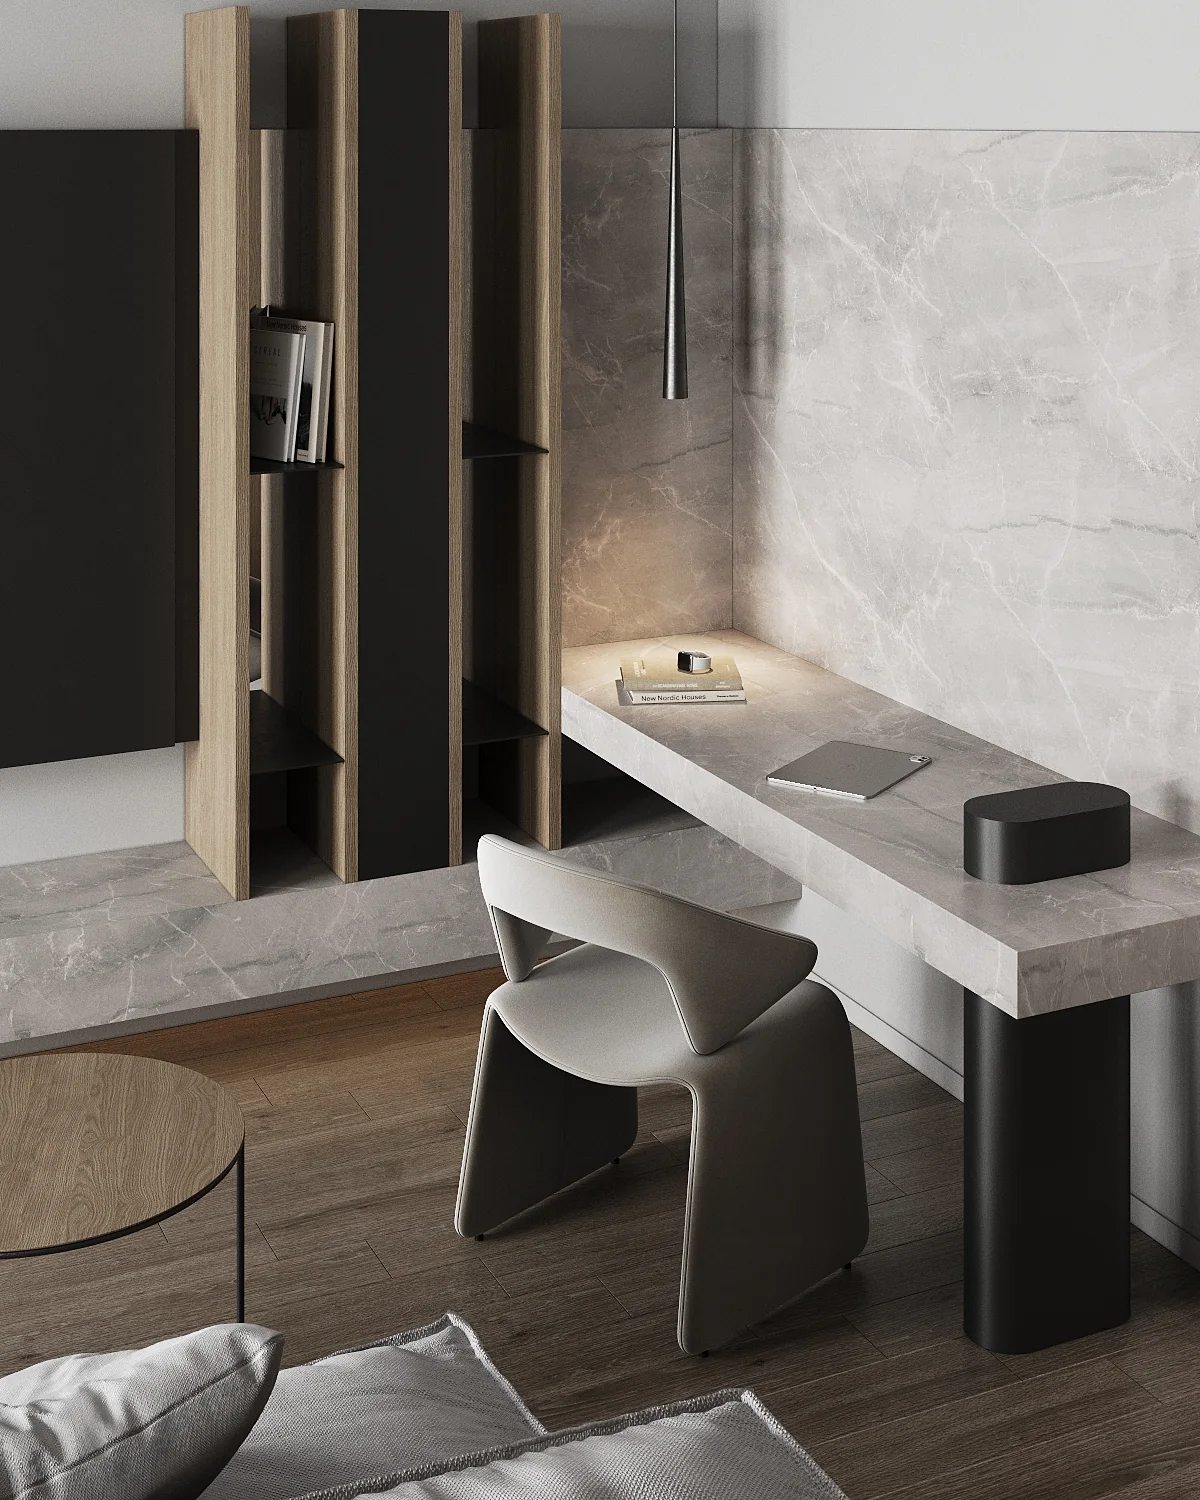
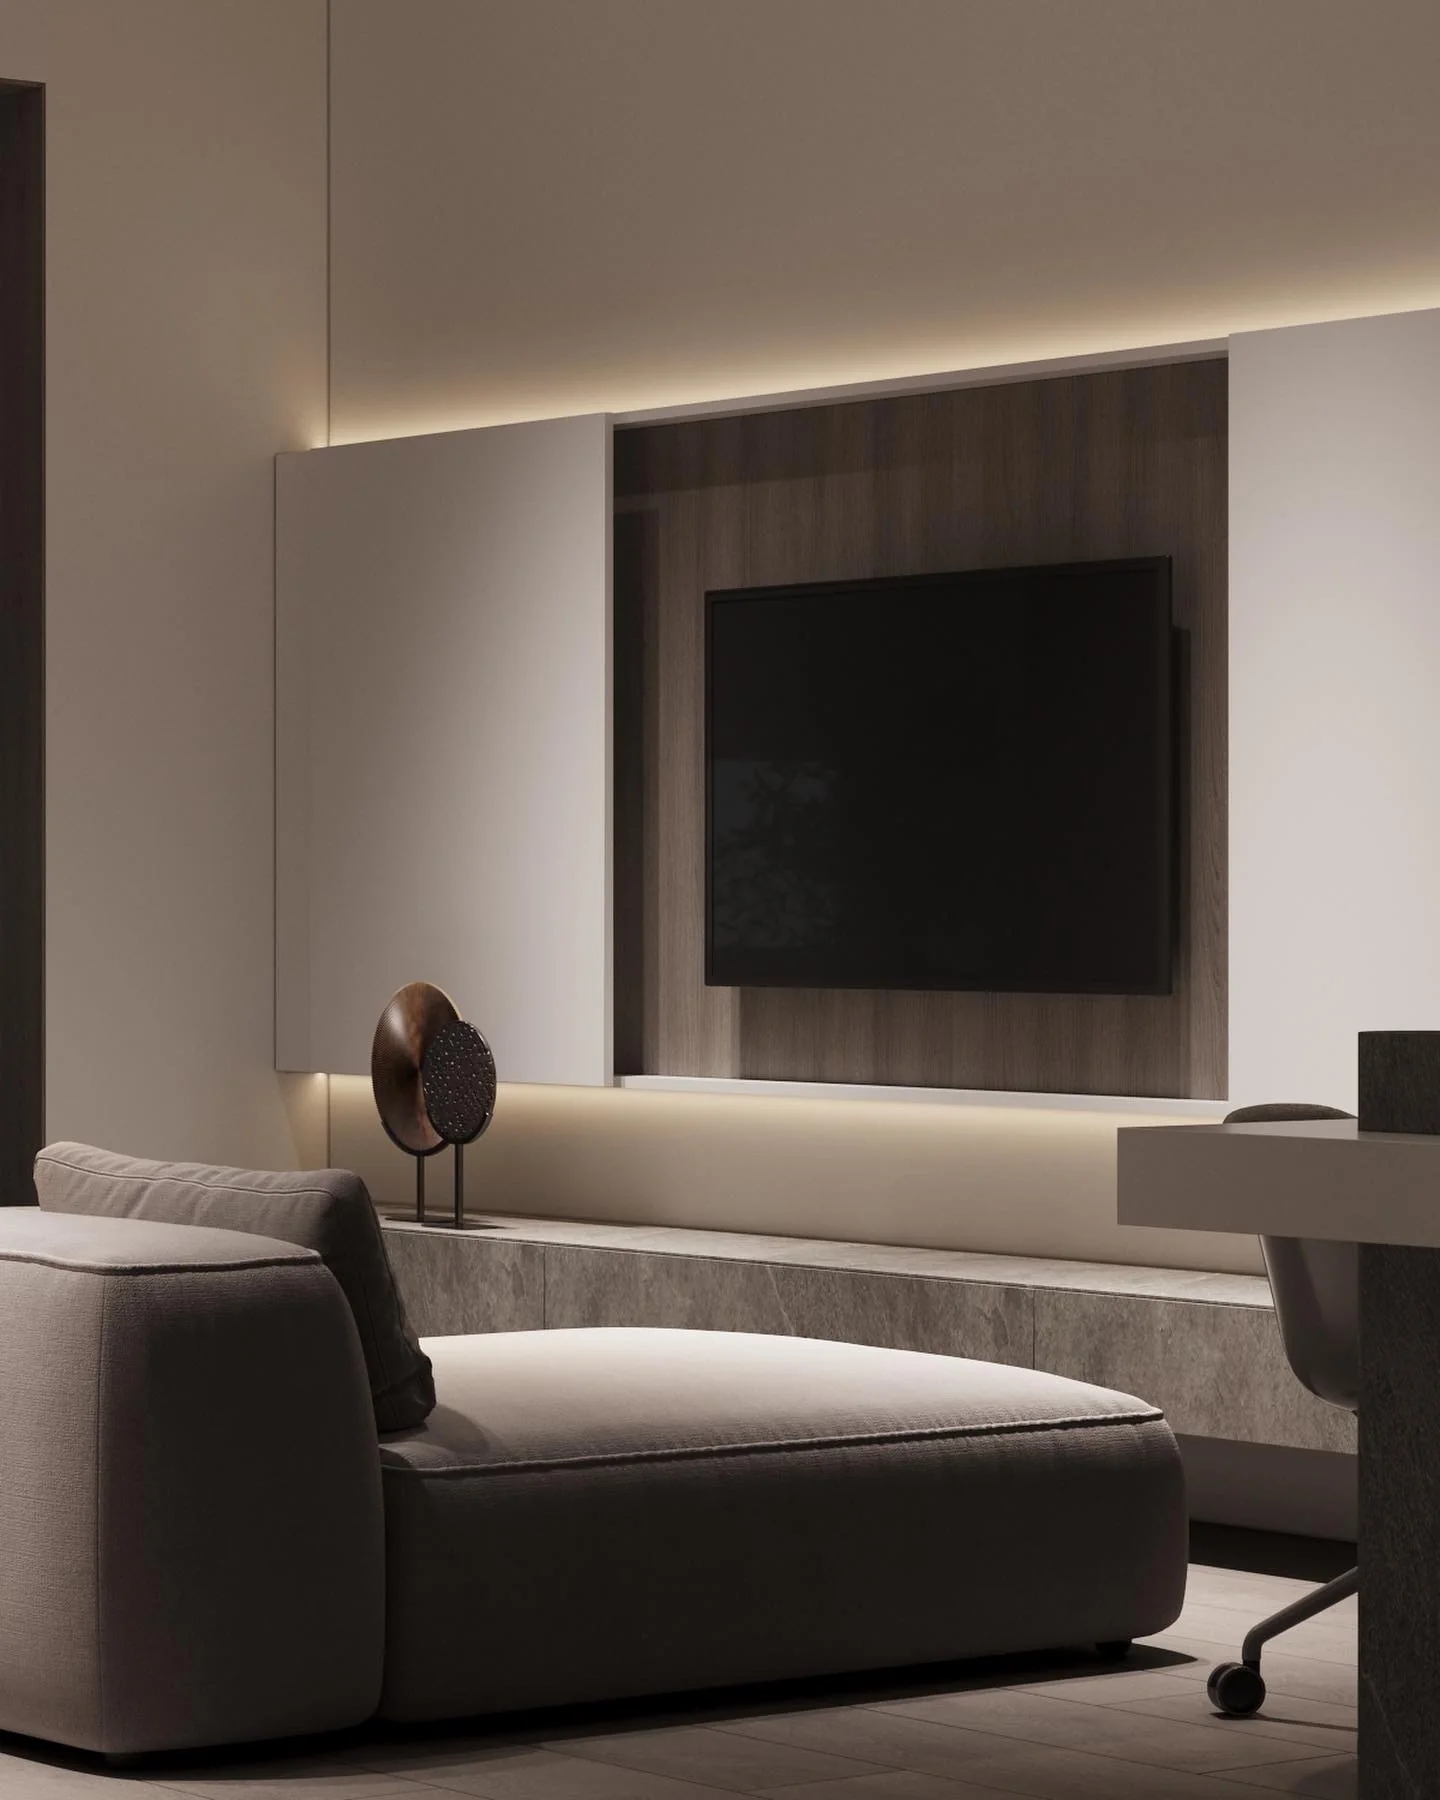
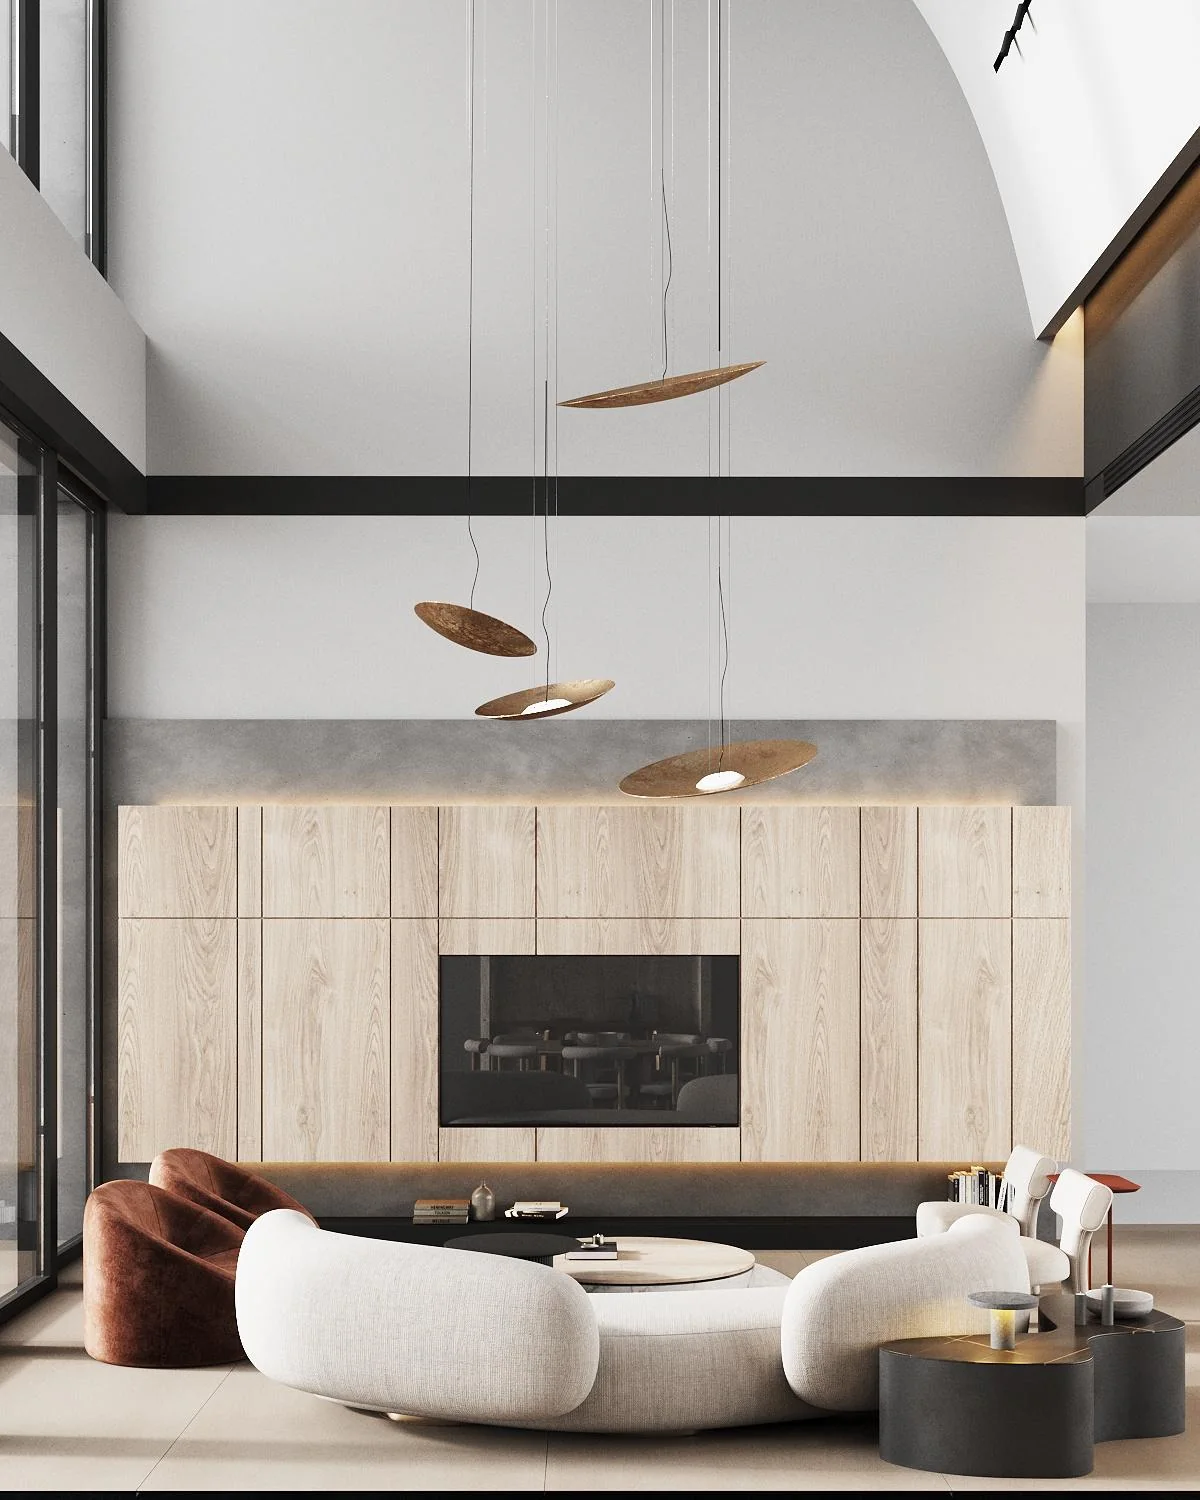
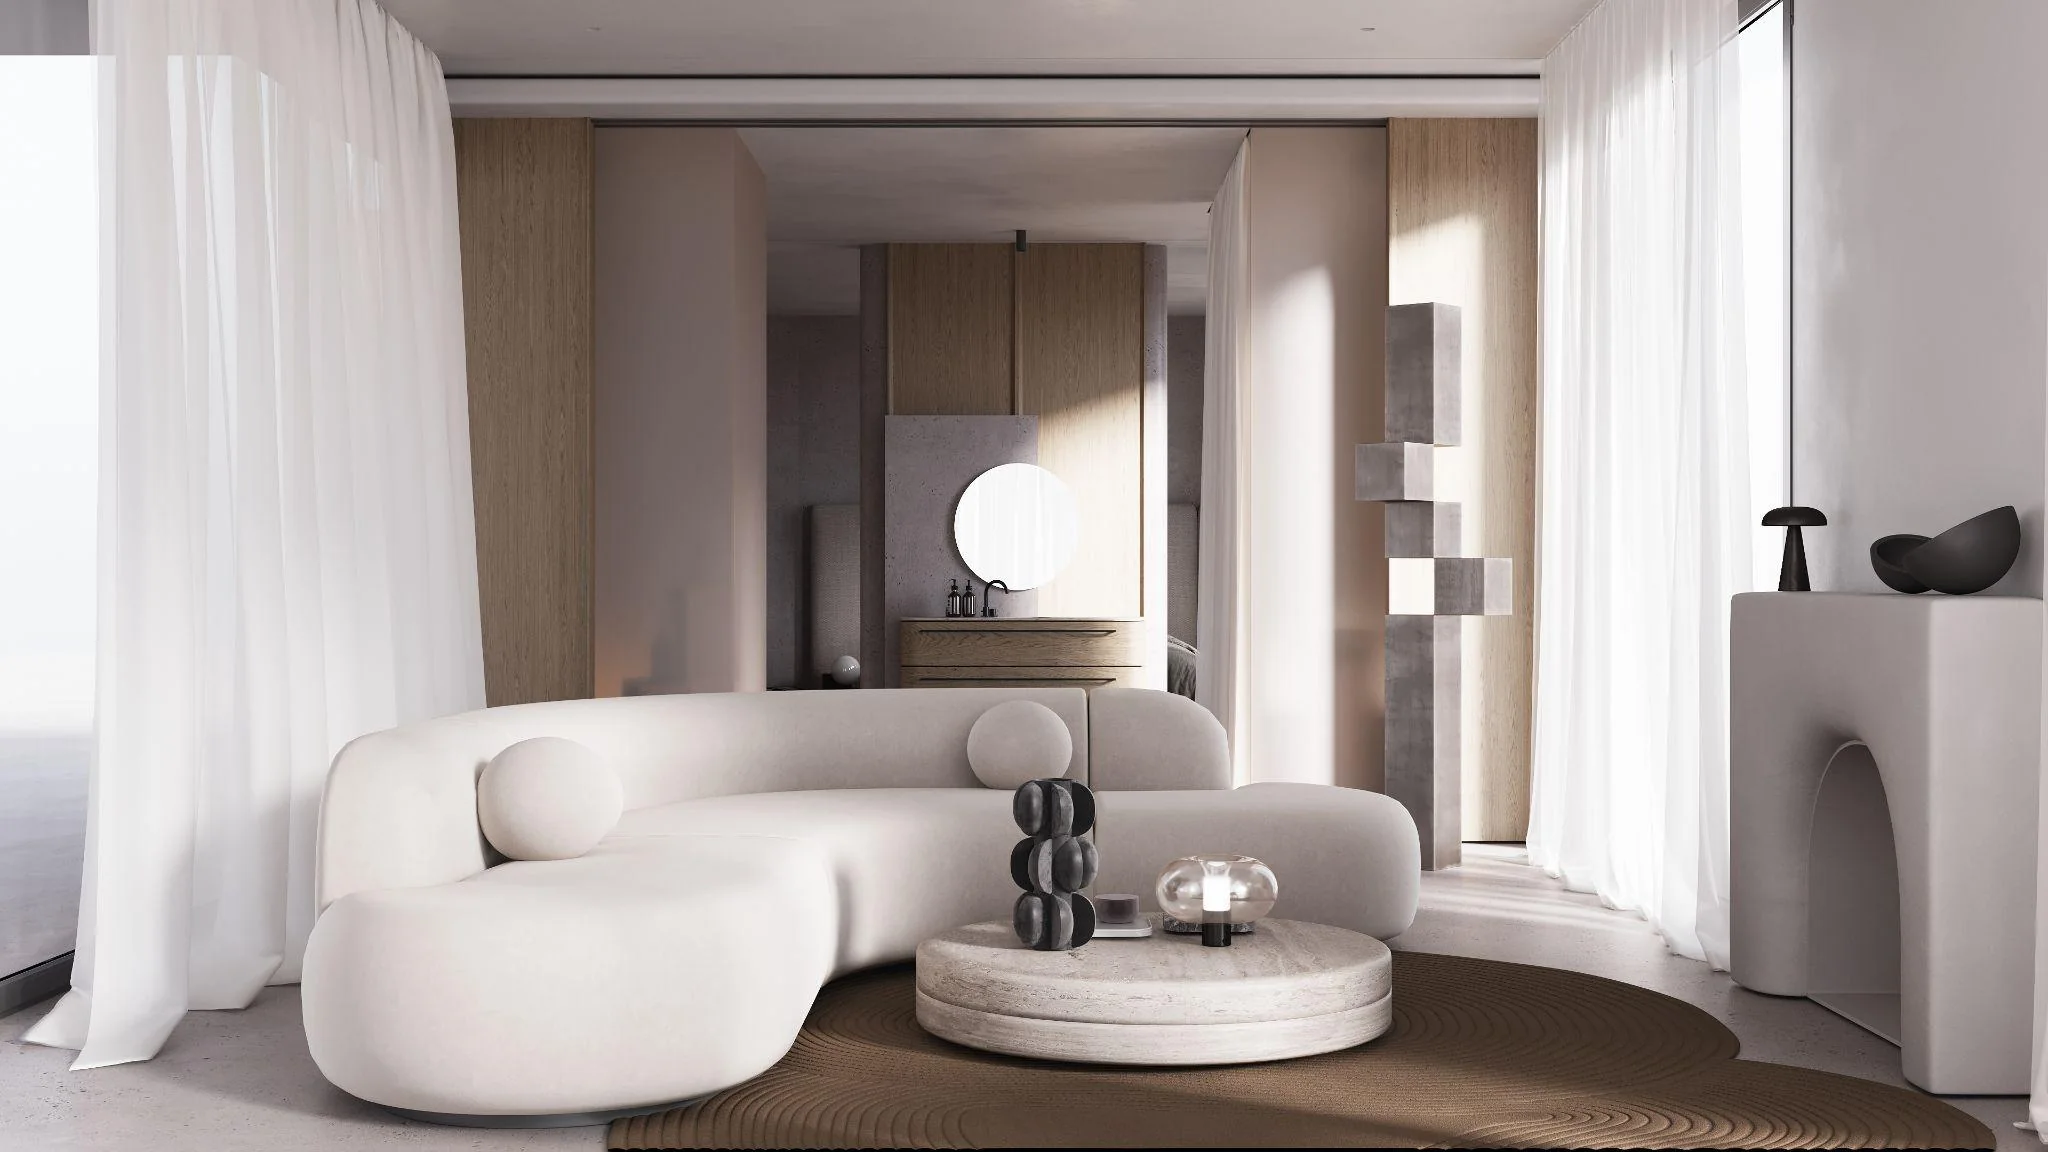
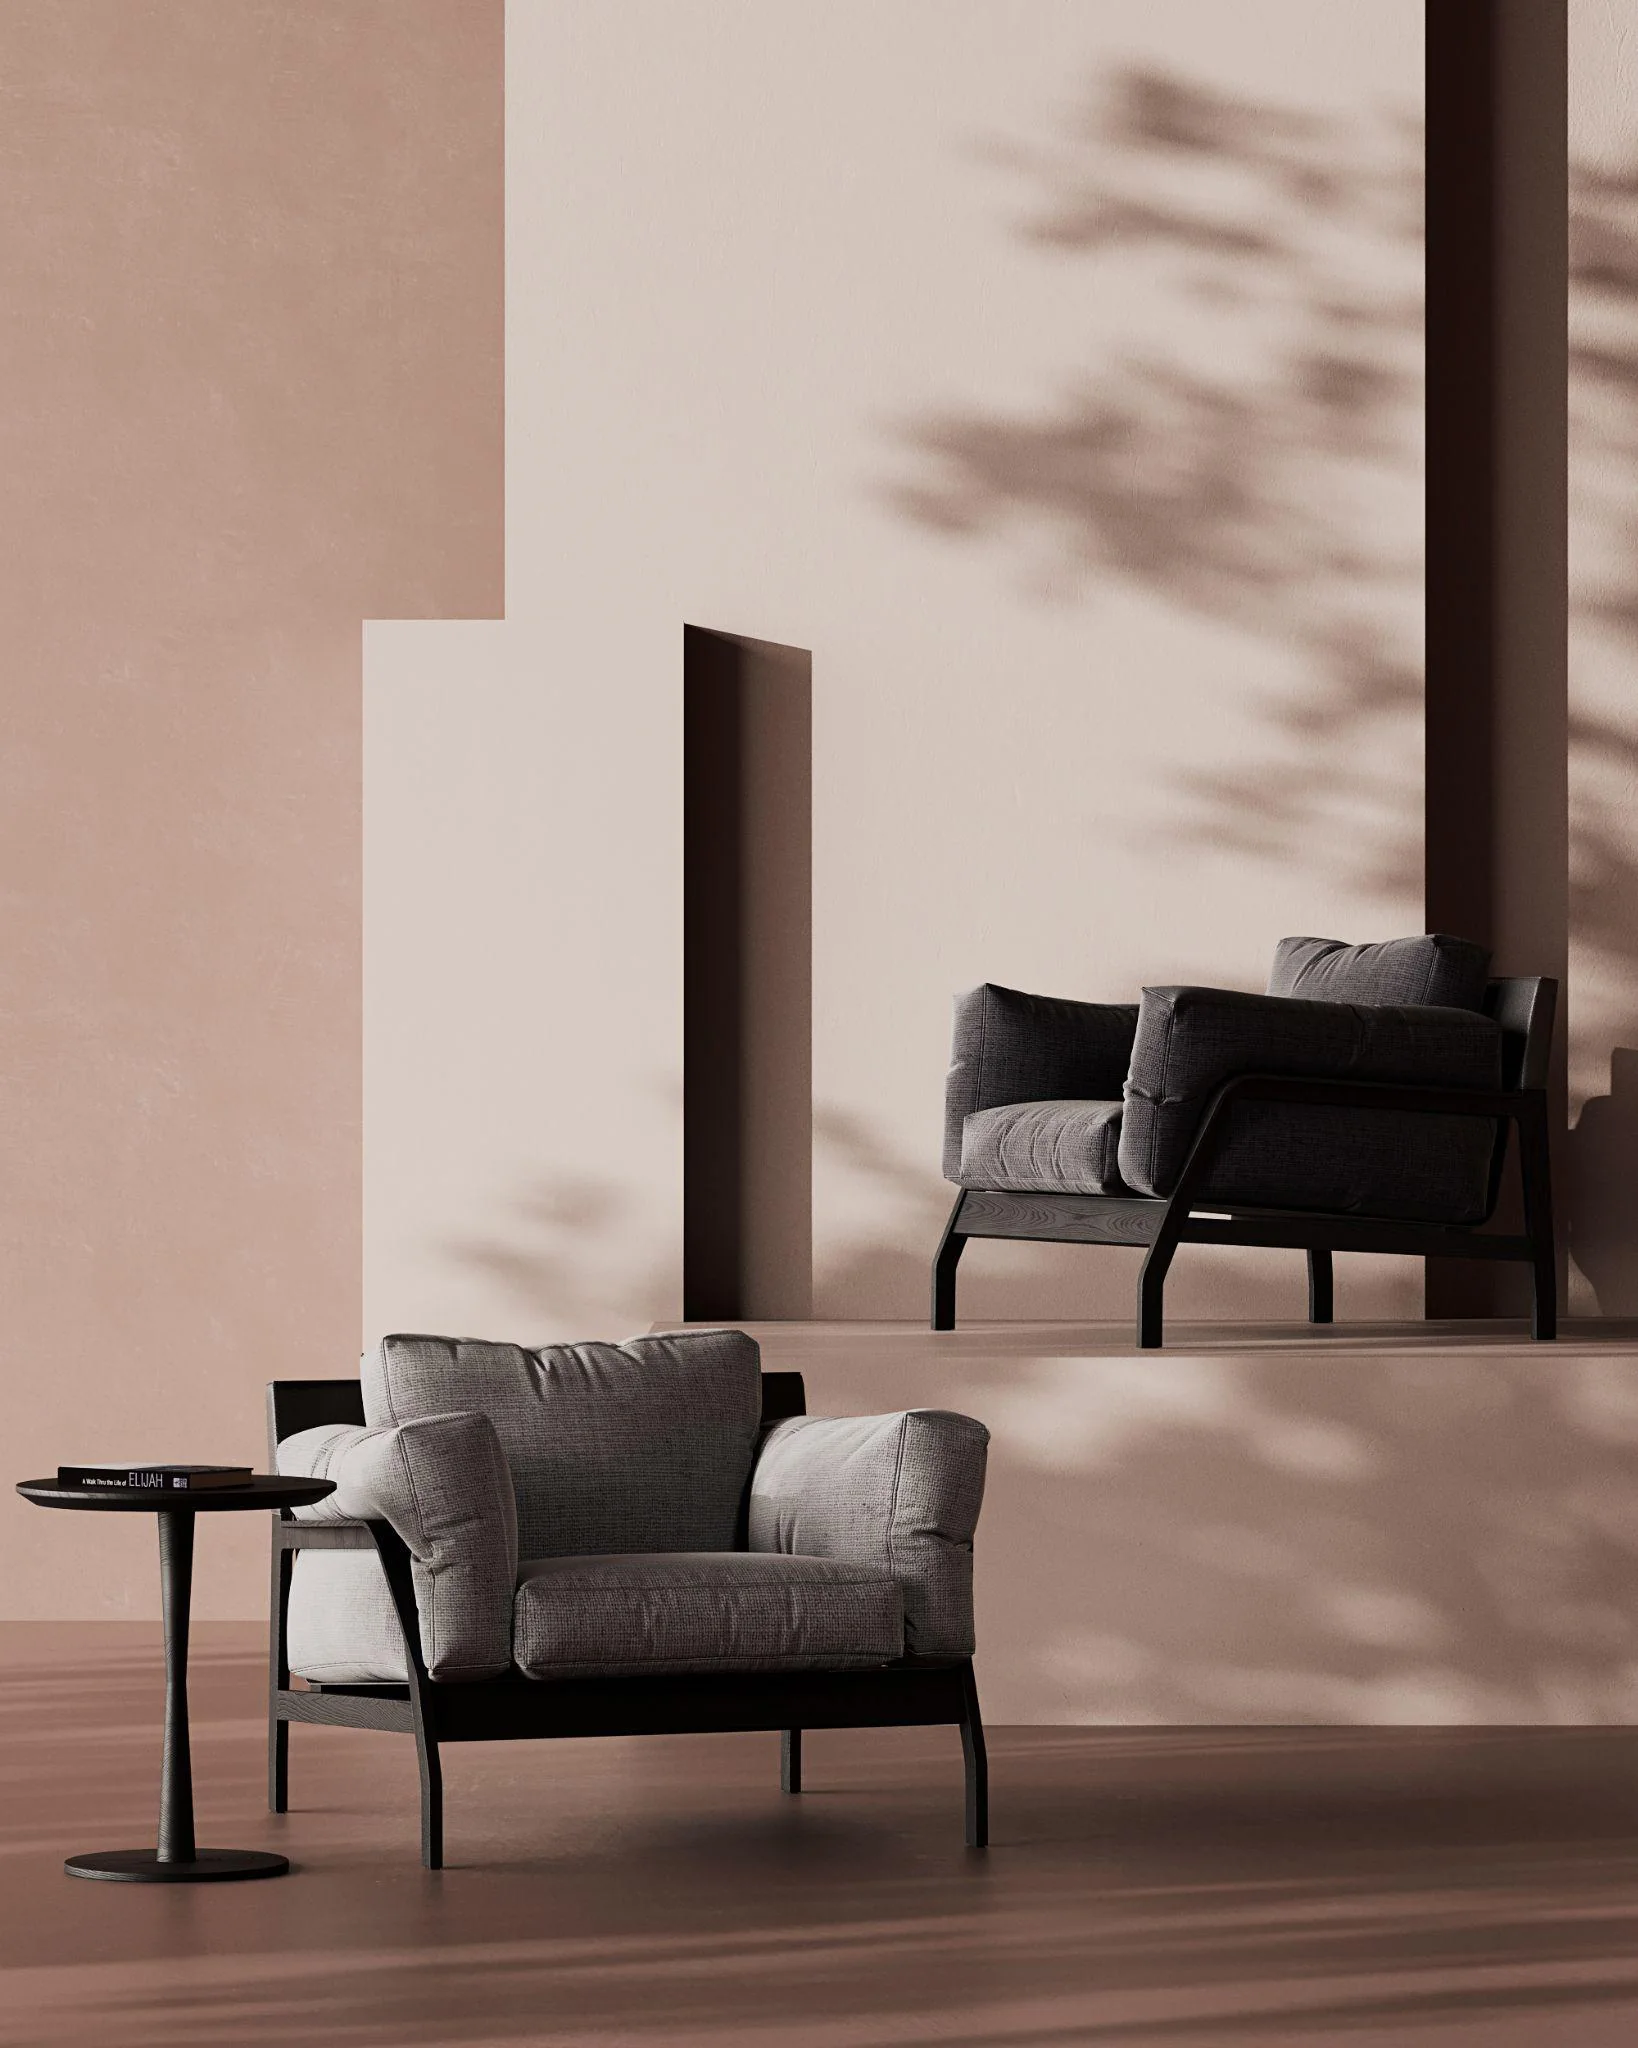
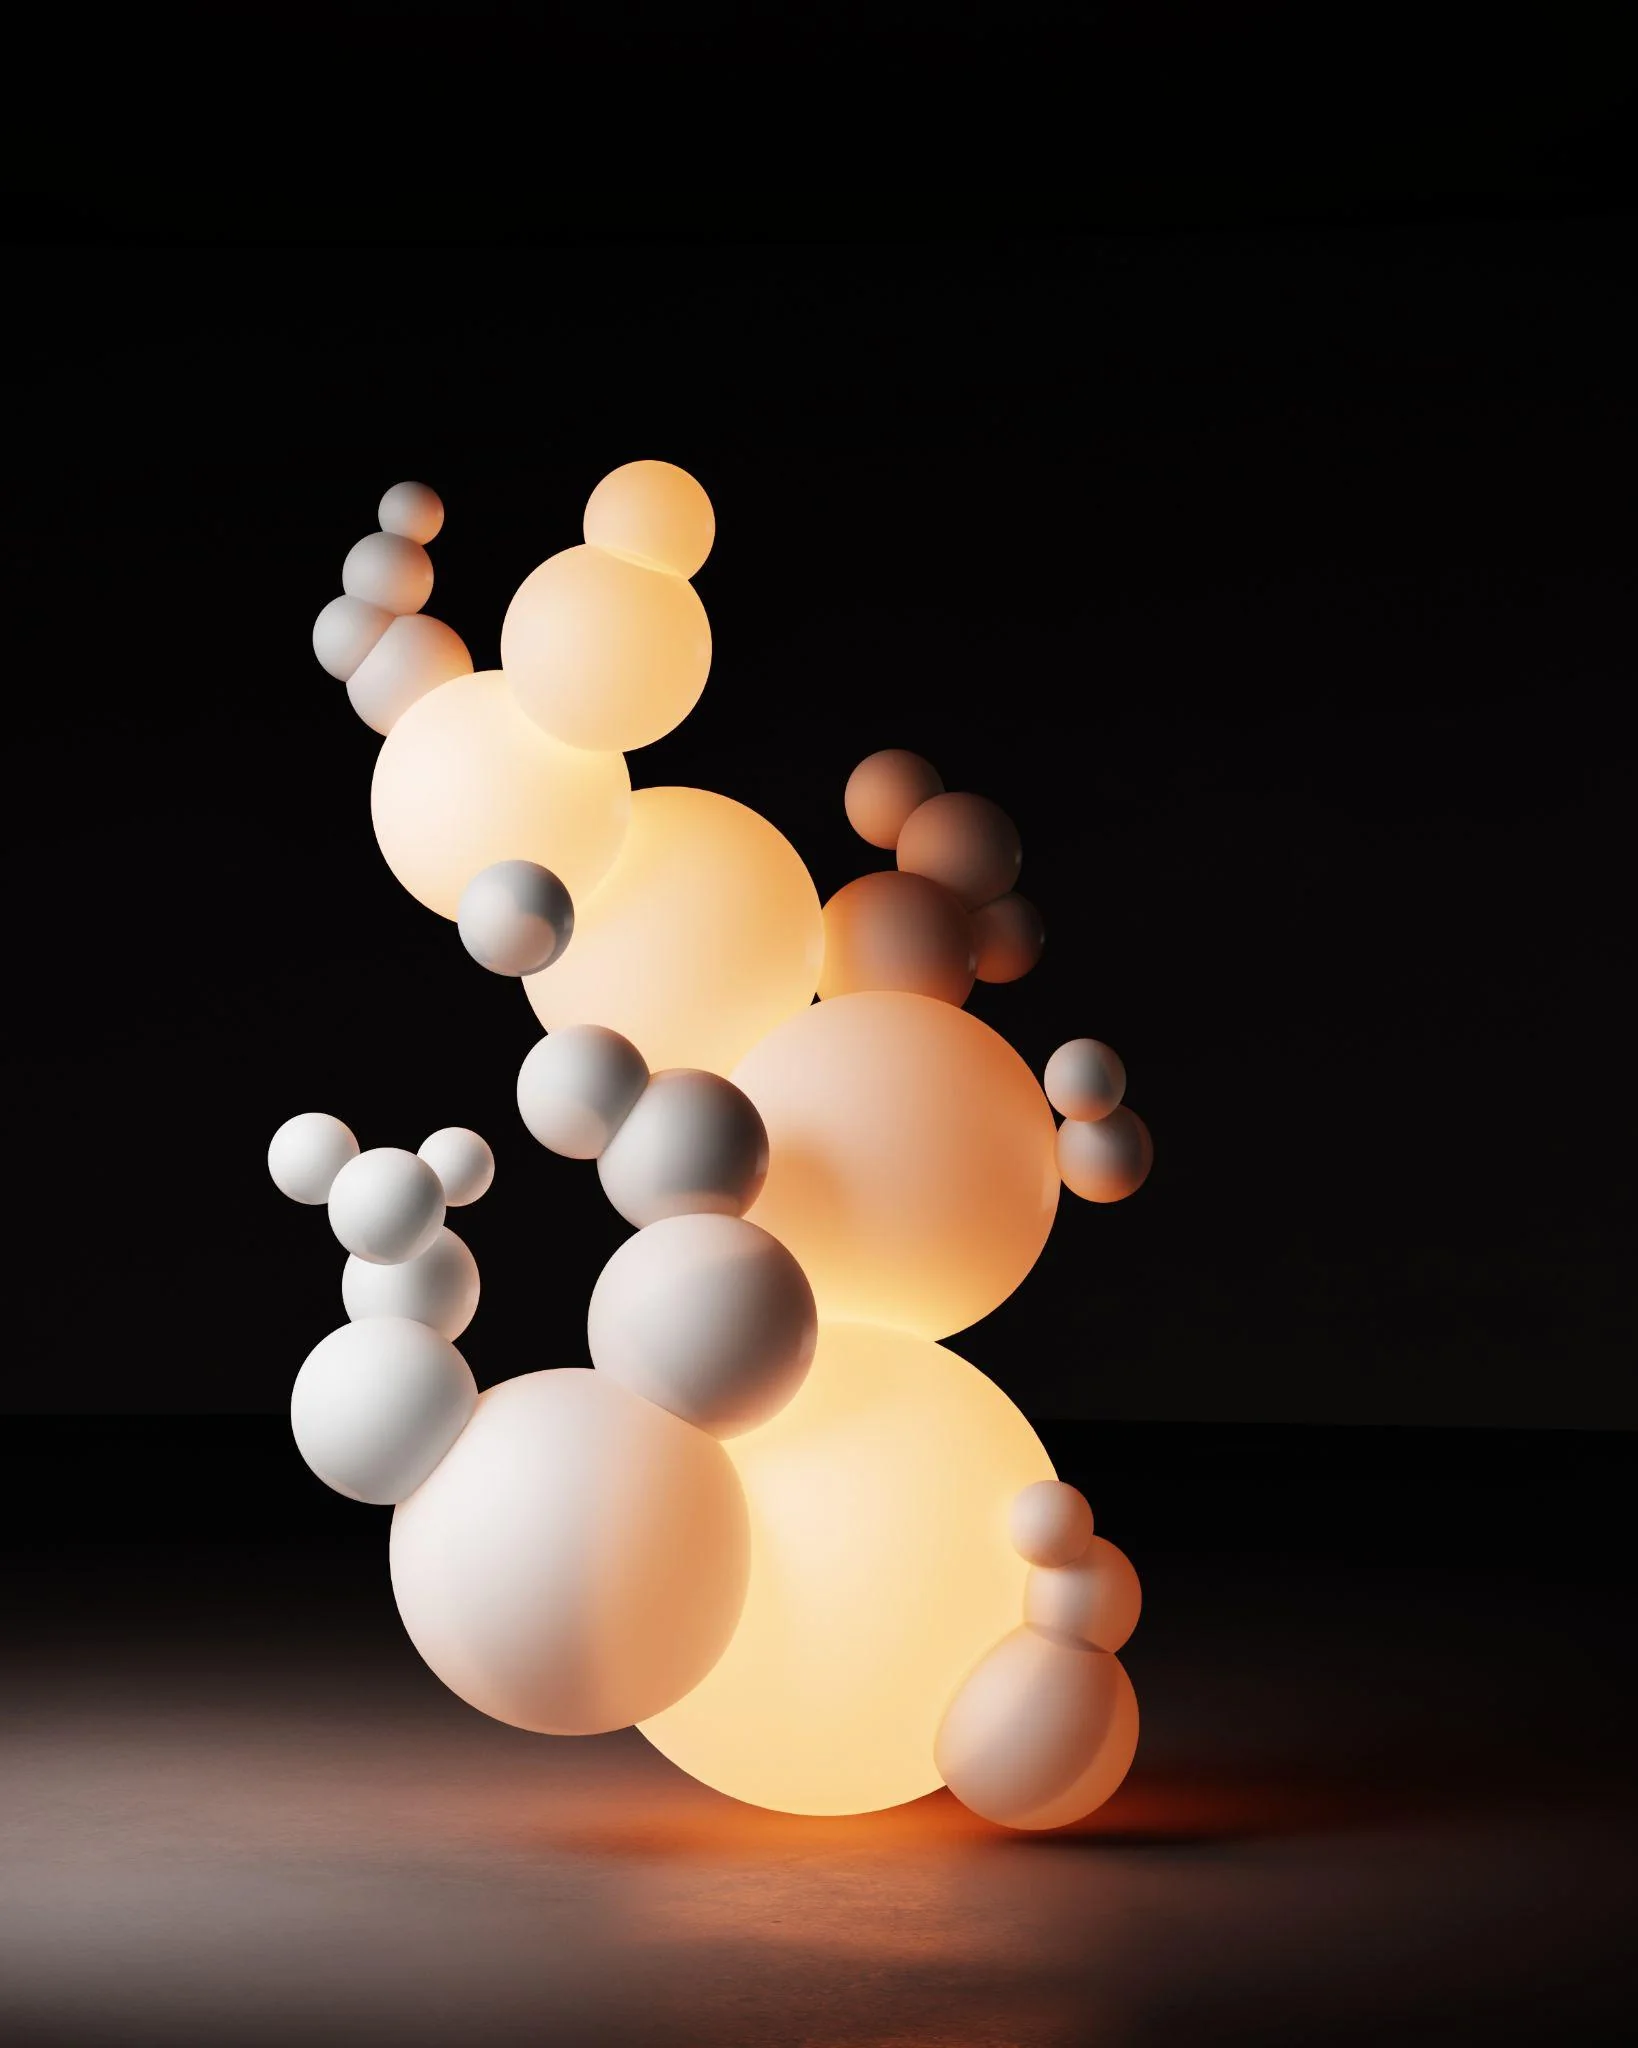
A second visual supporting the course philosophy
COURSE VISUAL

A second visual supporting the course philosophy

↗
05

STUDENT REVIEWS

Feedback as a real web gallery

Individual review images are extracted from PowerPoint and can be opened full-screen. On mobile this row becomes swipeable.

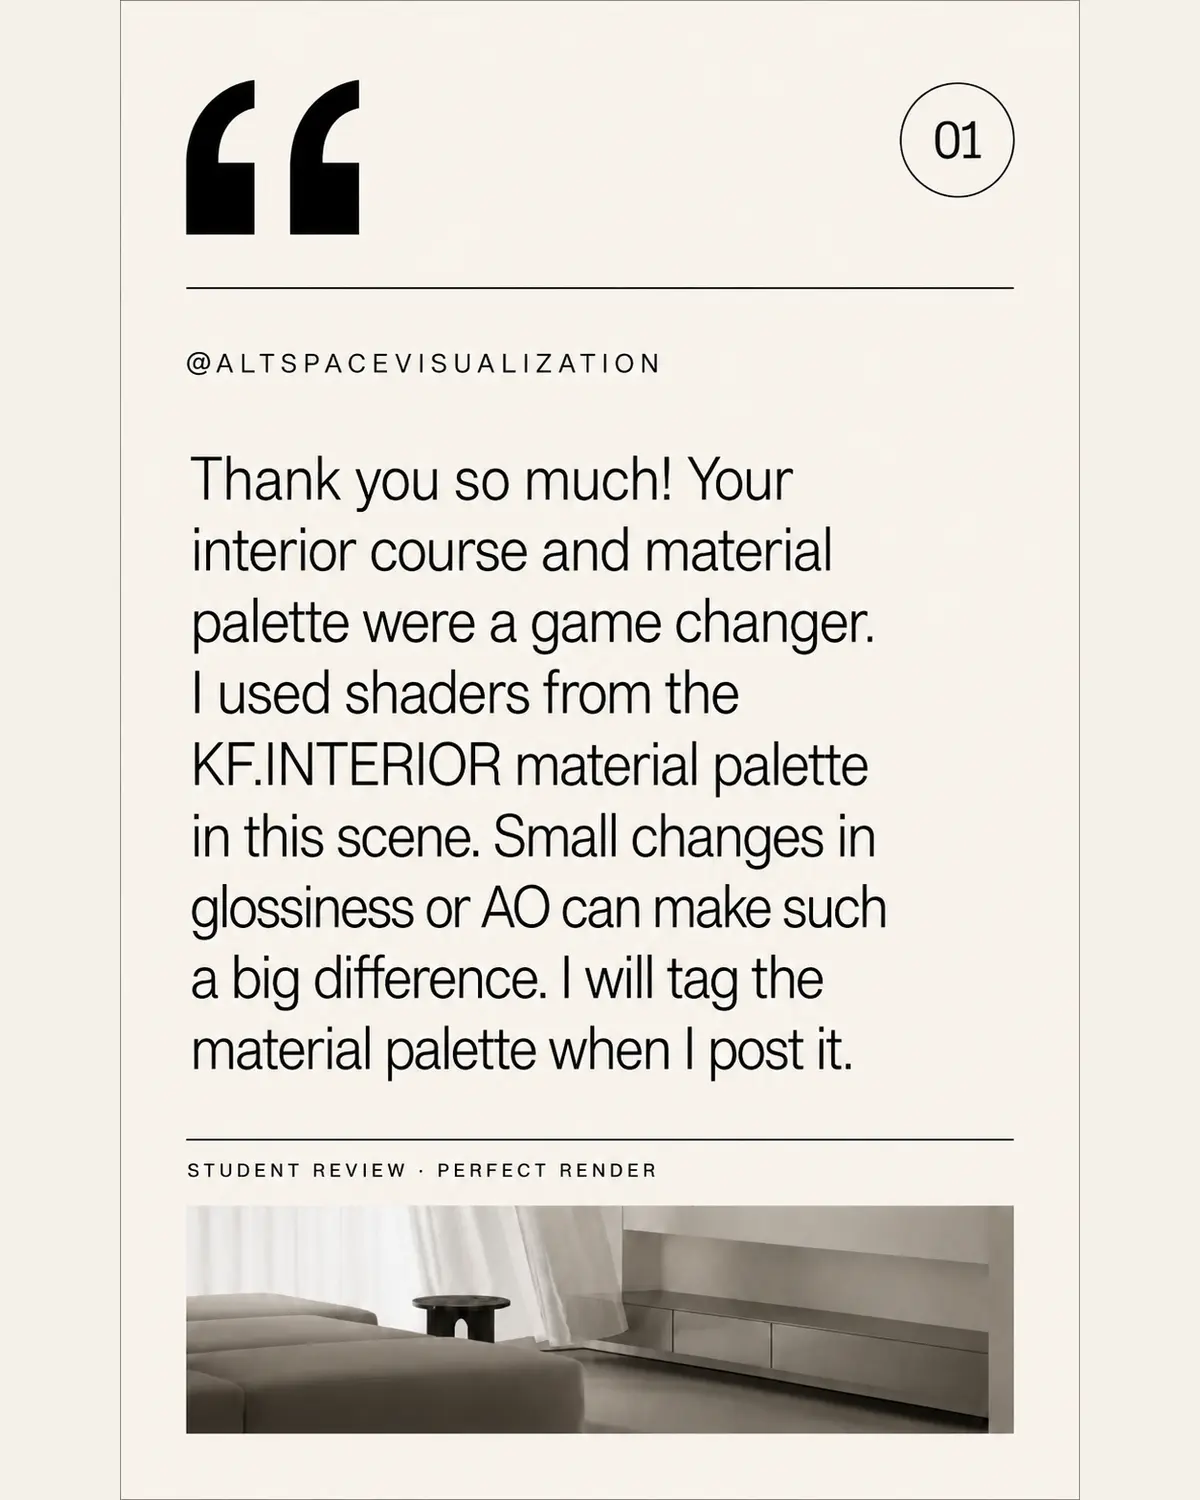
Student review / 01
STUDENT REVIEW

Student review / 01

↗
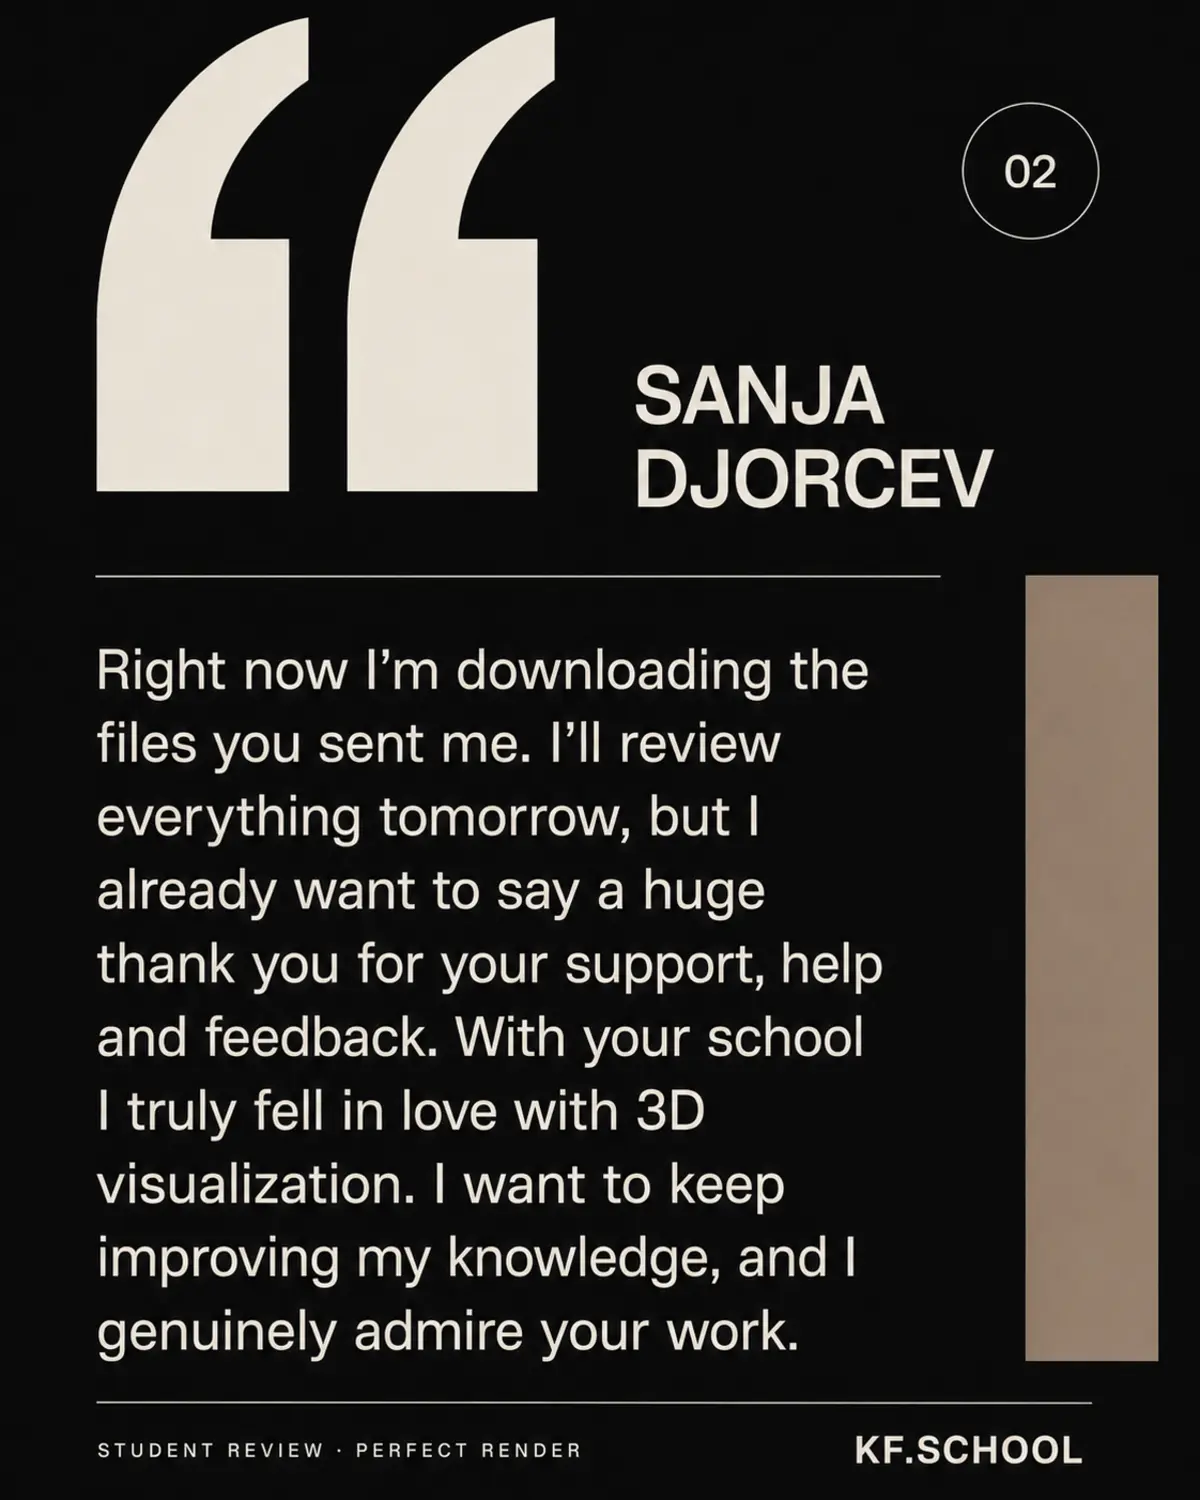
Student review / 02
STUDENT REVIEW

Student review / 02

↗
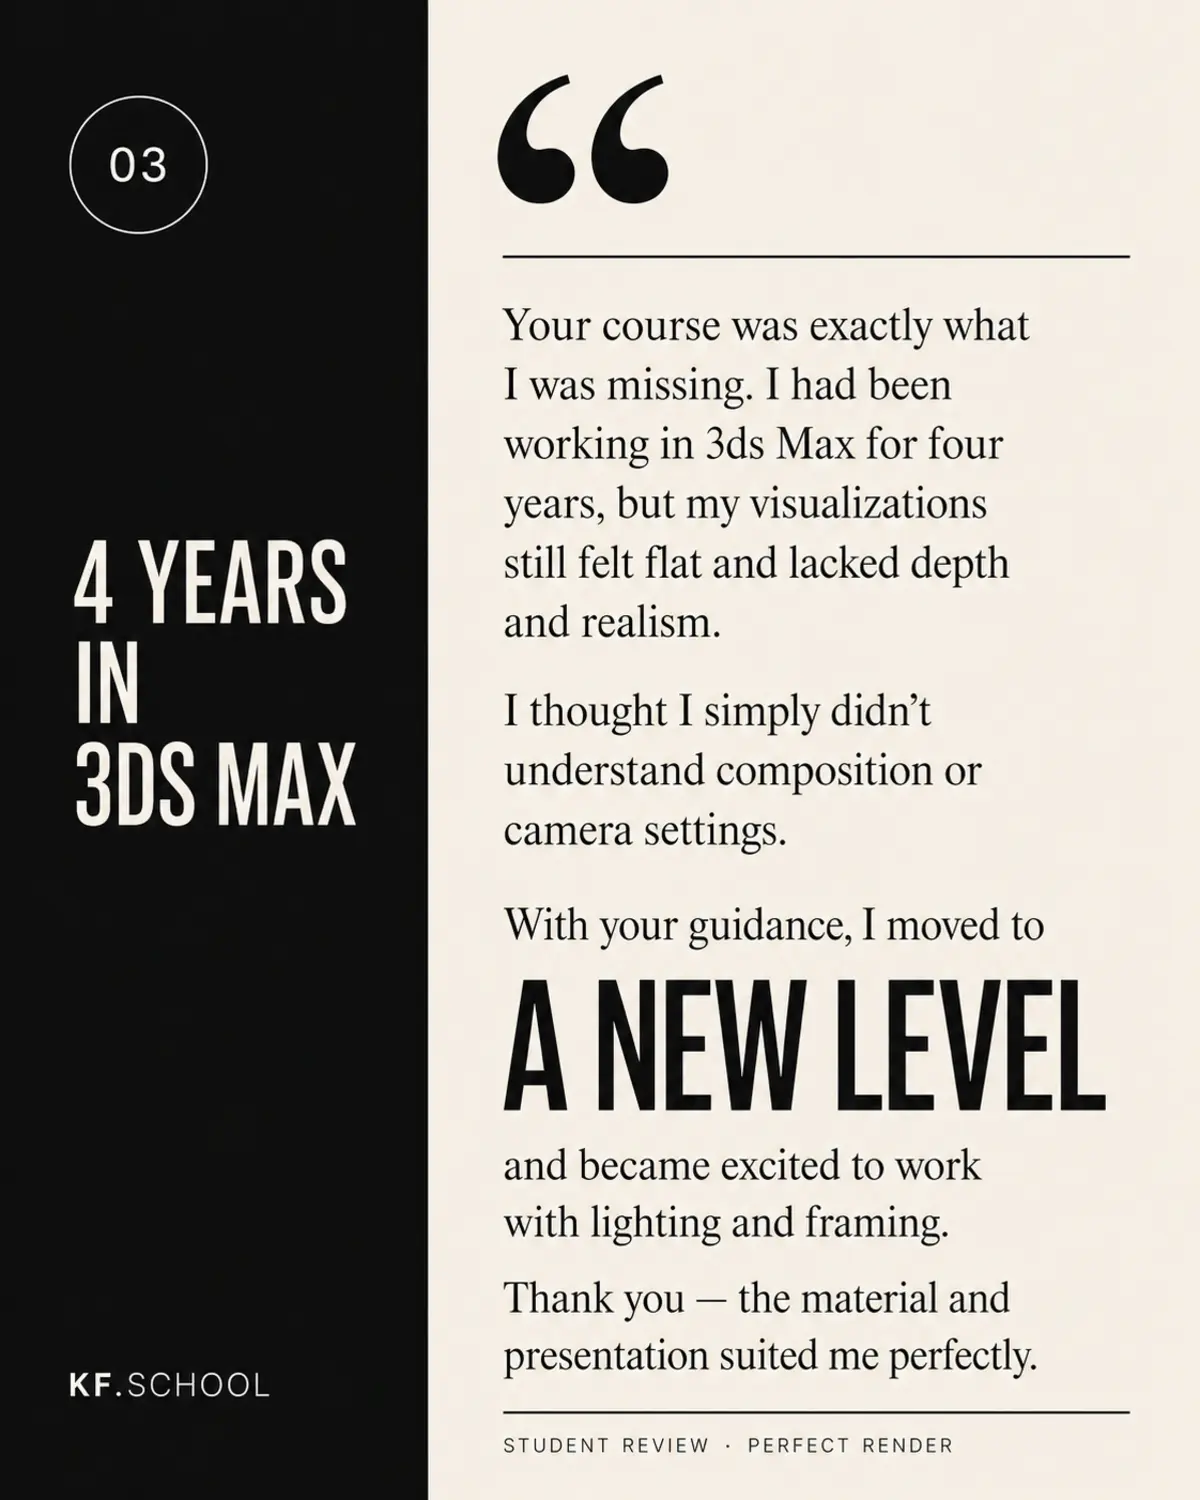
Student review / 03
STUDENT REVIEW

Student review / 03

↗
06

HOW TO USE THE COURSE

One learning flow instead of one screen per slide.

Perfect Render course is a digital training book in the field of 3D graphics for the presentation of interior design, pieces of furniture and art visualization

To start learning, please watch the video on the left.

KF.SCHOOL

UA | ENG | PL | FR | PR

WATCH VIDEO LECTURE ↗
Digital training book for interior, furniture and art visualization
COURSE VISUAL

Digital training book for interior, furniture and art visualization

↗
07

FAQ

Frequently asked questions

01HOW TO GET A DIPLOMA?+

In order to receive a diploma, you need to successfully complete a thesis: a bedroom or a living room of your choice. After you have completed the thesis, you must send the result to kf.schoool@gmail.com

02RECOMMENDED SCHEDULE OF LECTURES+

We recommend attending lectures at least twice a week and immediately reinforcing knowledge with practical tasks.

03HOW LONG WILL ACCESS TO THE COURSE LAST?+

Access to our courses is unlimited in time; we do not set deadlines for studying the course.

04WILL I GET FEEDBACK?+

Yes, you can get answers to any of your questions at any time in the course chat, school chat, or by mail.

INTRODUCTION

3D graphics as a modern visual language.

Introduction visual

Manual graphics, 2d graphics no longer satisfy human visual needs. They were replaced by 3D graphics and every day its influence is growing, changing from a static picture to an animation.

3dsMAX in conjunction with the Corona My name is Olga Kukushkina, I am an renderer allows you to achieve the architect, designer, CS artist and co- most realistic results in an acceptable founder of KF.INTERIOR and KF.SCHOOL. amount of time, while spending the For the past ten years, I have been optimal amount of effort. The quality of engaged in creating interior design and the result will depend on several object visualization. factors, which we will talk about a little later. Since 2019, my husband and I have been training designers and 3d visualizers. At the moment, we have successfully trained more than 400 students who have increased their level or learned the work of a designer, visualizer from scratch. Many students who successfully completed the course were able to find new clients or their first clients immediately after graduation.

KF.SCHOOL UA | ENG | PL | FR | PR

Undoubtedly, it is worth The PROF TUTOR course book from KF understanding that the work of a 3d SCHOOL was created with the aim of visualizer, CG artist, whether it is simplifying the understanding of the subject, exterior, interior visualization, work of the program and as a way to is a very complex profession that achieve a more professional and requires knowledge and erudition in a realistic result in the program, as well as large number of fields. in order to bring freelancers to a more professional level and provide insight It is necessary to be able to correctly for the effective development of and quickly read construction and yourself and your team in the field 3d architectural drawings, understand the and design. properties of materials and clearly imagine the technical features of construction units and the joining of materials. In addition, a freelancer must be both a specialist, a manager of communication with clients, and a development manager, which in itself is quite difficult and requires a considerable amount of concentration and discipline.

KF.SCHOOL UA | ENG | PL | FR | PR

Author / course context
INTRODUCTION

Author / course context

↗
Professional visualization / course context
INTRODUCTION

Professional visualization / course context

↗

CHAPTER 01

Profession of visualizer.
Rights and obligations.

Chapter 1 visual
09

PROFESSION

What distinguishes a competent 3D visualizer?

●

●

read drawings understand technical RIGHTS AND OBLIGATIONS nuances

●

feel the materials

CG ARTIST

KF.SCHOOL UA | ENG | PL | FR | PR

In our humble opinion, it is important I think it may be news to many that not just to have cooperation and clients, customers also need to be chosen. You but for them to be pleasant and give can't build a relationship with everyone energy, and not drain it to the last drop. who knocks on your "door". It's important to read between the lines During 10 years in our practice, there and think deeper, paying attention to were quite a lot of different situations details and "alarm bells" that violate that were able to show us the personal boundaries or go beyond profession of an interior designer and business communication. For example, visualizer from different angles, and the several indicators that allow us to main conclusion or even a golden rule terminate cooperation in a timely for us took shape in one simple idea - manner or even not to start the project any interaction should be based on at all: energy exchange and feeding each other, which means you should do and ● addressing the artist with do what you like and enjoy with exclamation marks and someone who can provide this CapsLock nourishing exchange. ● the need to communicate with the client on weekends

●

incorrect subjective

assessment of the specialist's work using such words as "nightmare, terrible, ugly".

KF.SCHOOL UA | ENG | PL | FR | PR

And now let's move on to the moment when you have already found your client and are planning fruitful cooperation.

Tasks can be completely different from subject visualization to exterior visualization. Therefore, the terms of reference for all tasks will differ, but the main idea will remain.

Any technical task contains:

—

- drawings (planning with placement of furniture, plan of ceilings, lighting,

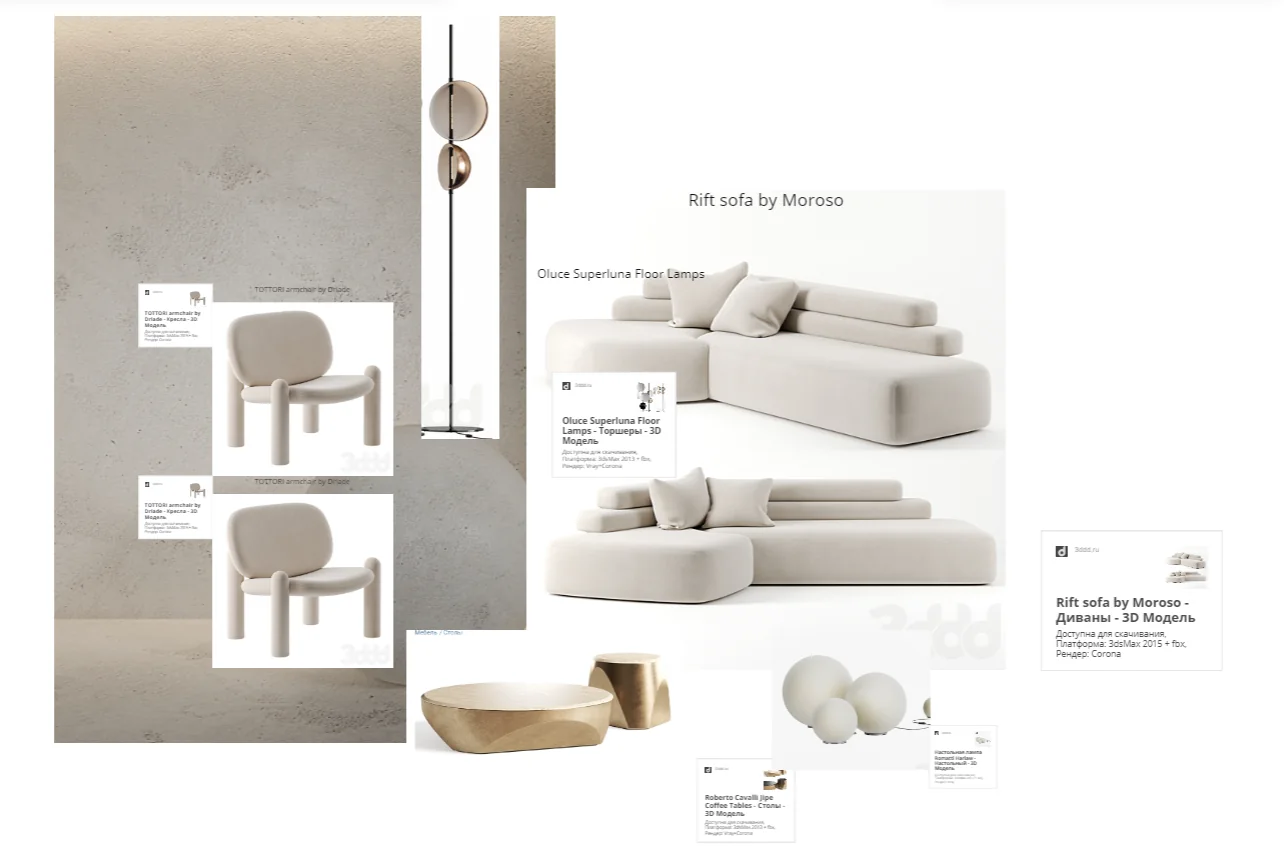
floors)

—

- tables with links to necessary elements - units of furniture, lighting, decor.

These can be links to real elements on store sites or links to models in the 3d model database.

—

- List of materials for processing the necessary elements with the names of

these materials

—

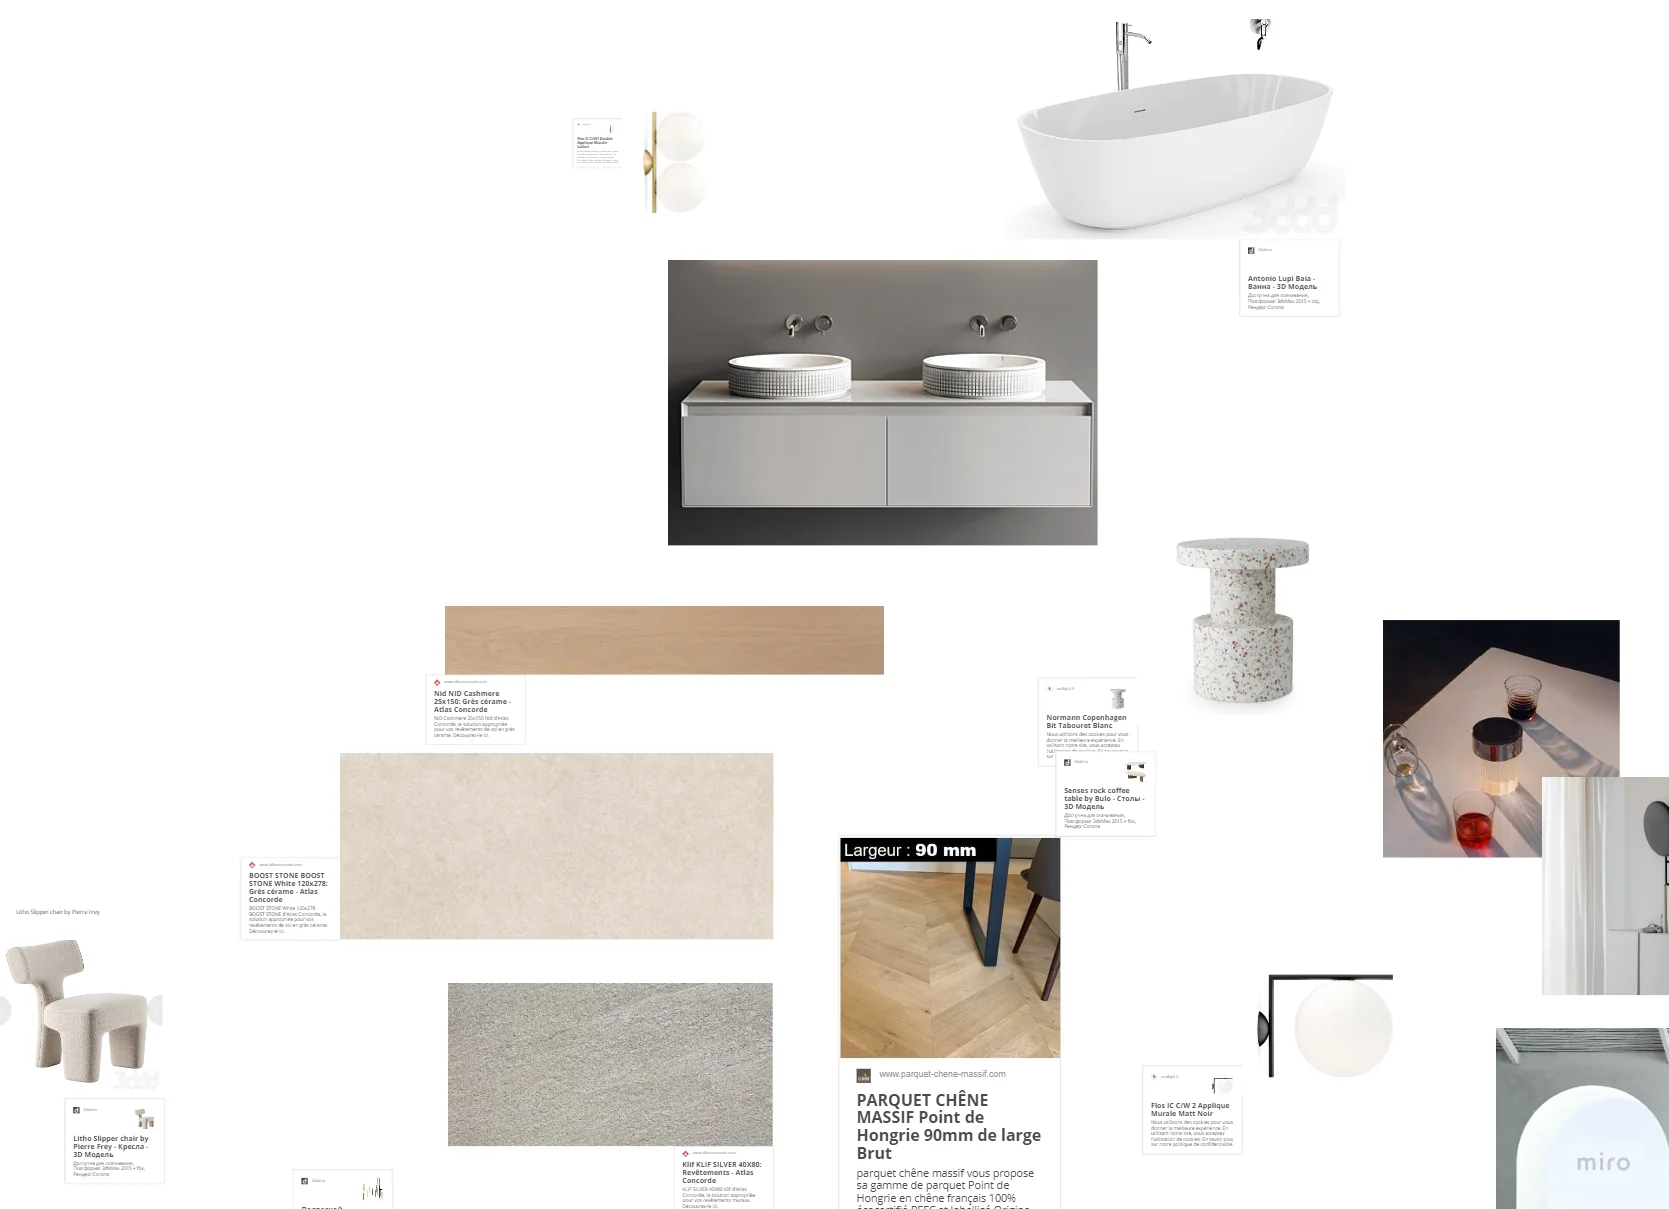
- collages for understanding the overall picture and mood of the interior or

exterior.

What distinguishes a competent 3d visualizer ? A real specialist has:

●

be able to read architectural and design drawings

●

understand the materials and features of their installation

●

know construction and furniture units

●

understand composition and color science in order to be able to

competently work out the project.

Everything we just listed will take quite some time to study in detail, but for now we have great compact lectures to create a good solid foundation for your profession, which will allow you to feel more confident and bold in the field of 3d visualization.

Робота студента

10

READING DRAWINGS

Technical information deserves more space than normal text.

Diagrams are shown at large scale, captions explain what the student should look at, and every image opens in zoom.

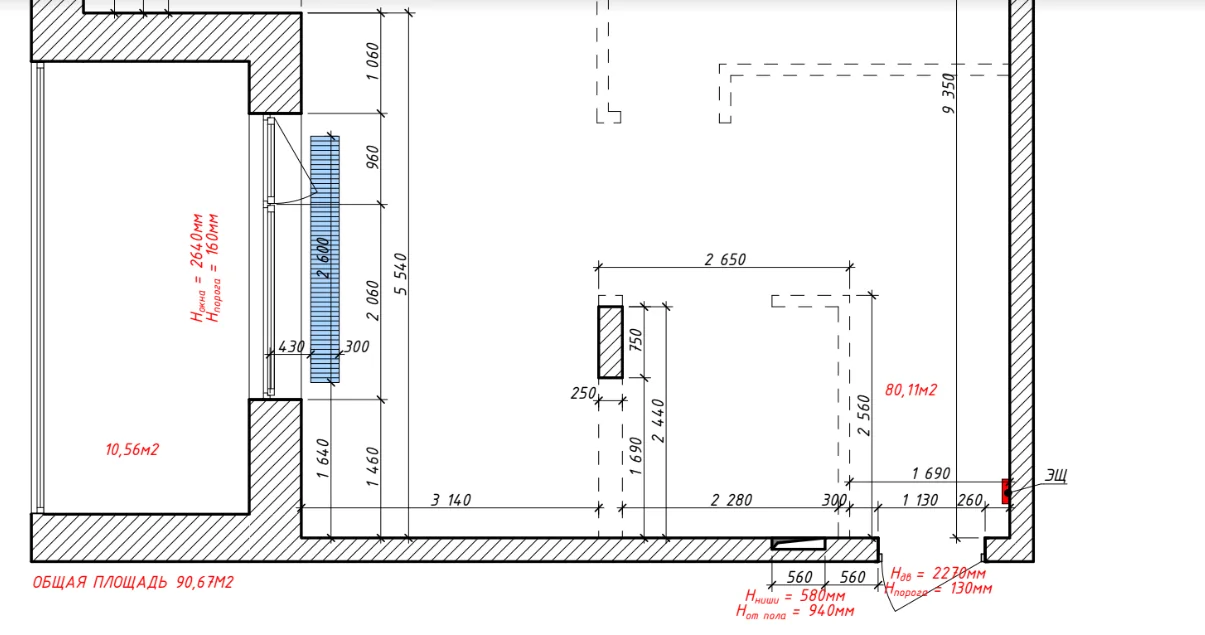
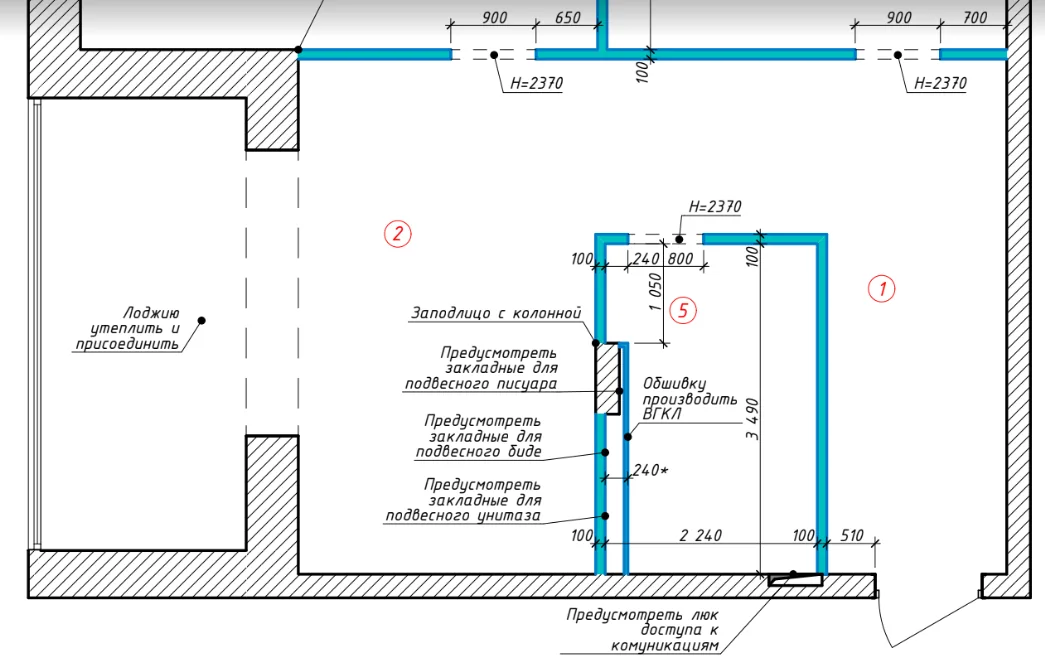
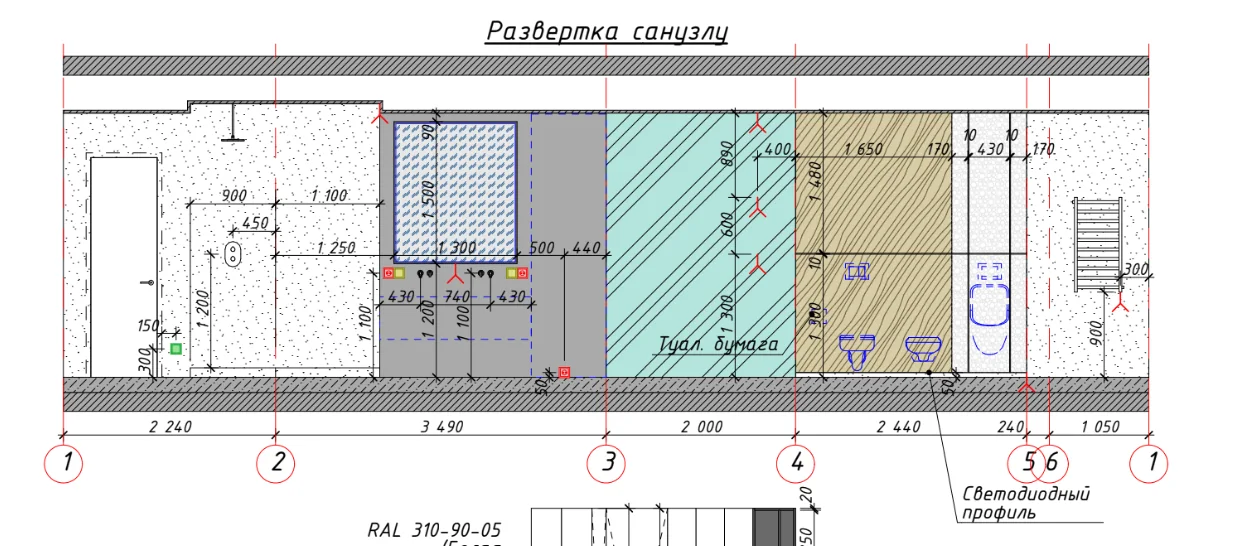
READING DRAWINGS Each album of drawings from the designer looks like a certain number of drawings that reflect all the technical features of the project.

The composition of the project:

—

- installation plan, dismantling plan, heating plan, air

conditioning plan, underfloor heating plan, plumbing plan, flooring plan, plinth plan, eaves plan, ceiling plan, lighting plan, outlet plan, sweeps (display of the walls of the room horizontally, with furniture placement , lighting and decoration of walls with squares), an explanatory note or a table showing the amount of materials, equipment, lighting, doors, plinth, etc. with names and links to where to buy it all, you will most likely be given a design collage.

Convection grills built into the floor

designation of slot heights area rooms

NOTE

The materials and dimensions for their placement are indicated on the sweeps.

CHAPTER 01

Example of a collage

Example of a collage
11

CHAPTER 1

Example of a collage

Example Of A Collage

12

CHAPTER 1

Finishes and materials in drawings

Wall panels

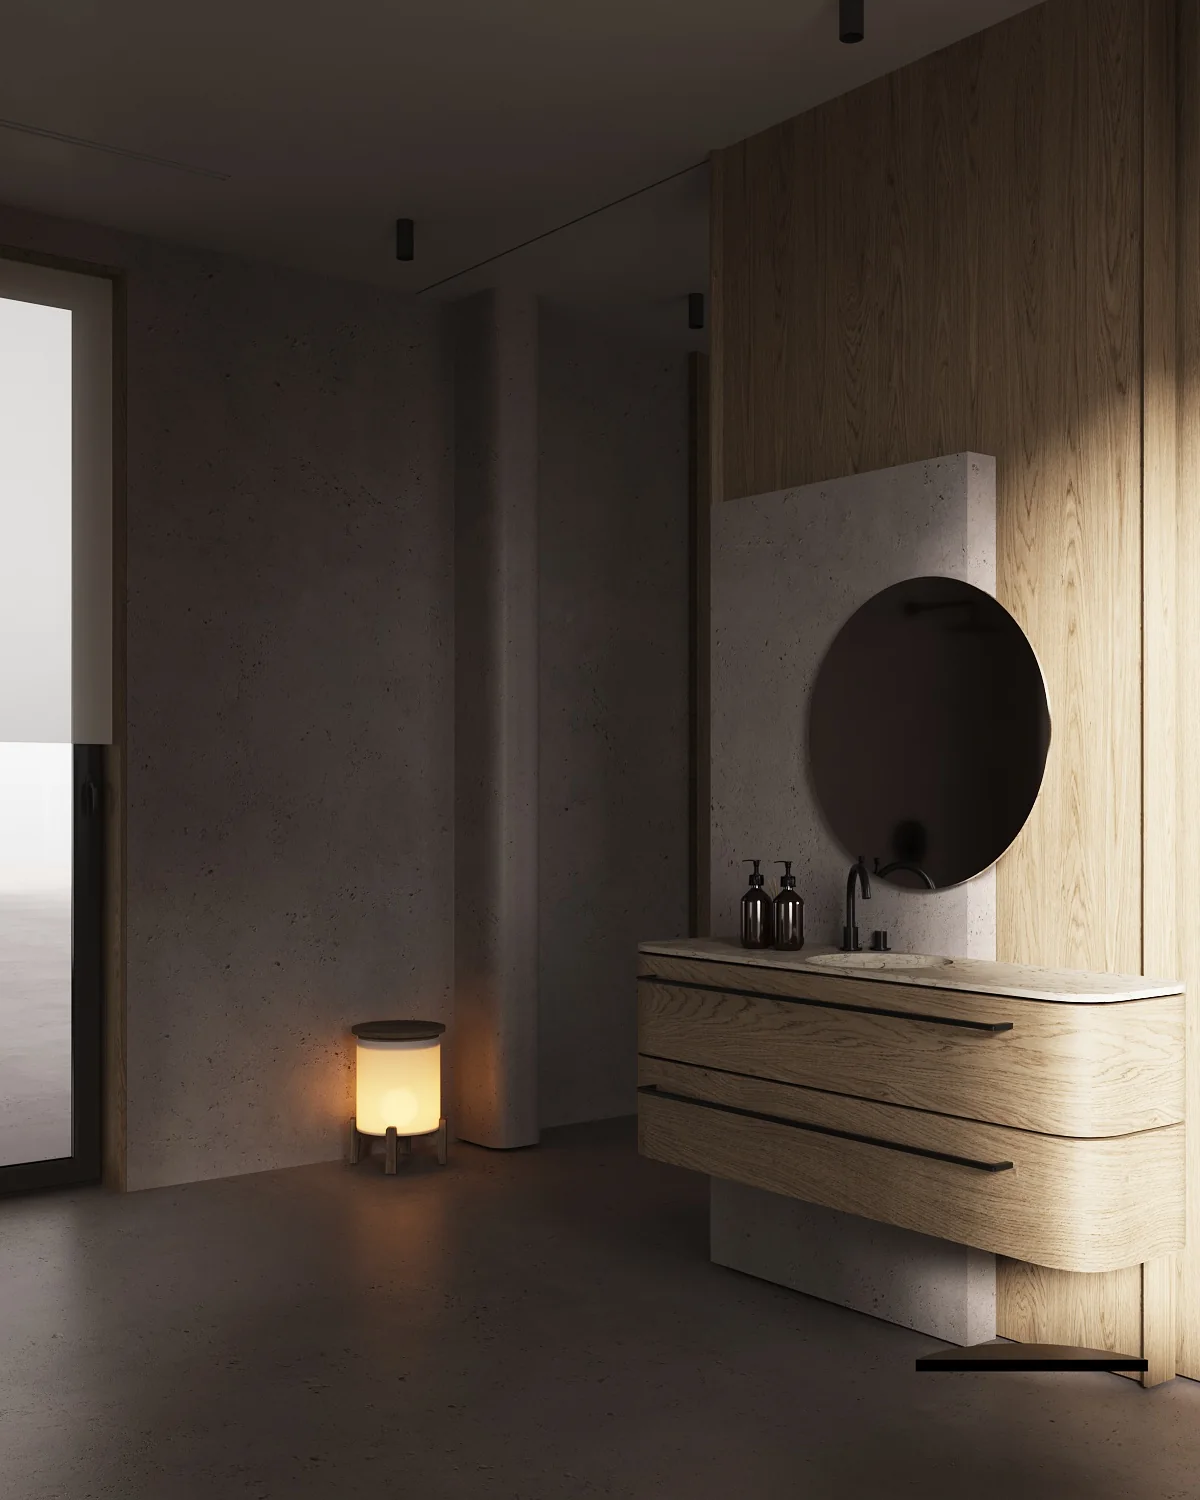
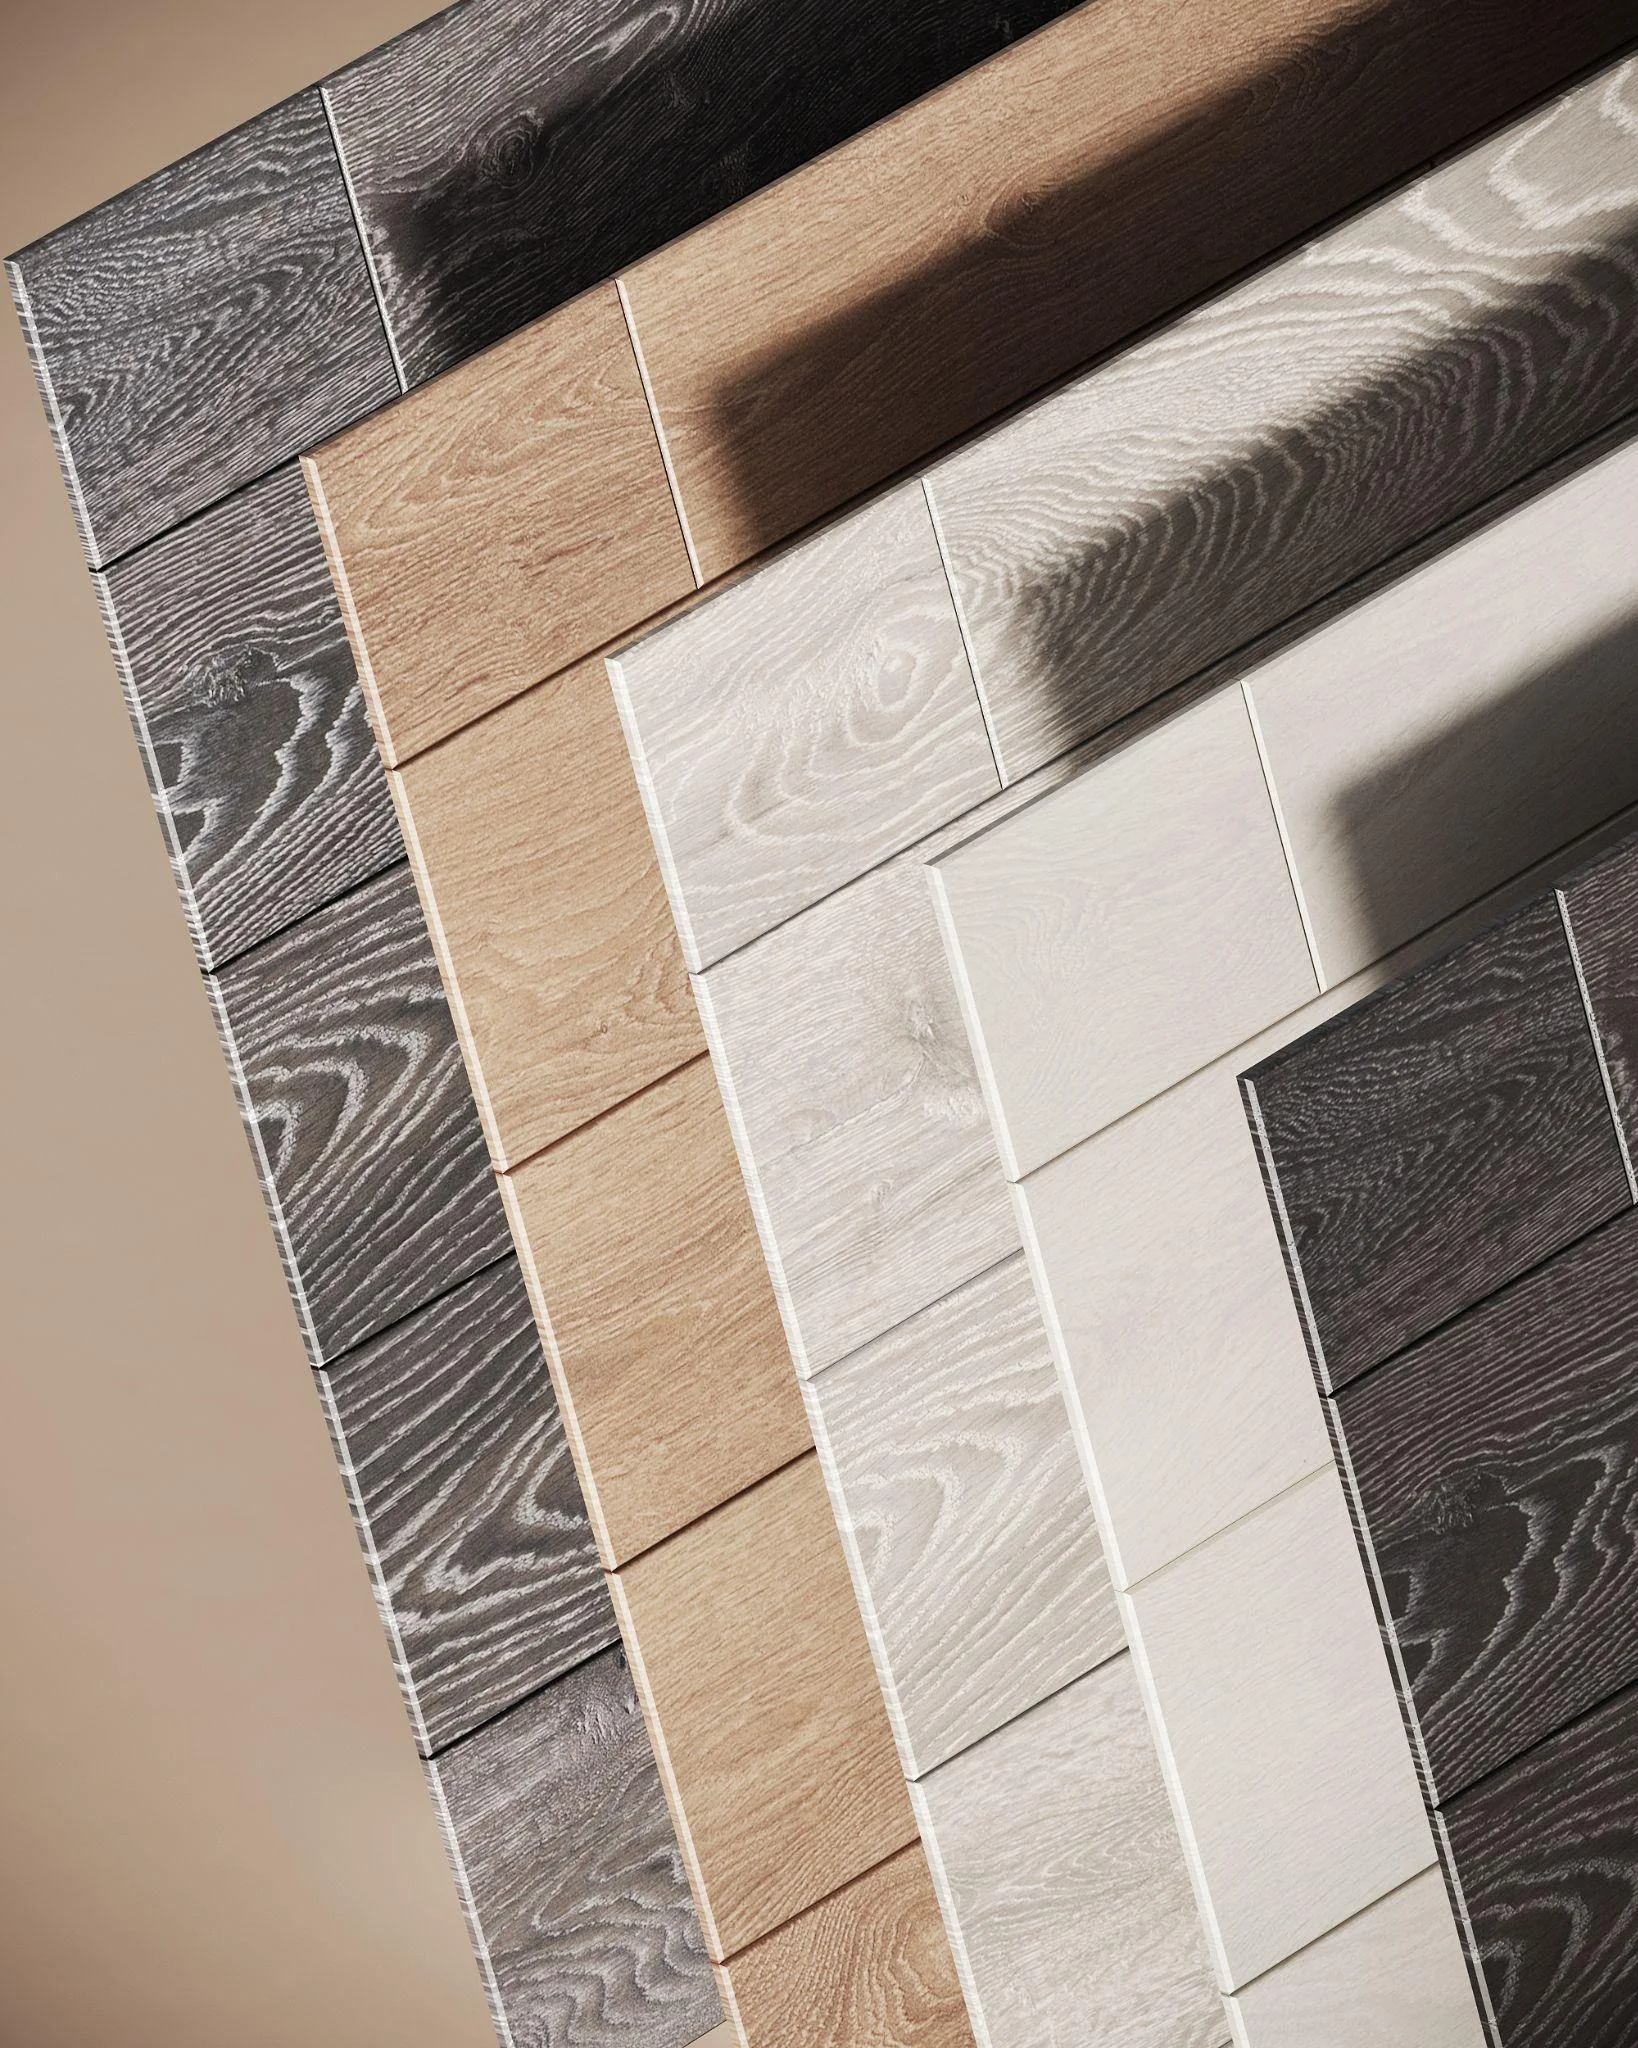
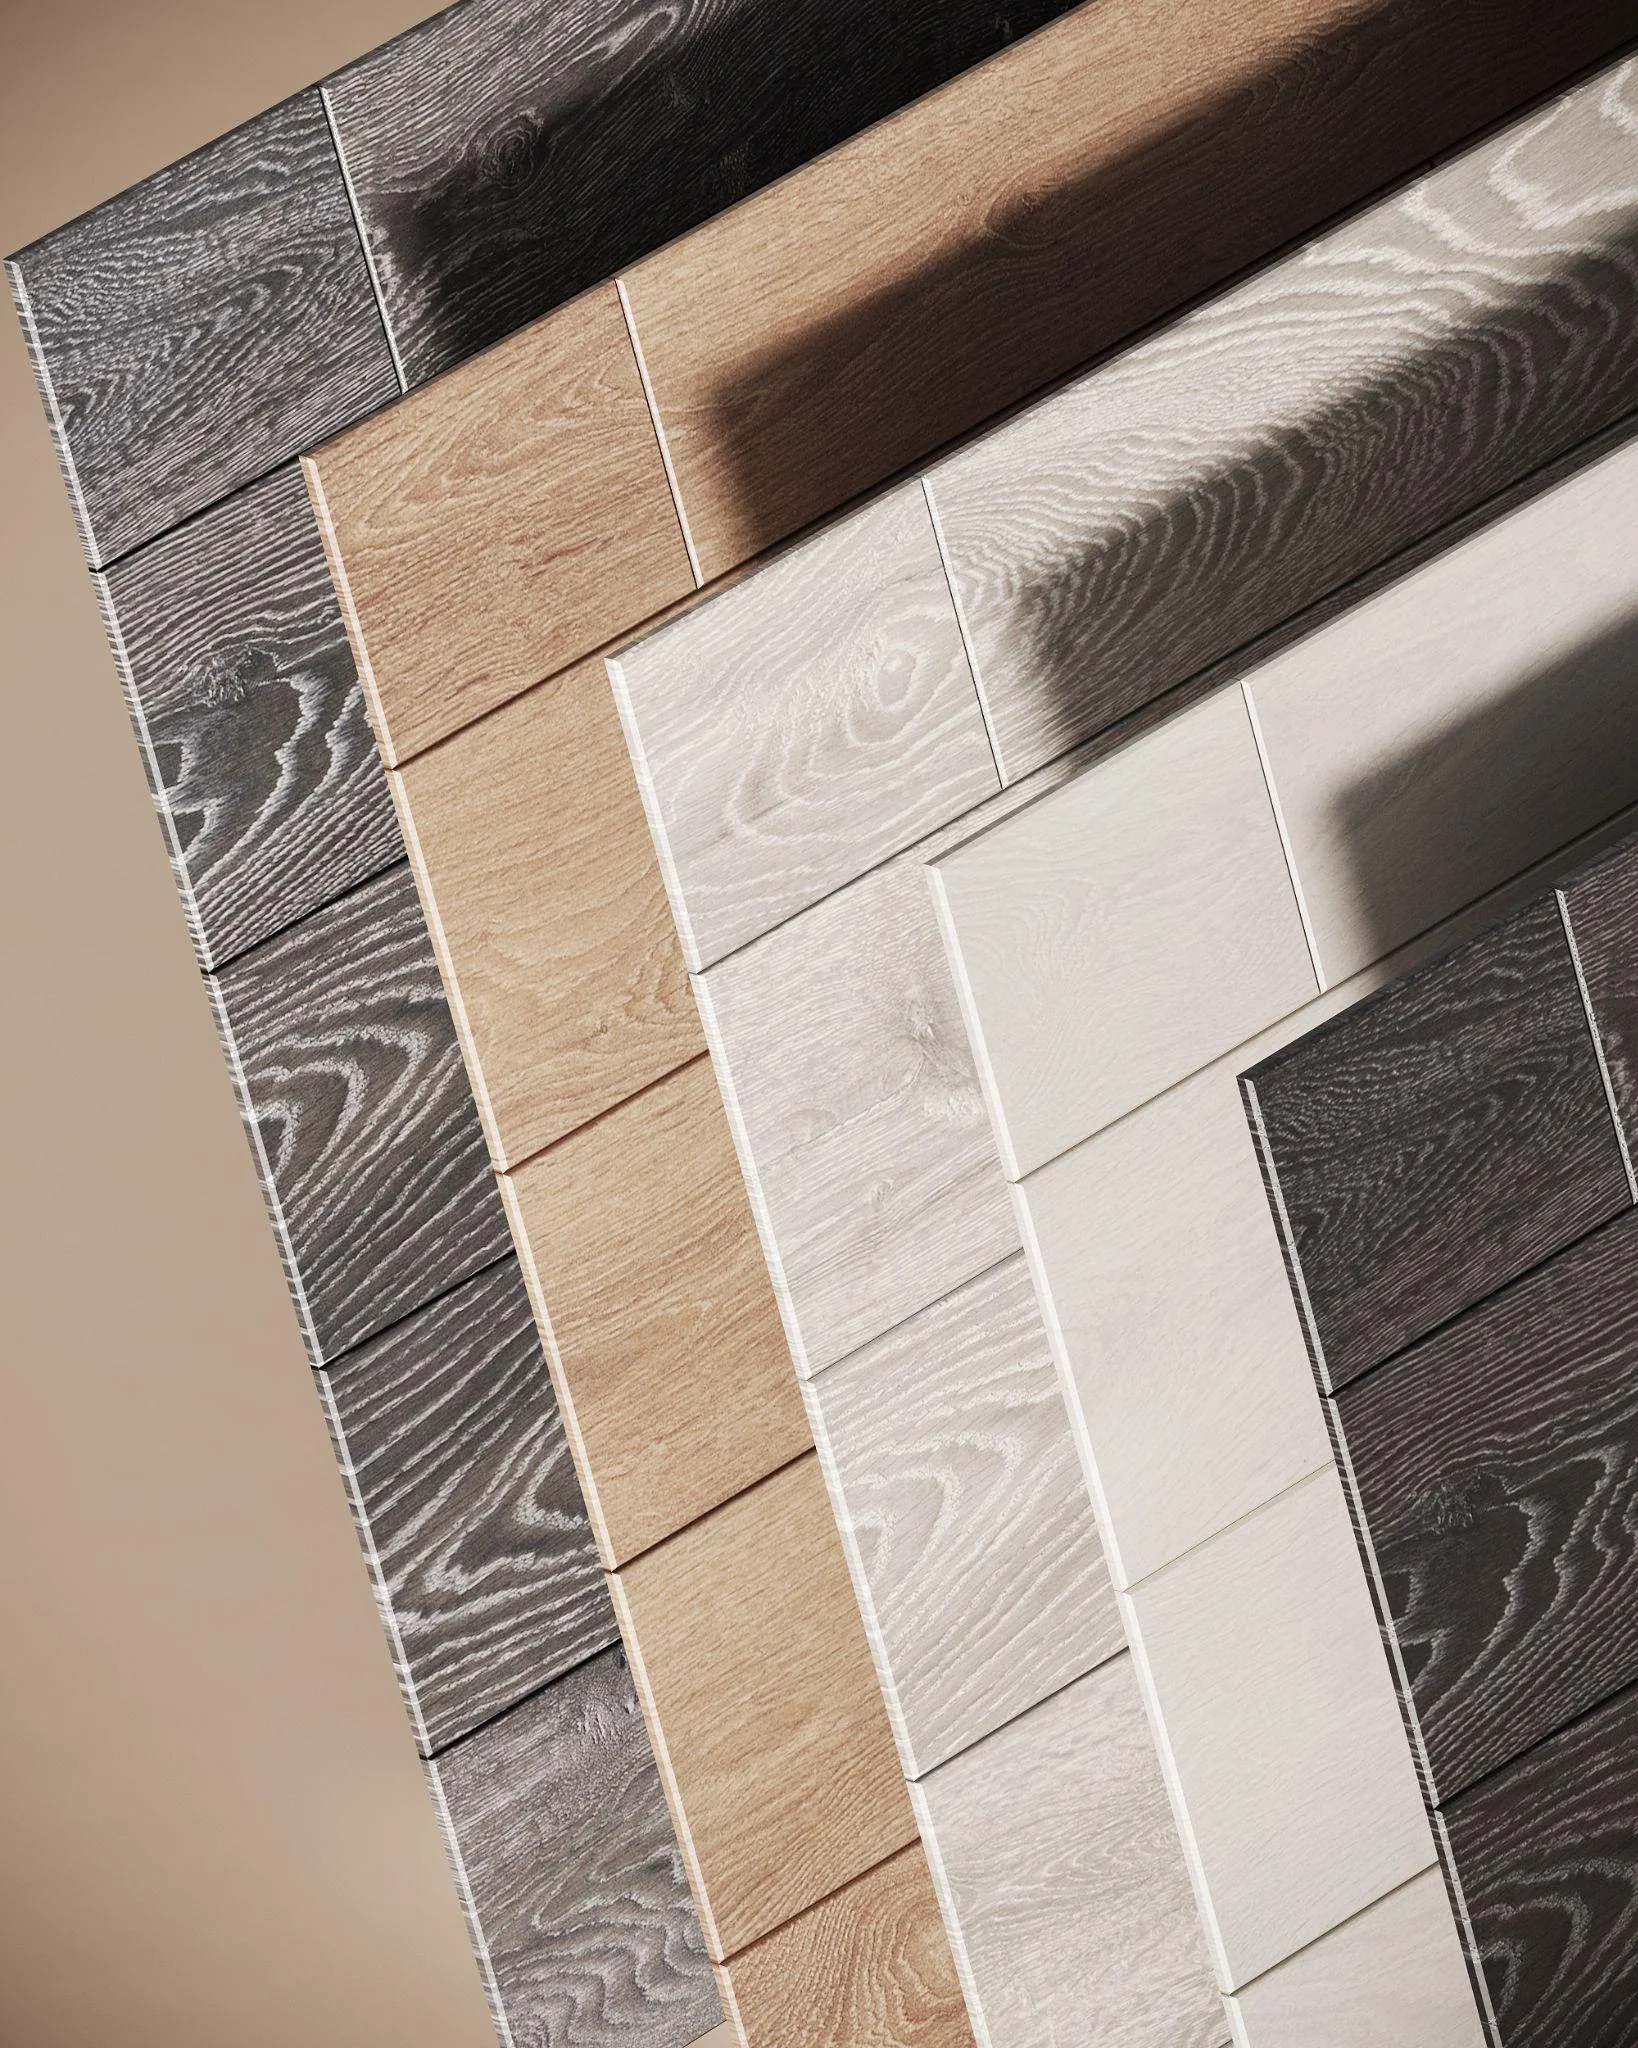
The most common option for finishing walls with wood is natural wooden panels, as well as a cheaper option - laminated MDF panels or MDF/LDSP laminated panels with a tree pattern or tinted.

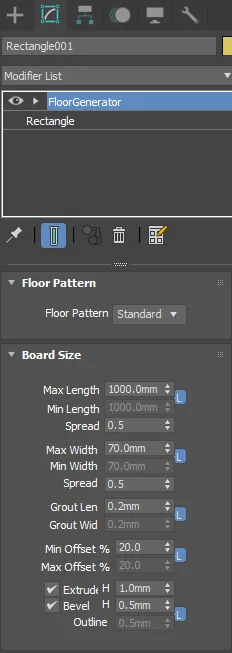
MDF panels are 40 mm thick and can be mounted on the wall with mounting glue. By changing the size of the panels, you can create a stylish drawing of the composition. Such panels can be created in 3dsMAX using the FloorGenerator modifier or using Box+Chamfer+Smooth and resized in

Editable Poly mode (more details on creating materials with geometry below).

It is also actually possible to imitate wall panels by installing a U-shaped or T- shaped profile in the plaster of the wall. The profile can be painted.

Wall panels can be presented in the form of ceramic panels or large-format ceramic granite. Dimensions vary up to 3500 mm on the larger side. Such a covering is also created using the FloorGenerator script.

Kf.School Ua | Eng | Pl | Fr | Pr

3. Ceramic granite and ceramic tiles

All wall coverings such as porcelain stoneware and ceramic tiles are physically created in 3dsMAX using the FloorGen script, adjusting joint width, tile size and smoothness of faces. To create a material that will correspond to each element of the coating, you need to use Multitexture.

All shaped elements are created by modeling an element and copying it.

4. Paint

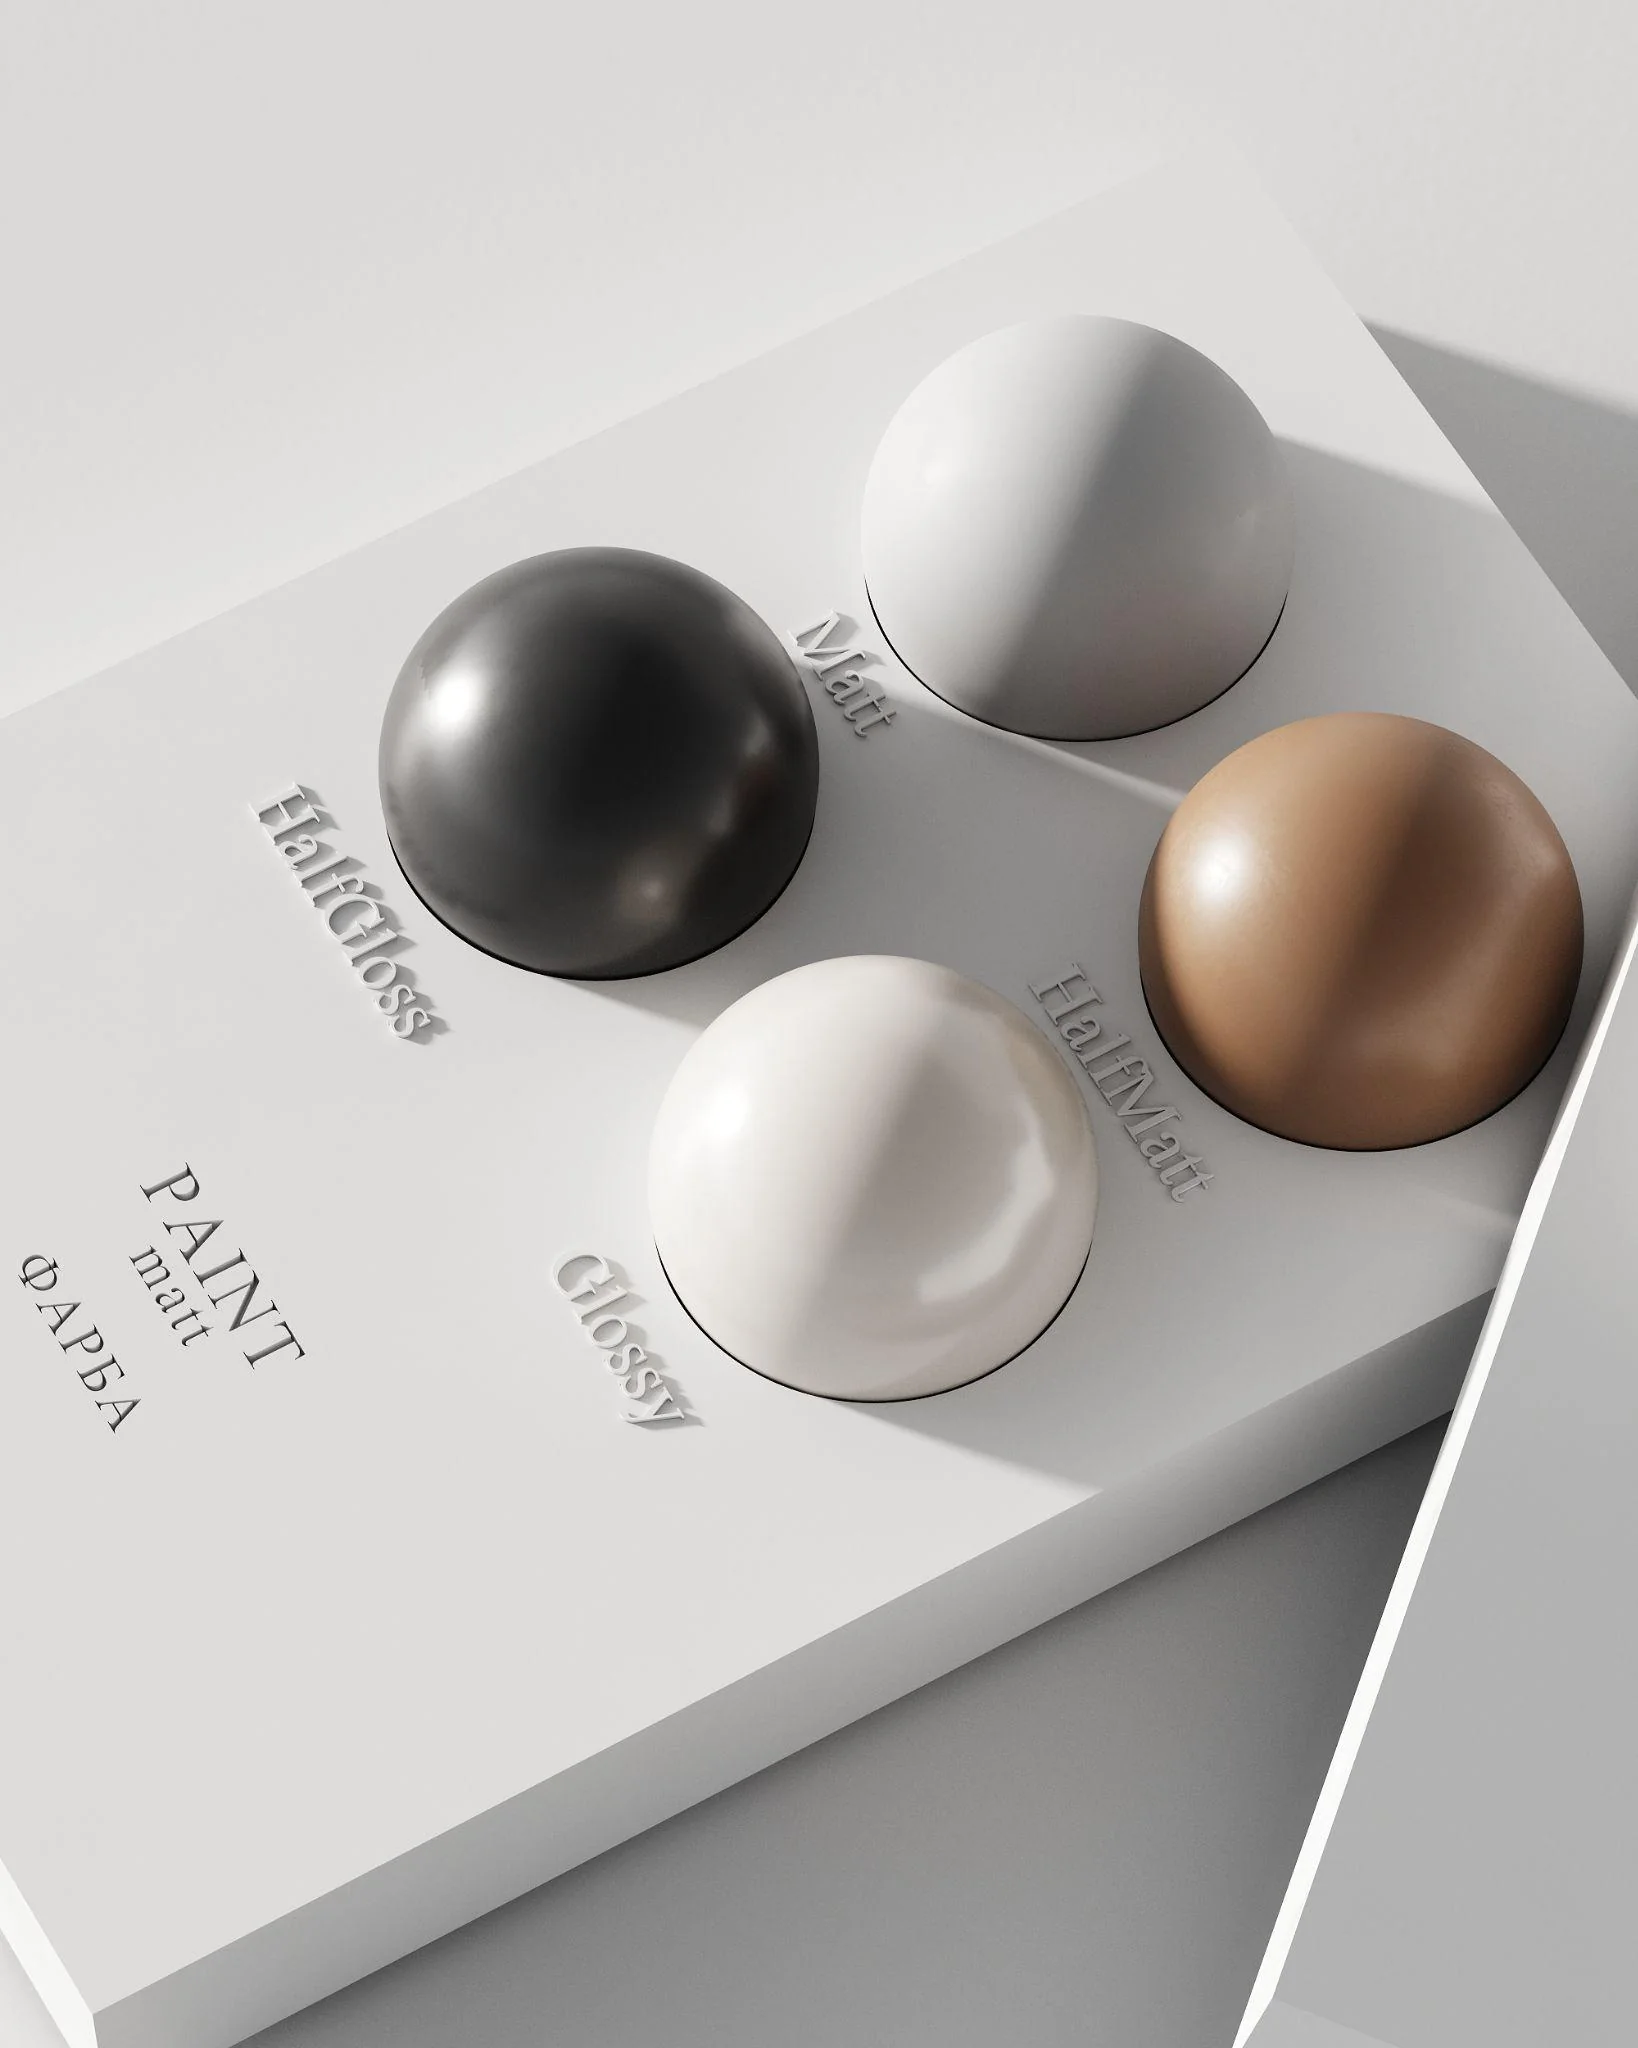
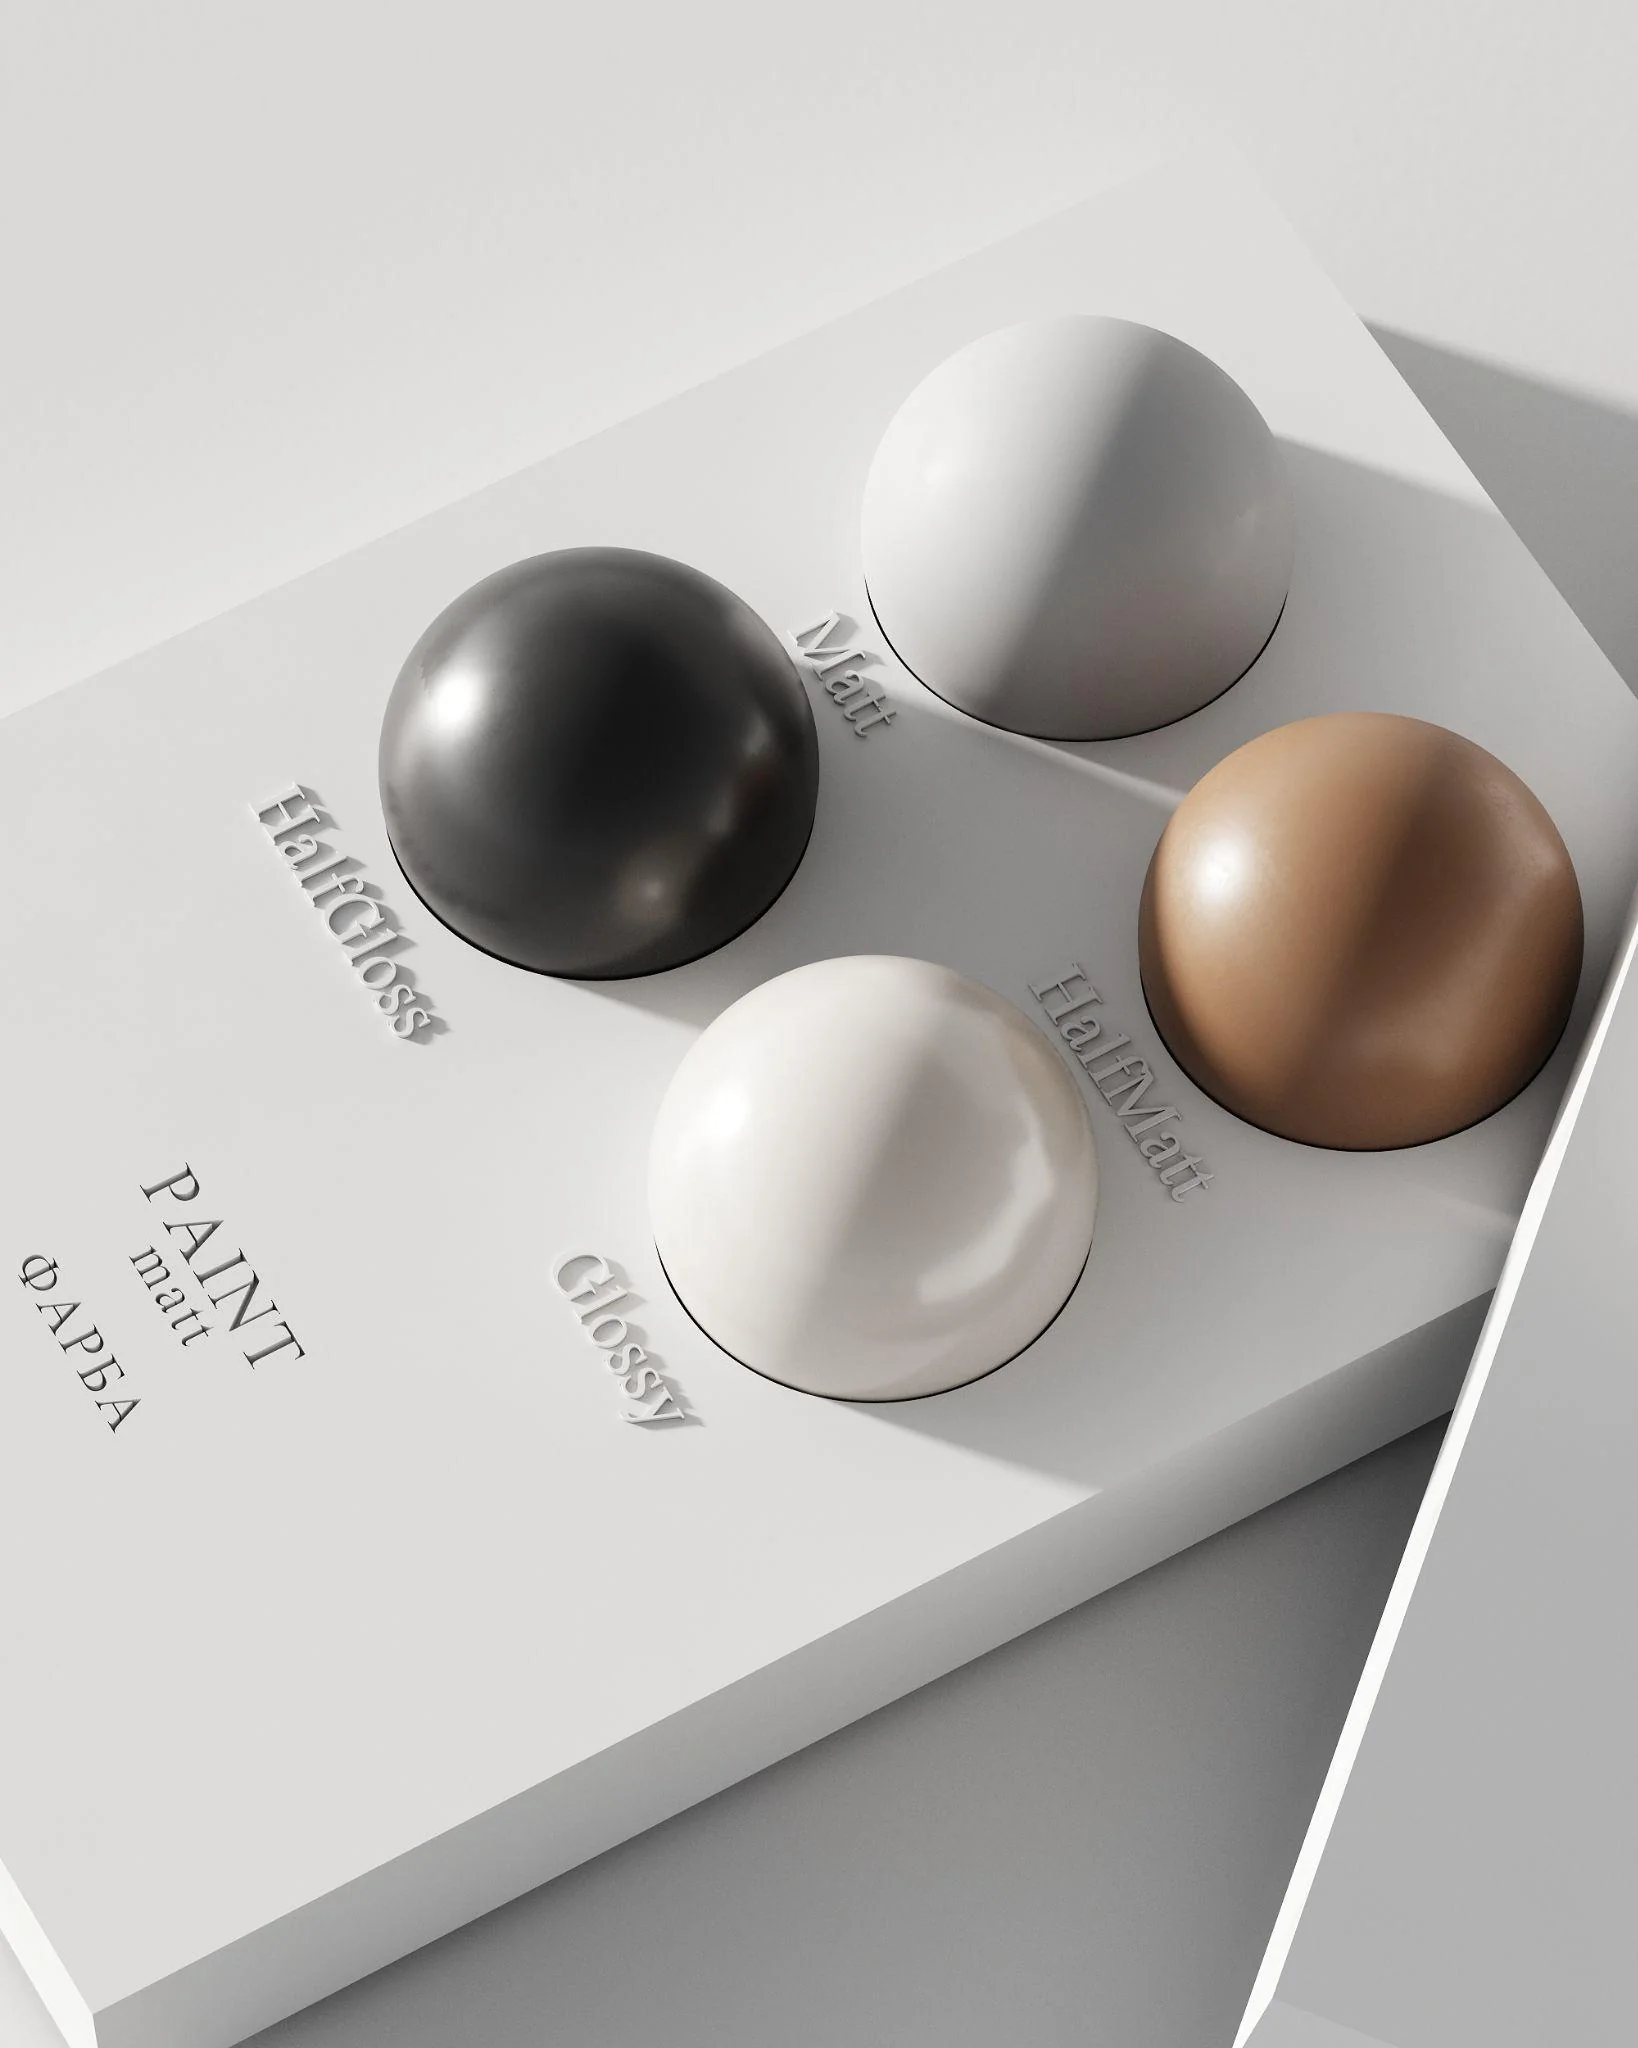
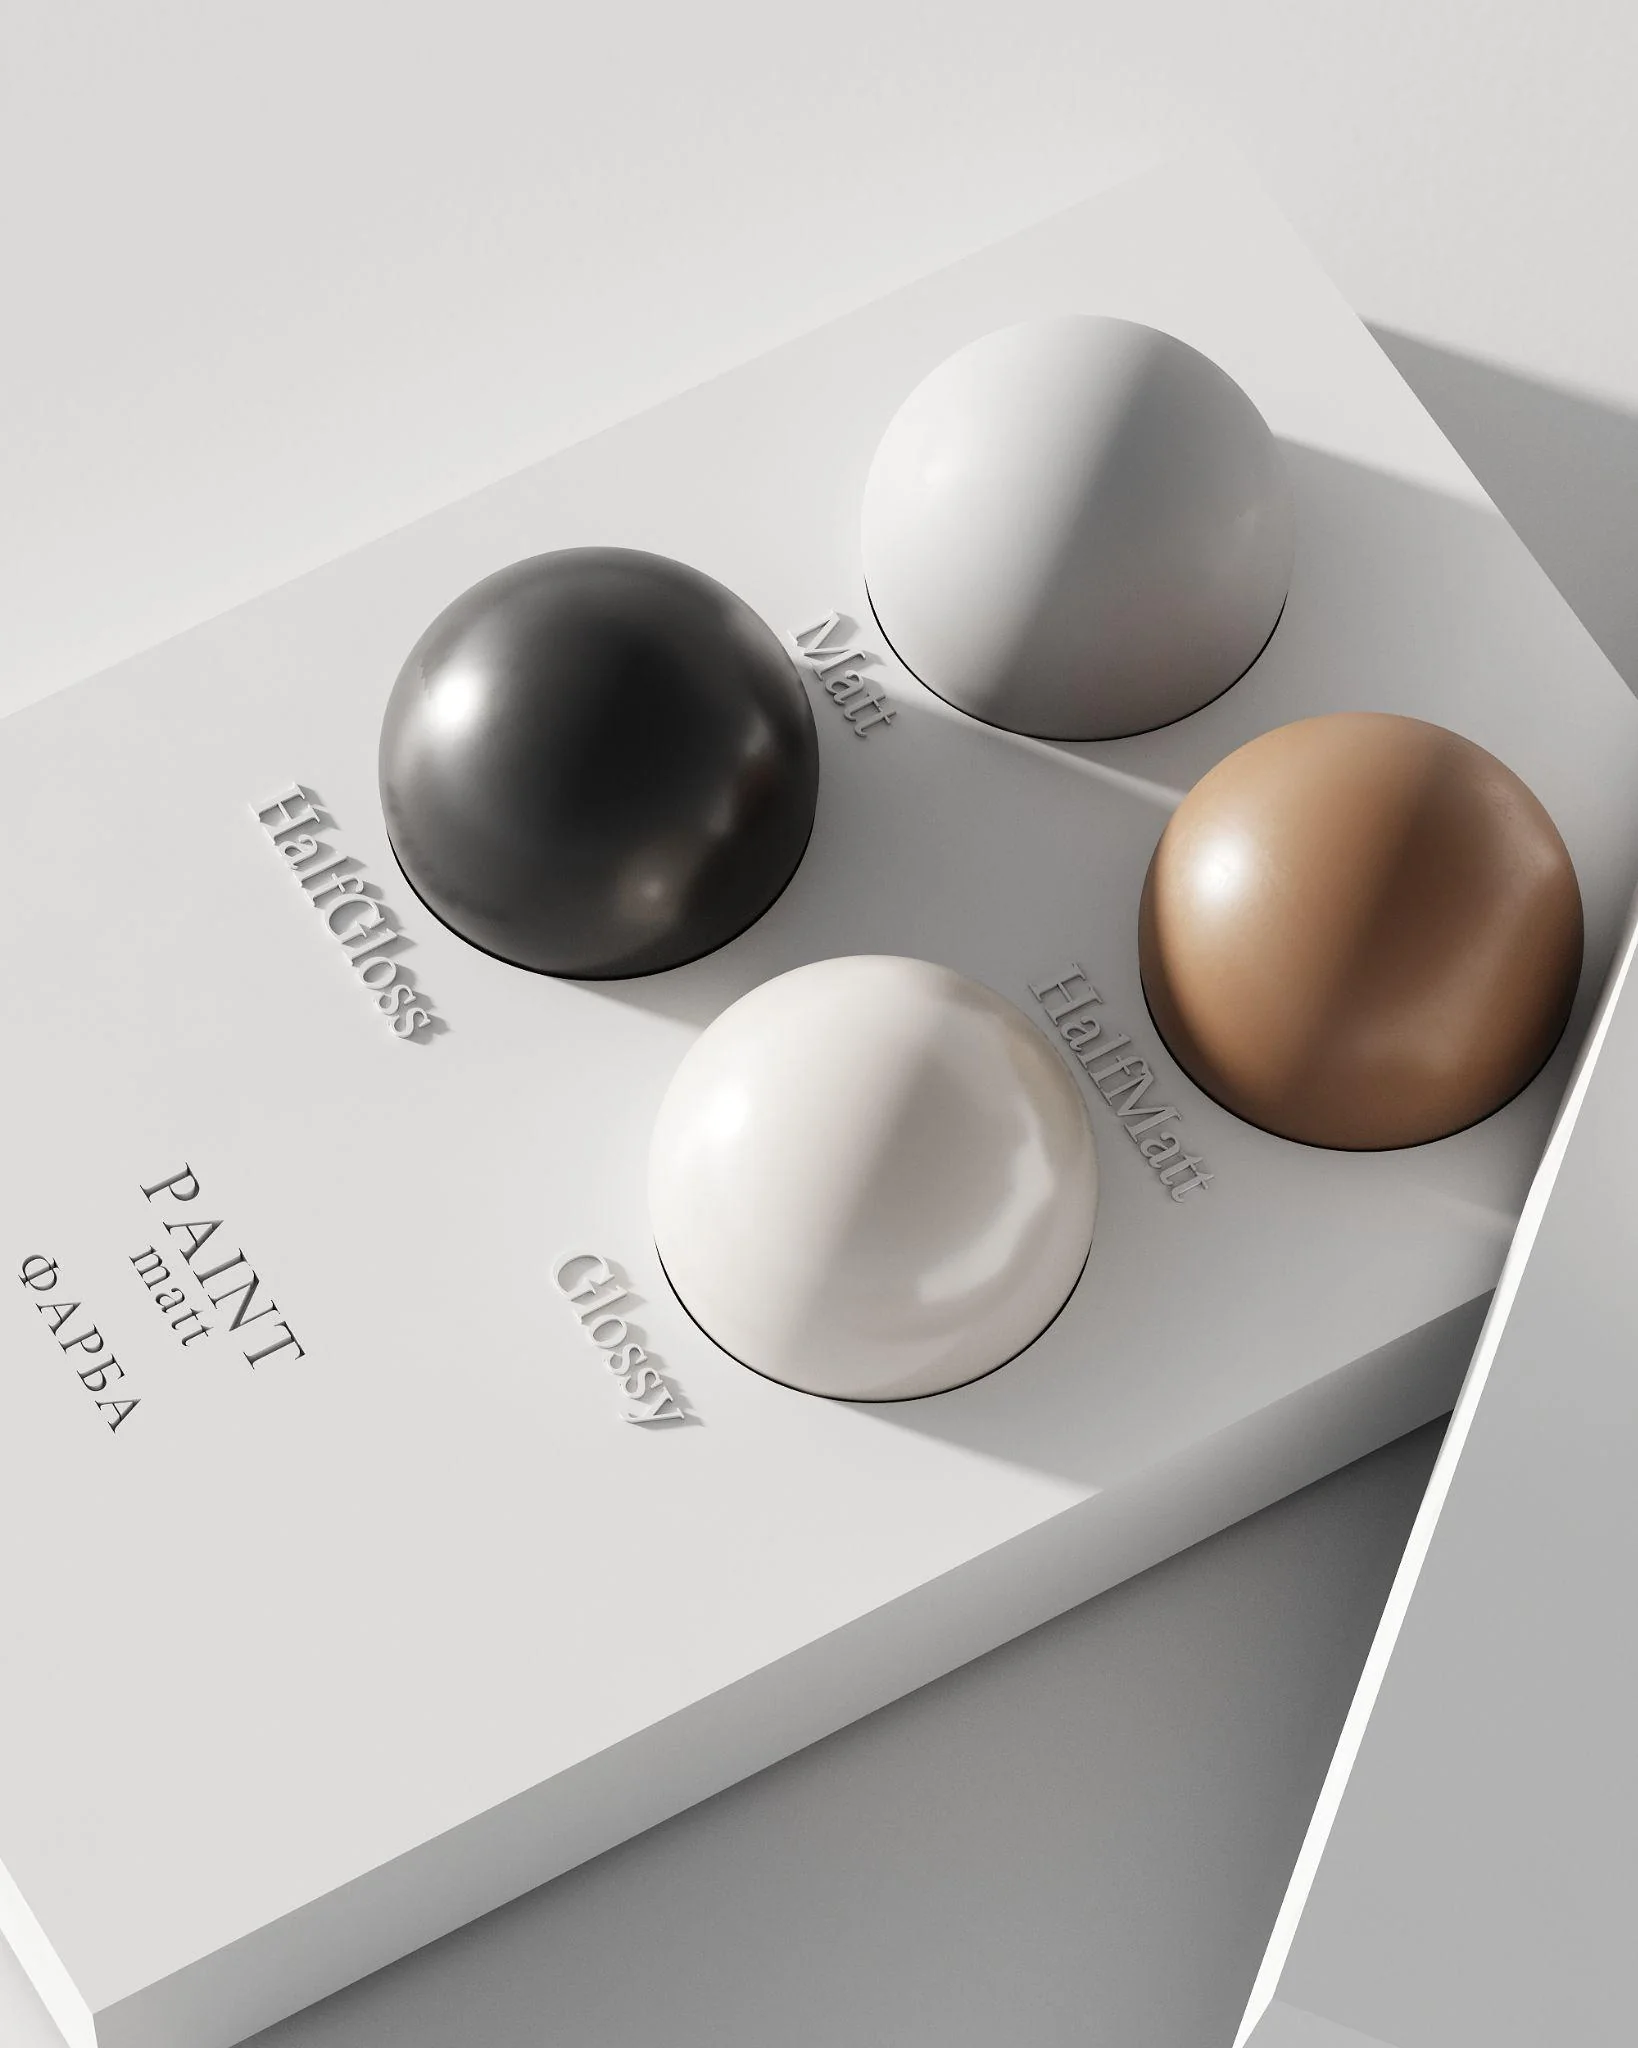
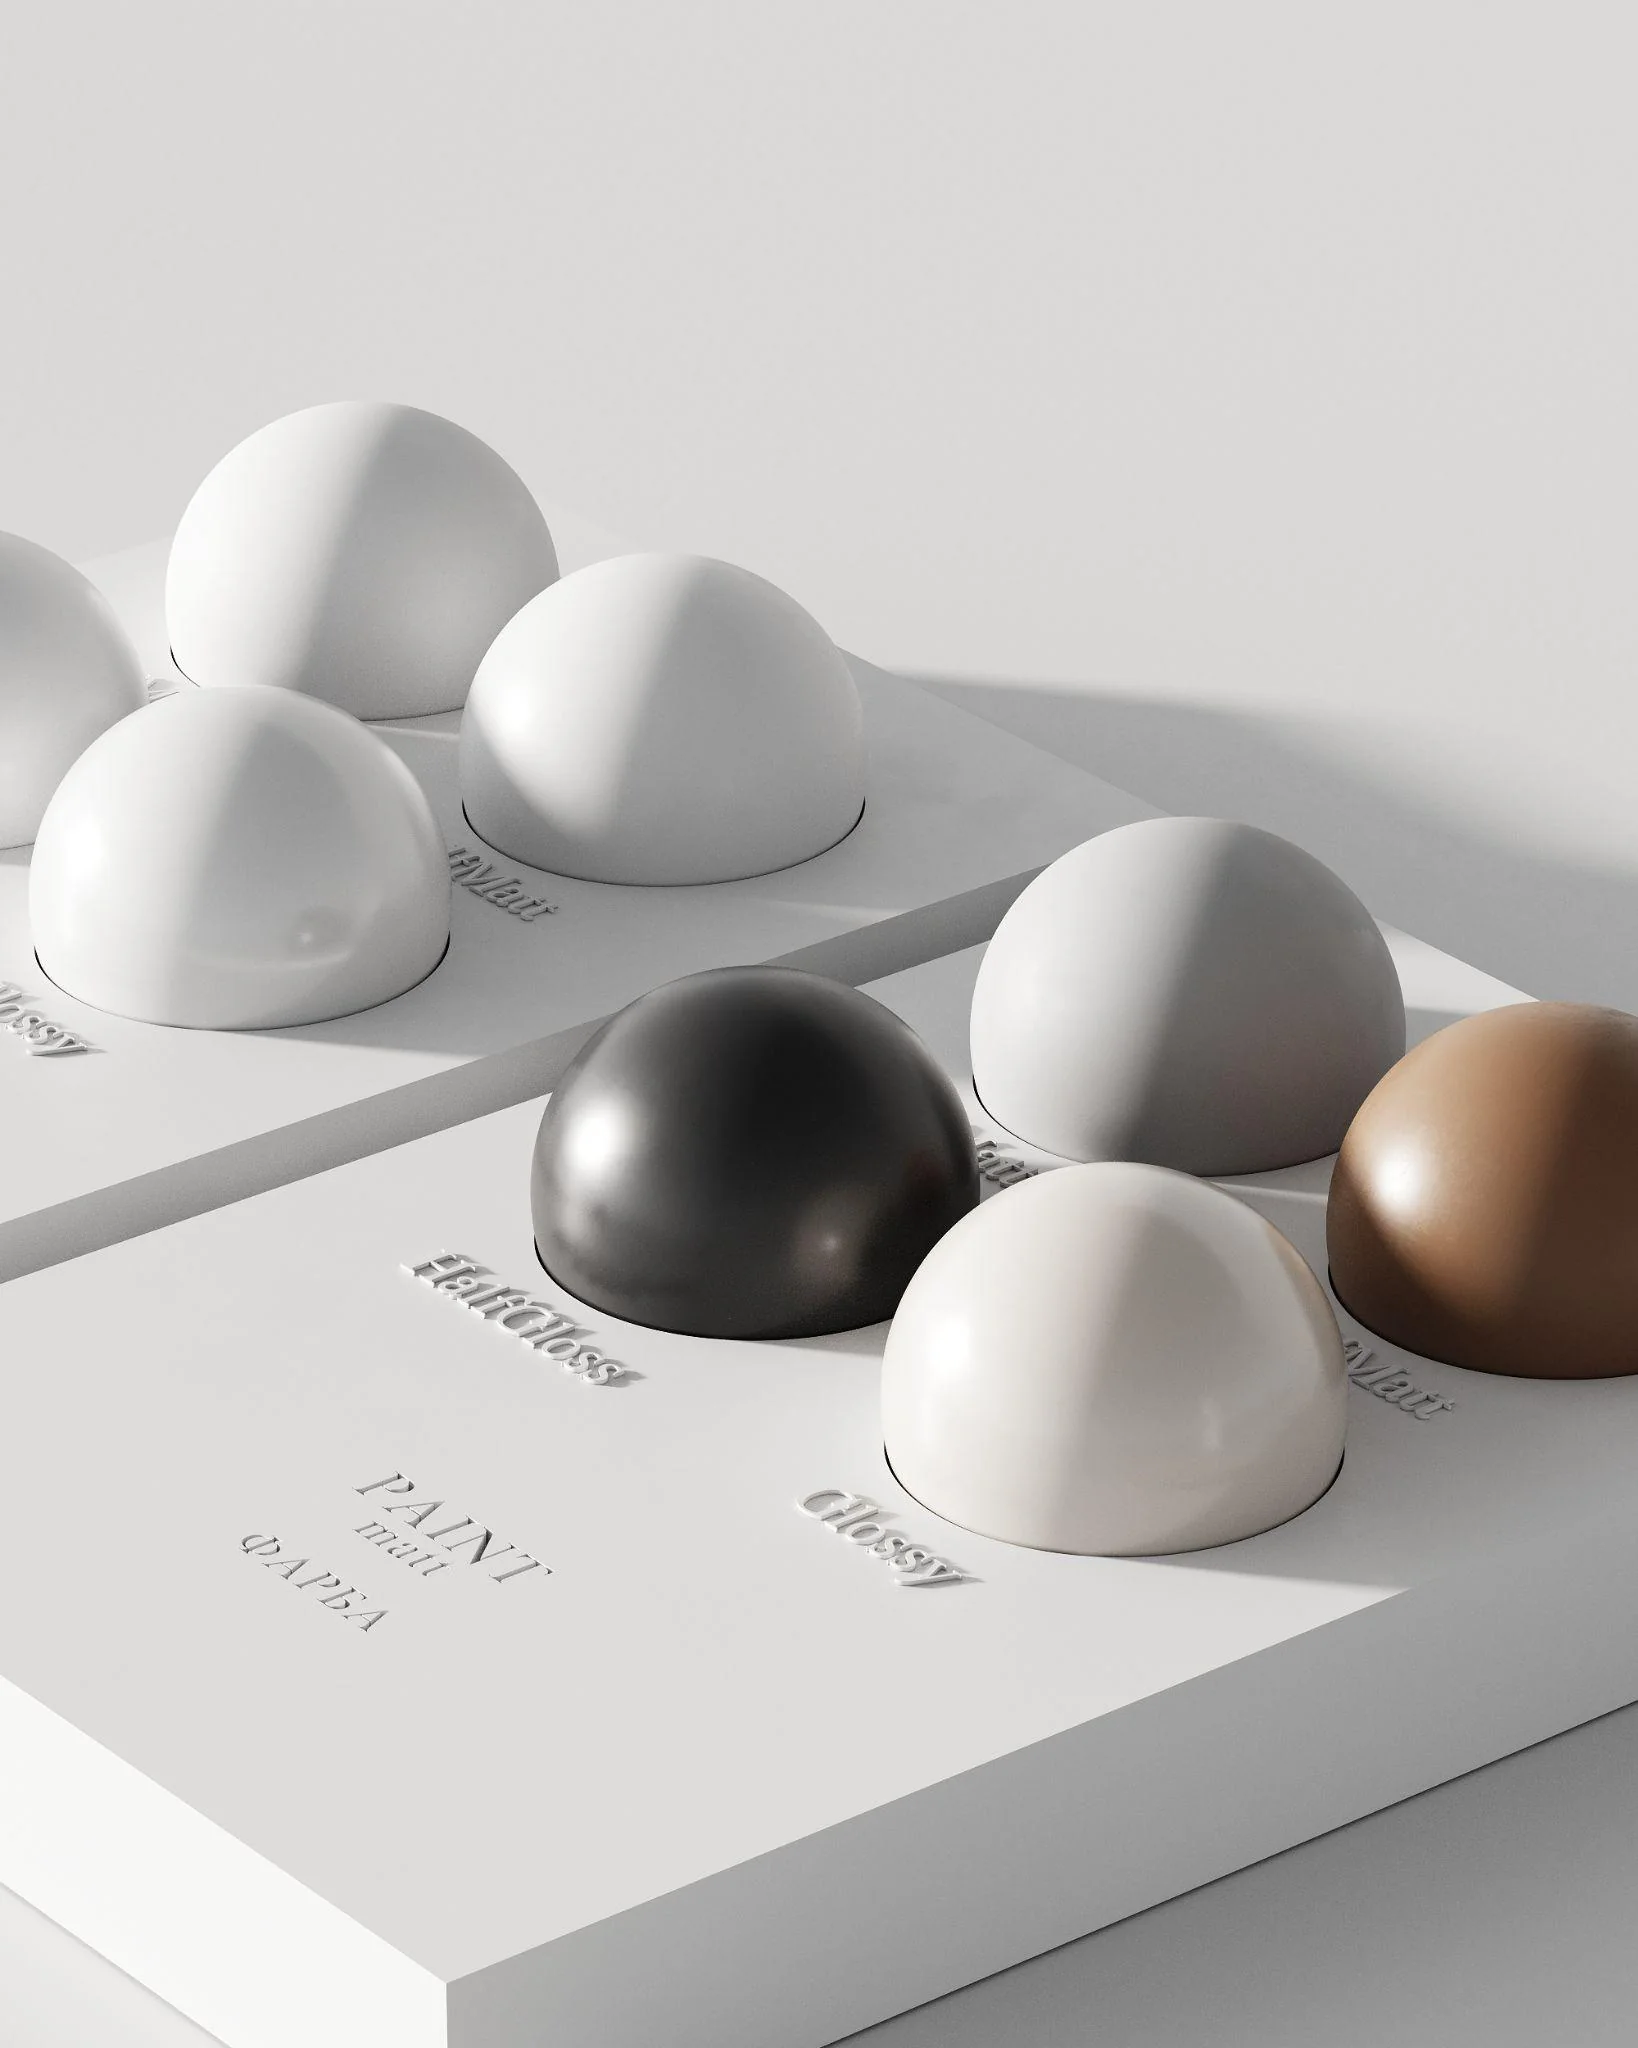
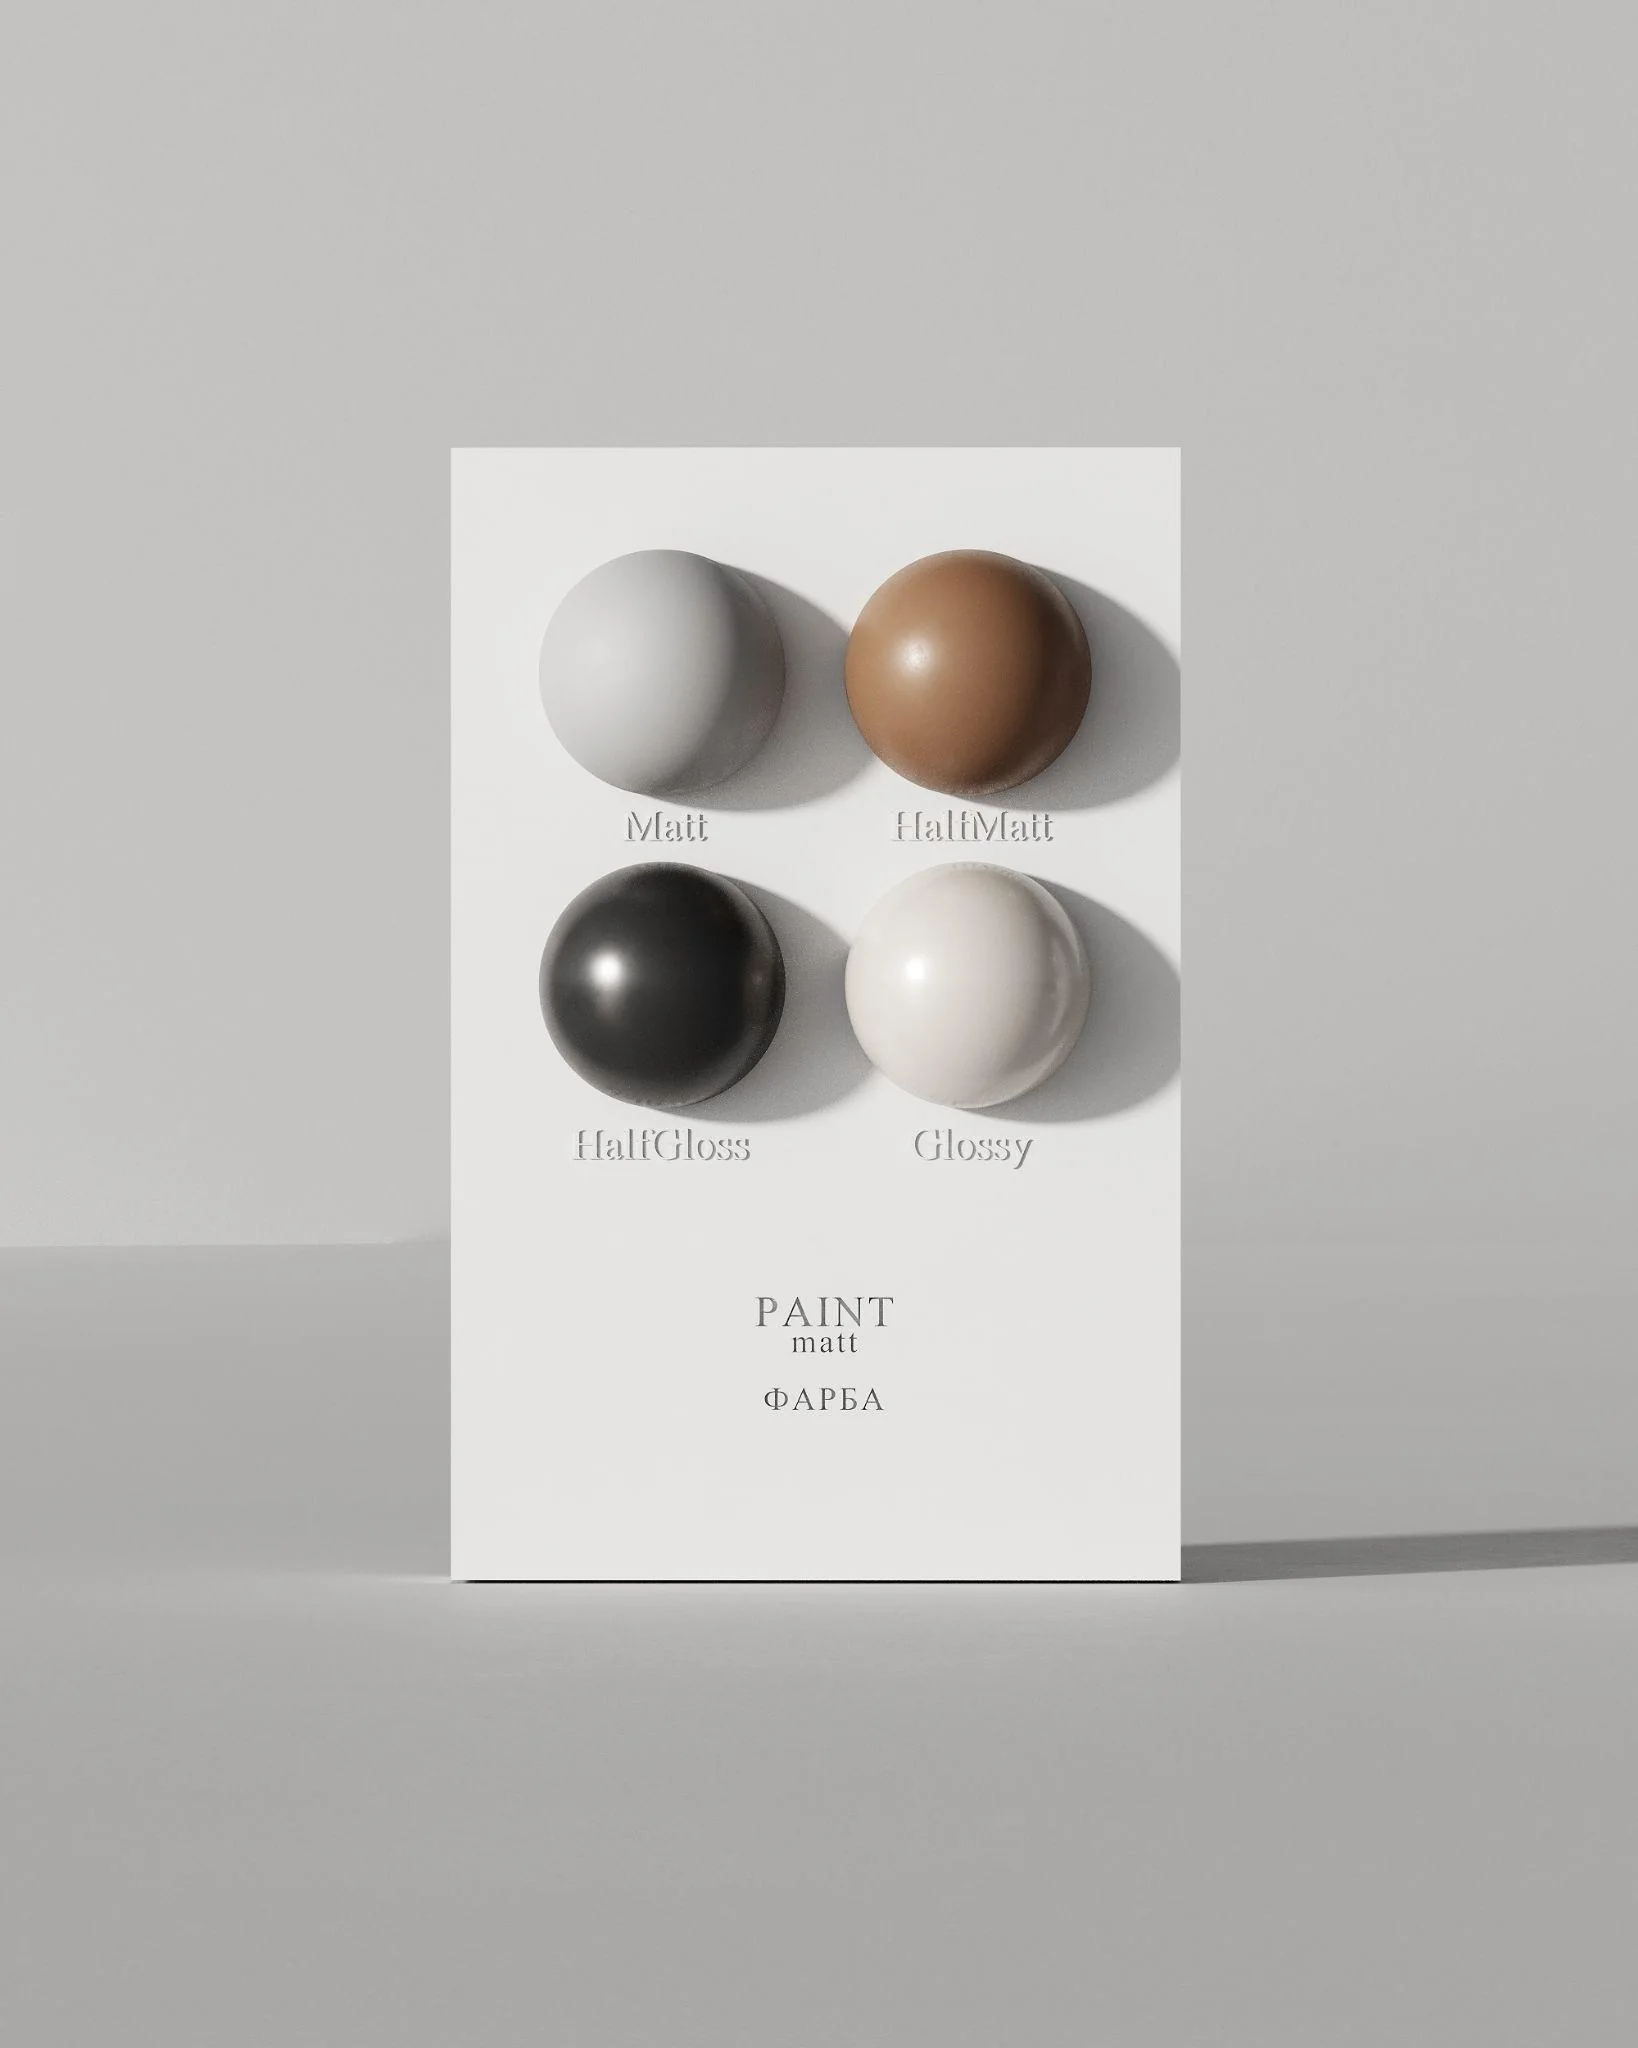
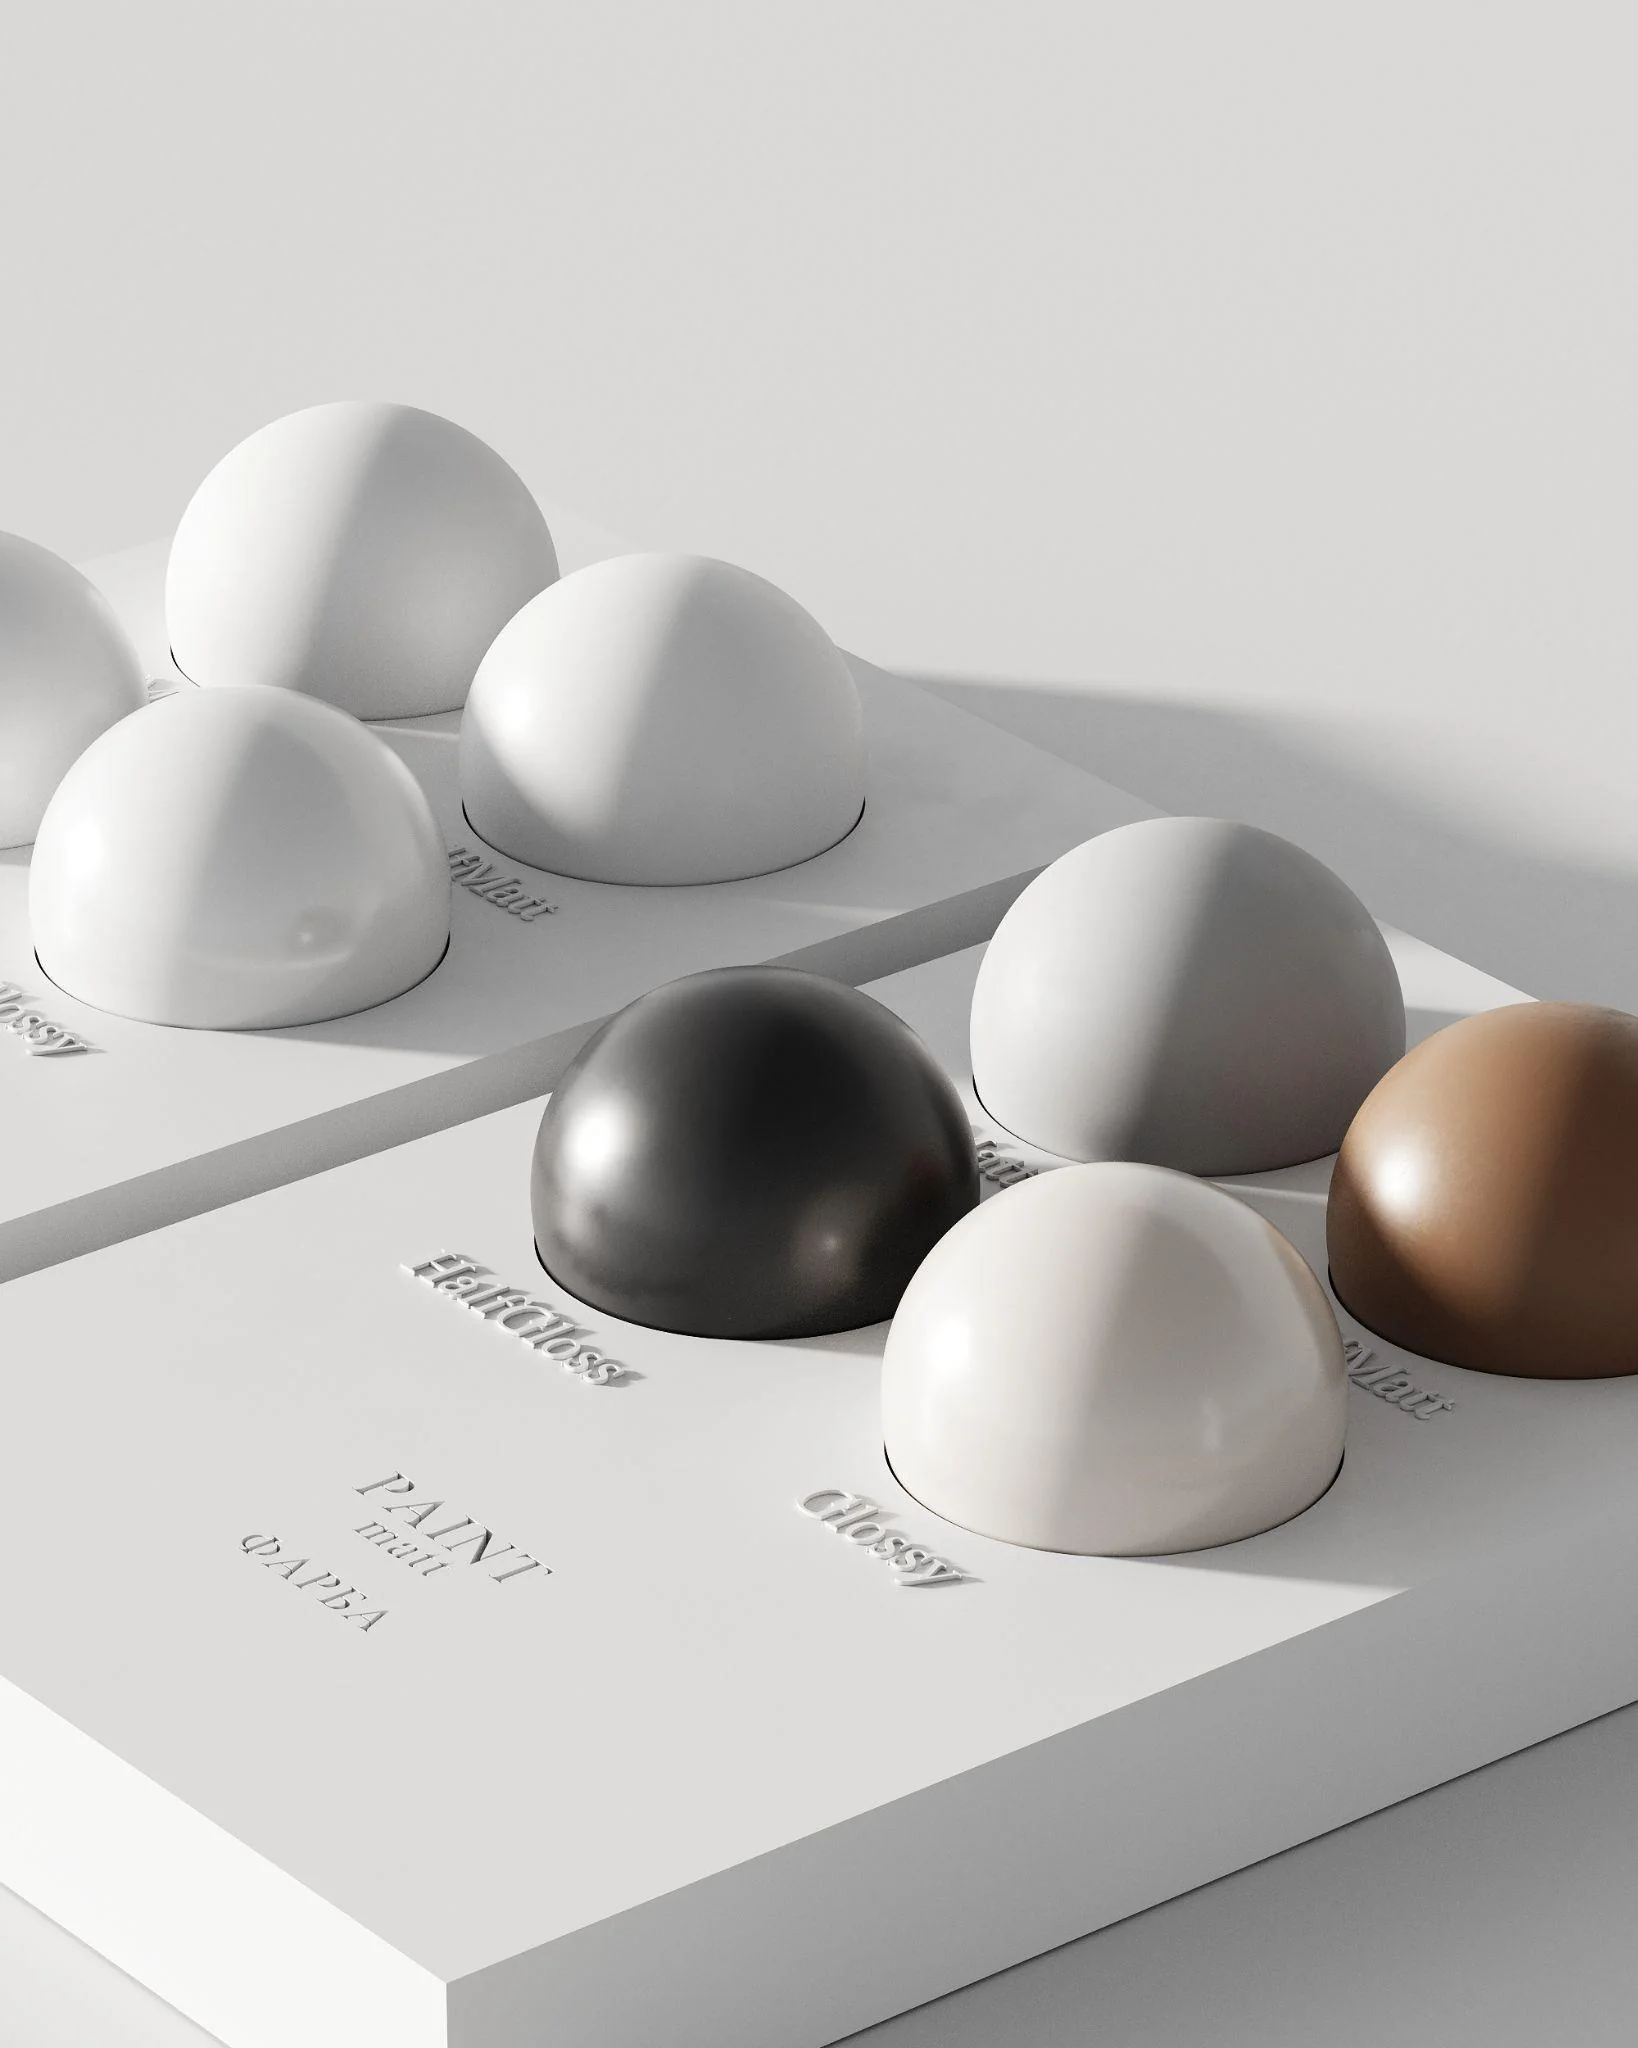
The paint is created by the material. The physical qualities of paint in 3dsMAX are characterized by the degree of gloss: matte, semi-matte, semi-glossy, glossy. (See the "Materials" section)

5. Decorative plaster and micro concrete.

From the point of view of physical properties, decorative plaster and microconcrete is created by mixing pastes that can acquire different physical appearance under the influence of tools (scrapers, brushes, brushes). Accordingly, plaster has a denser layer than painting, this must be taken into account in real time, laying a thicker layer of plaster in the area of ​painting at

the junction with plaster (if the wall has two types of coating on the same plane).

Decorative plaster can have a completely different texture, it is created with the Reflect Glossiness, Reflection and Bump maps

13

CHAPTER 1

Building knots

Technical diagrams and final interior examples belong in one section.

01

Slide 25

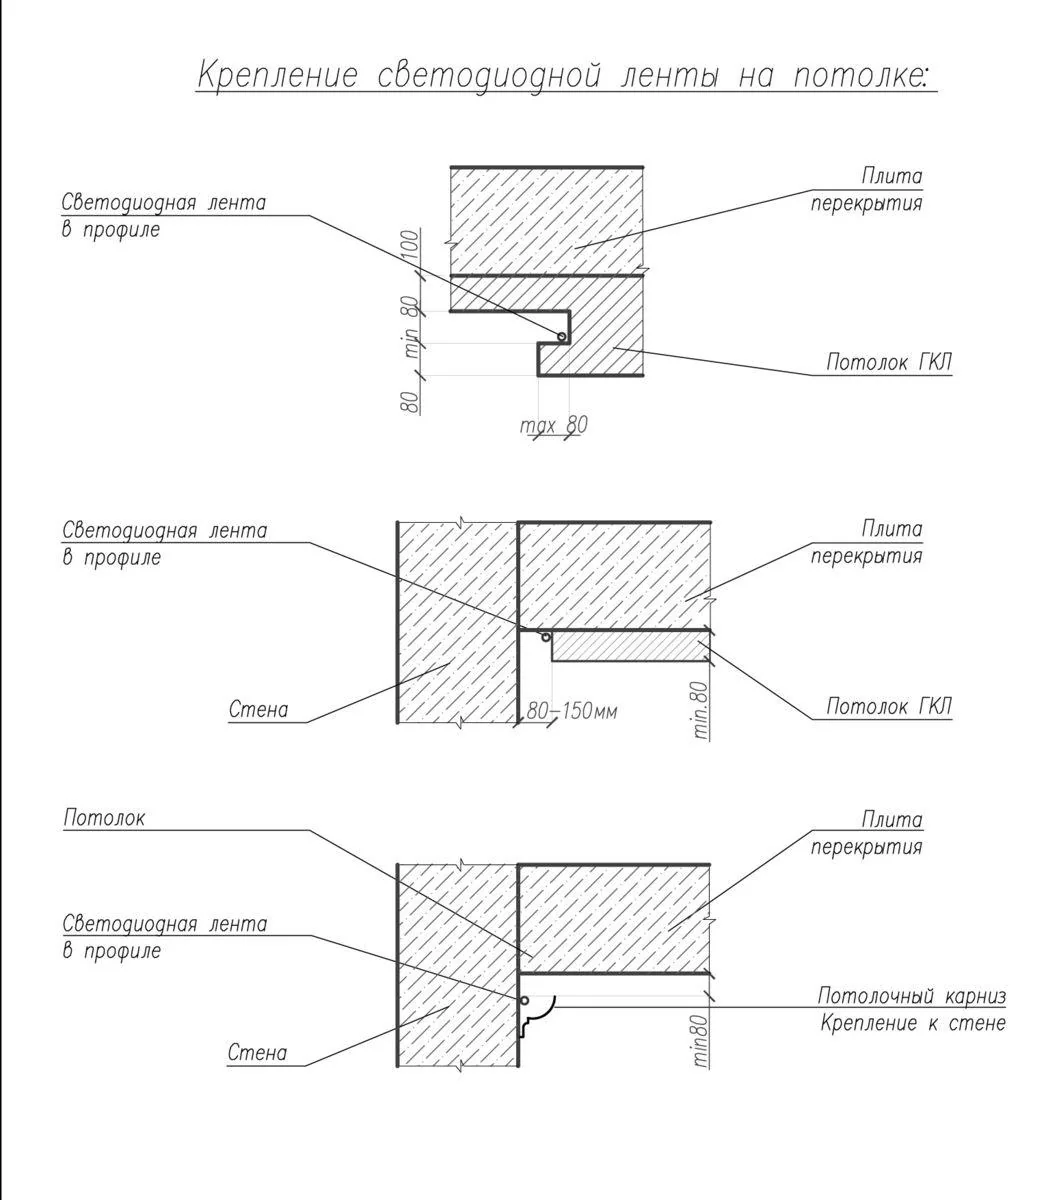
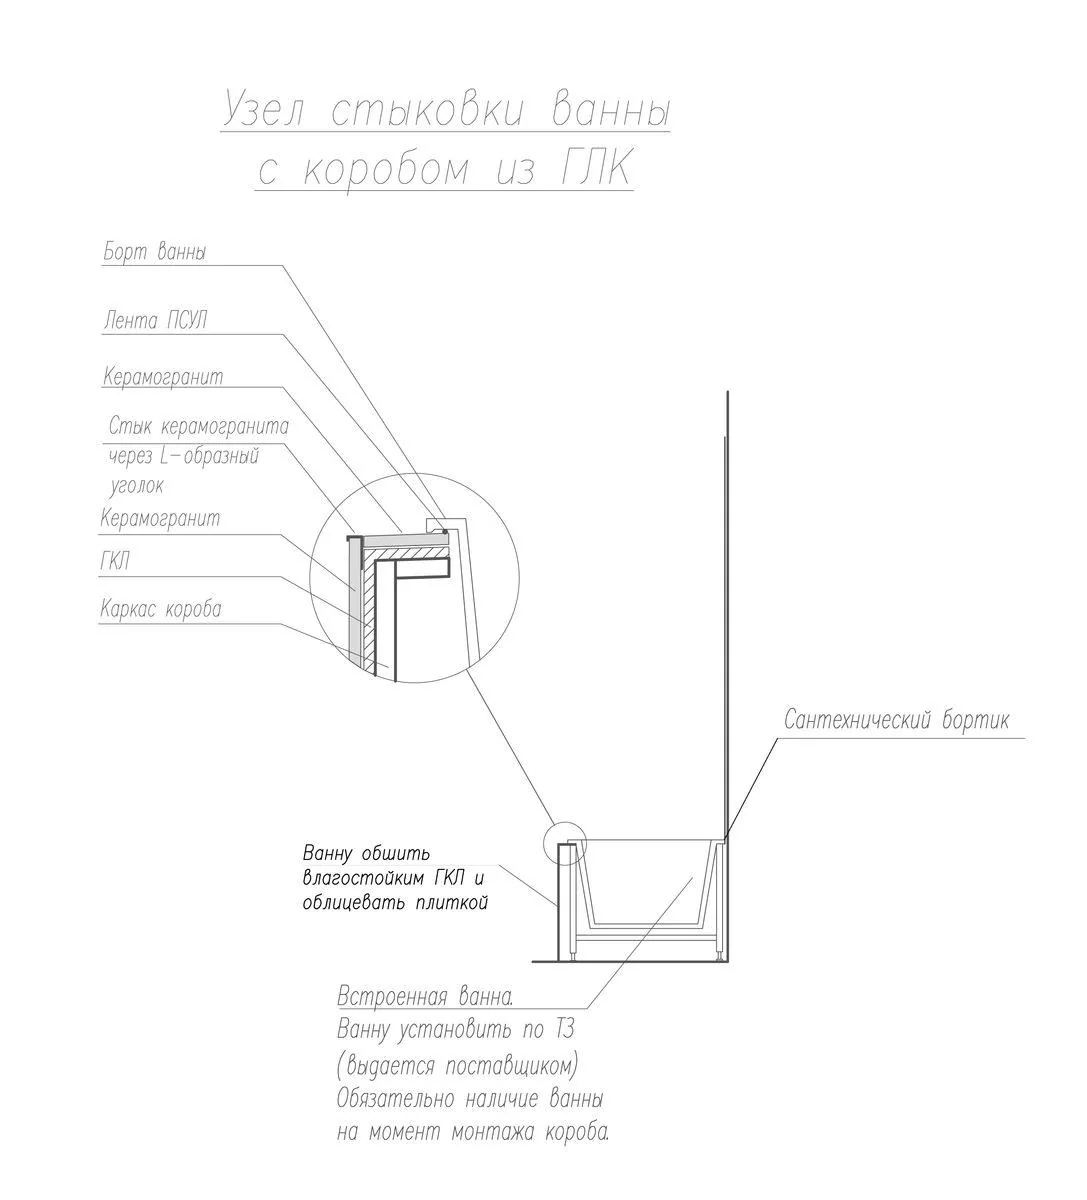
BUILDING KNOTS Construction units are constructive solutions that ensure the performance of various tasks.

First of all, these are niches for installing LED lighting.

The built-in bathtub in the niche is also important.

It is also important to remember that all these structures are created using a metal profile and plasterboard. The profile comes in different sizes from 20 to 45 mm, plasterboard is 12 mm thick, and is often glued in two layers.

If we are talking about joining materials on the floor, for example parquet/laminate - porcelain stoneware, then it will be constructed using a metal T- shaped profile or using a cork compensator.

02

Slide 26

CHAPTER 02

Optimization of work processes

Optimization of work processes
14

CHAPTER 2

Optimization of work processes

Perfect Render Course By Kf

CHAPTER 2 3DsMAX

Optimization Of Work Processes

Kf.School Ua | Eng | Pl | Fr | Pr

CHAPTER 2.1. The work of a 3d visualizer consists of a large number of processes that require time and attention. Each project is not similar to the previous one, but despite this, there are processes that are repeated from project to project. It is precisely such moments that need to be optimized, brought to a single format

and thus save time and effort.

SCRIPTS In our opinion, optimizing the work of the visualizer consists of several points, which we will talk about in this chapter.

Optimizing work in 3dsMAX came to our Scripts, which are an addition to the mind after our studio started to hit the program and successfully help in financial ceiling, which is why we solving various tasks, which inevitably decided to apply different hypotheses lead to increased work efficiency and that we thought could lead to positive reduced time spent, are the first step in

results. this process.

In the course of testing different versions, we have come to a set of the most effective tools that help speed up and systematize the process, allowing the brain to rest in places where its work is not needed.

CHAPTER 02

Scripts: downloads + lecture

Scripts: downloads + lecture
15

CHAPTER 2.1

Scripts: downloads + lecture

Keep Floor Generator/download link and lecture video in one scripts hub.

SCRIPTS Download link

●

FLOOR GENERATOR

A script that allows you to make a ceramic or wooden covering from a line, which consists of tiles or lamellas.

●

CORONA GAMMA SCRIPT

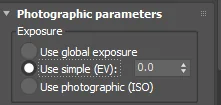
Adjusts the general mood, rendering exposure

16

CHAPTER 2.1

Scripts reference

One card per script: FloorGenerator, Corona Gamma, Quick Attach, Relink Bitmaps, Prune Scene, Copytor. Preserve usage instructions.

01

Slide 32

Let's start with the question about scripts that In order to use the script, you need to help reduce work time by 15% create a spline using Line or Rectangle and apply the FloorGenerator script to it. We use several scripts that help us quickly perform routine actions: It has several parameters: the dimensions

of the parts, the pattern of the coating, the

1. FloorGenerator gap between the elements, the degree of protrusion of the elements, the percentage A script that helps to make such of the shift, the direction of the elements, coverings as parquet, laminate, ceramic and the location of the seams. All this is

tiles, wall panels, etc. adjusted very easily.

Kf.School Ua | Eng | Pl | Fr | Pr

02

Slide 33

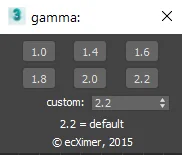
2. Corona Gamma script 3. Quick Attach скрипт This script helps to quickly combine We use this script to quickly change the balance elements into a single Editable Poly. You of light and shadow. The parameters vary from highlight the elements you need, ungroup if

1.0 to 2.2 anything is grouped, and click a script To use it, just press the button with the desired button to merge the elements into an scale. EditPoly. The larger the value, the less contrasty and brighter the rendering atmosphere will be.

Kf.School Ua | Eng | Pl | Fr | Pr

03

Slide 34

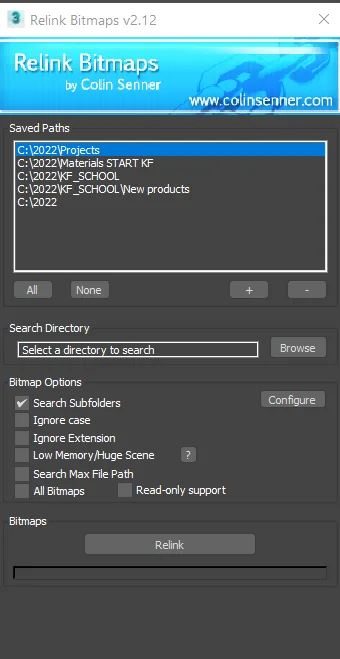
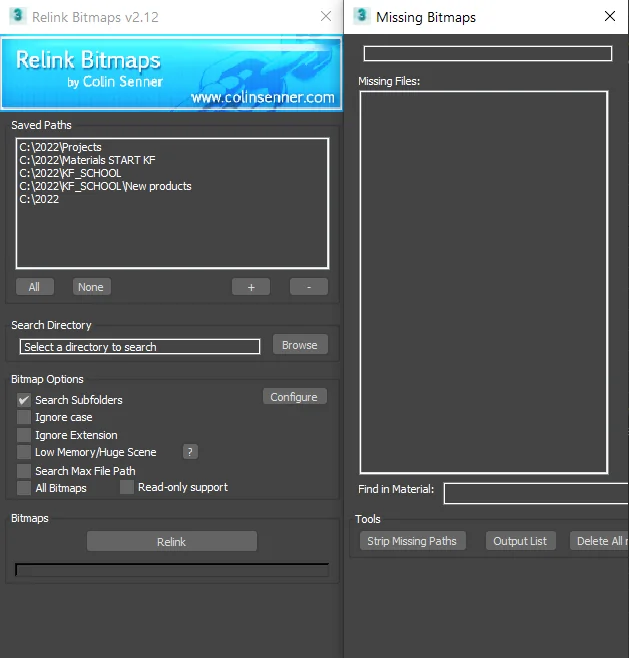
3. Relink Bitmaps This script restores textures and materials if suddenly lost or misplaced. It is almost impossible to manually restore each texture, especially when the model is multi-element.

To use the script, it is enough to run it by clicking on the button. Then you need to select the folder in which these textures are located and press the button already in the script to start restoring the textures.

Kf.School Ua | Eng | Pl | Fr | Pr

04

Slide 35

Kf.School Ua | Eng | Pl | Fr | Pr

05

Slide 36

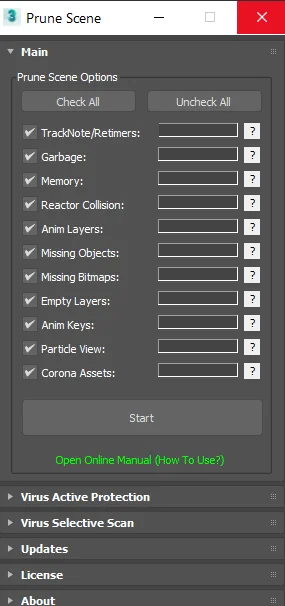
4. Prune scene скрипт 5. Copytor This script cleans the scene from bugs, viruses We use this script for quick access to the and artifacts. models we use most often.

Kf.School Ua | Eng | Pl | Fr | Pr

CHAPTER 02

Start scene, material models and libraries

Start scene, material models and libraries
17

CHAPTER 2.2

Start scene, material models and libraries

Perfect Render Course By Kf

Chapter 2.2. Optimization Of The Work

Start Scene, Material Models And Libraries

Kf.School Ua | Eng | Pl | Fr | Pr

●

Scripts Starting Scene Optimizing The Work In This Way

●

MATERIALS MODEL

●

MODELS FOLDERS

●

BATCH RENDER

you will save 60% of your time, which can be successfully spent on acquiring new knowledge or creativity.

The following steps will help you speed up your work by 15% and make it easier and more enjoyable.

●

Creating a start scene

This is a scene that is already configured for light, precisely because to get a picture you can simply move the model to the scene, place the camera and make a beautiful rendering.

This is exactly the scene we provide in the course with our settings. Corona sky + Corona Sun + Frame Buffer

This scene can also be used for studio renders.

Download link

●

Create a material model

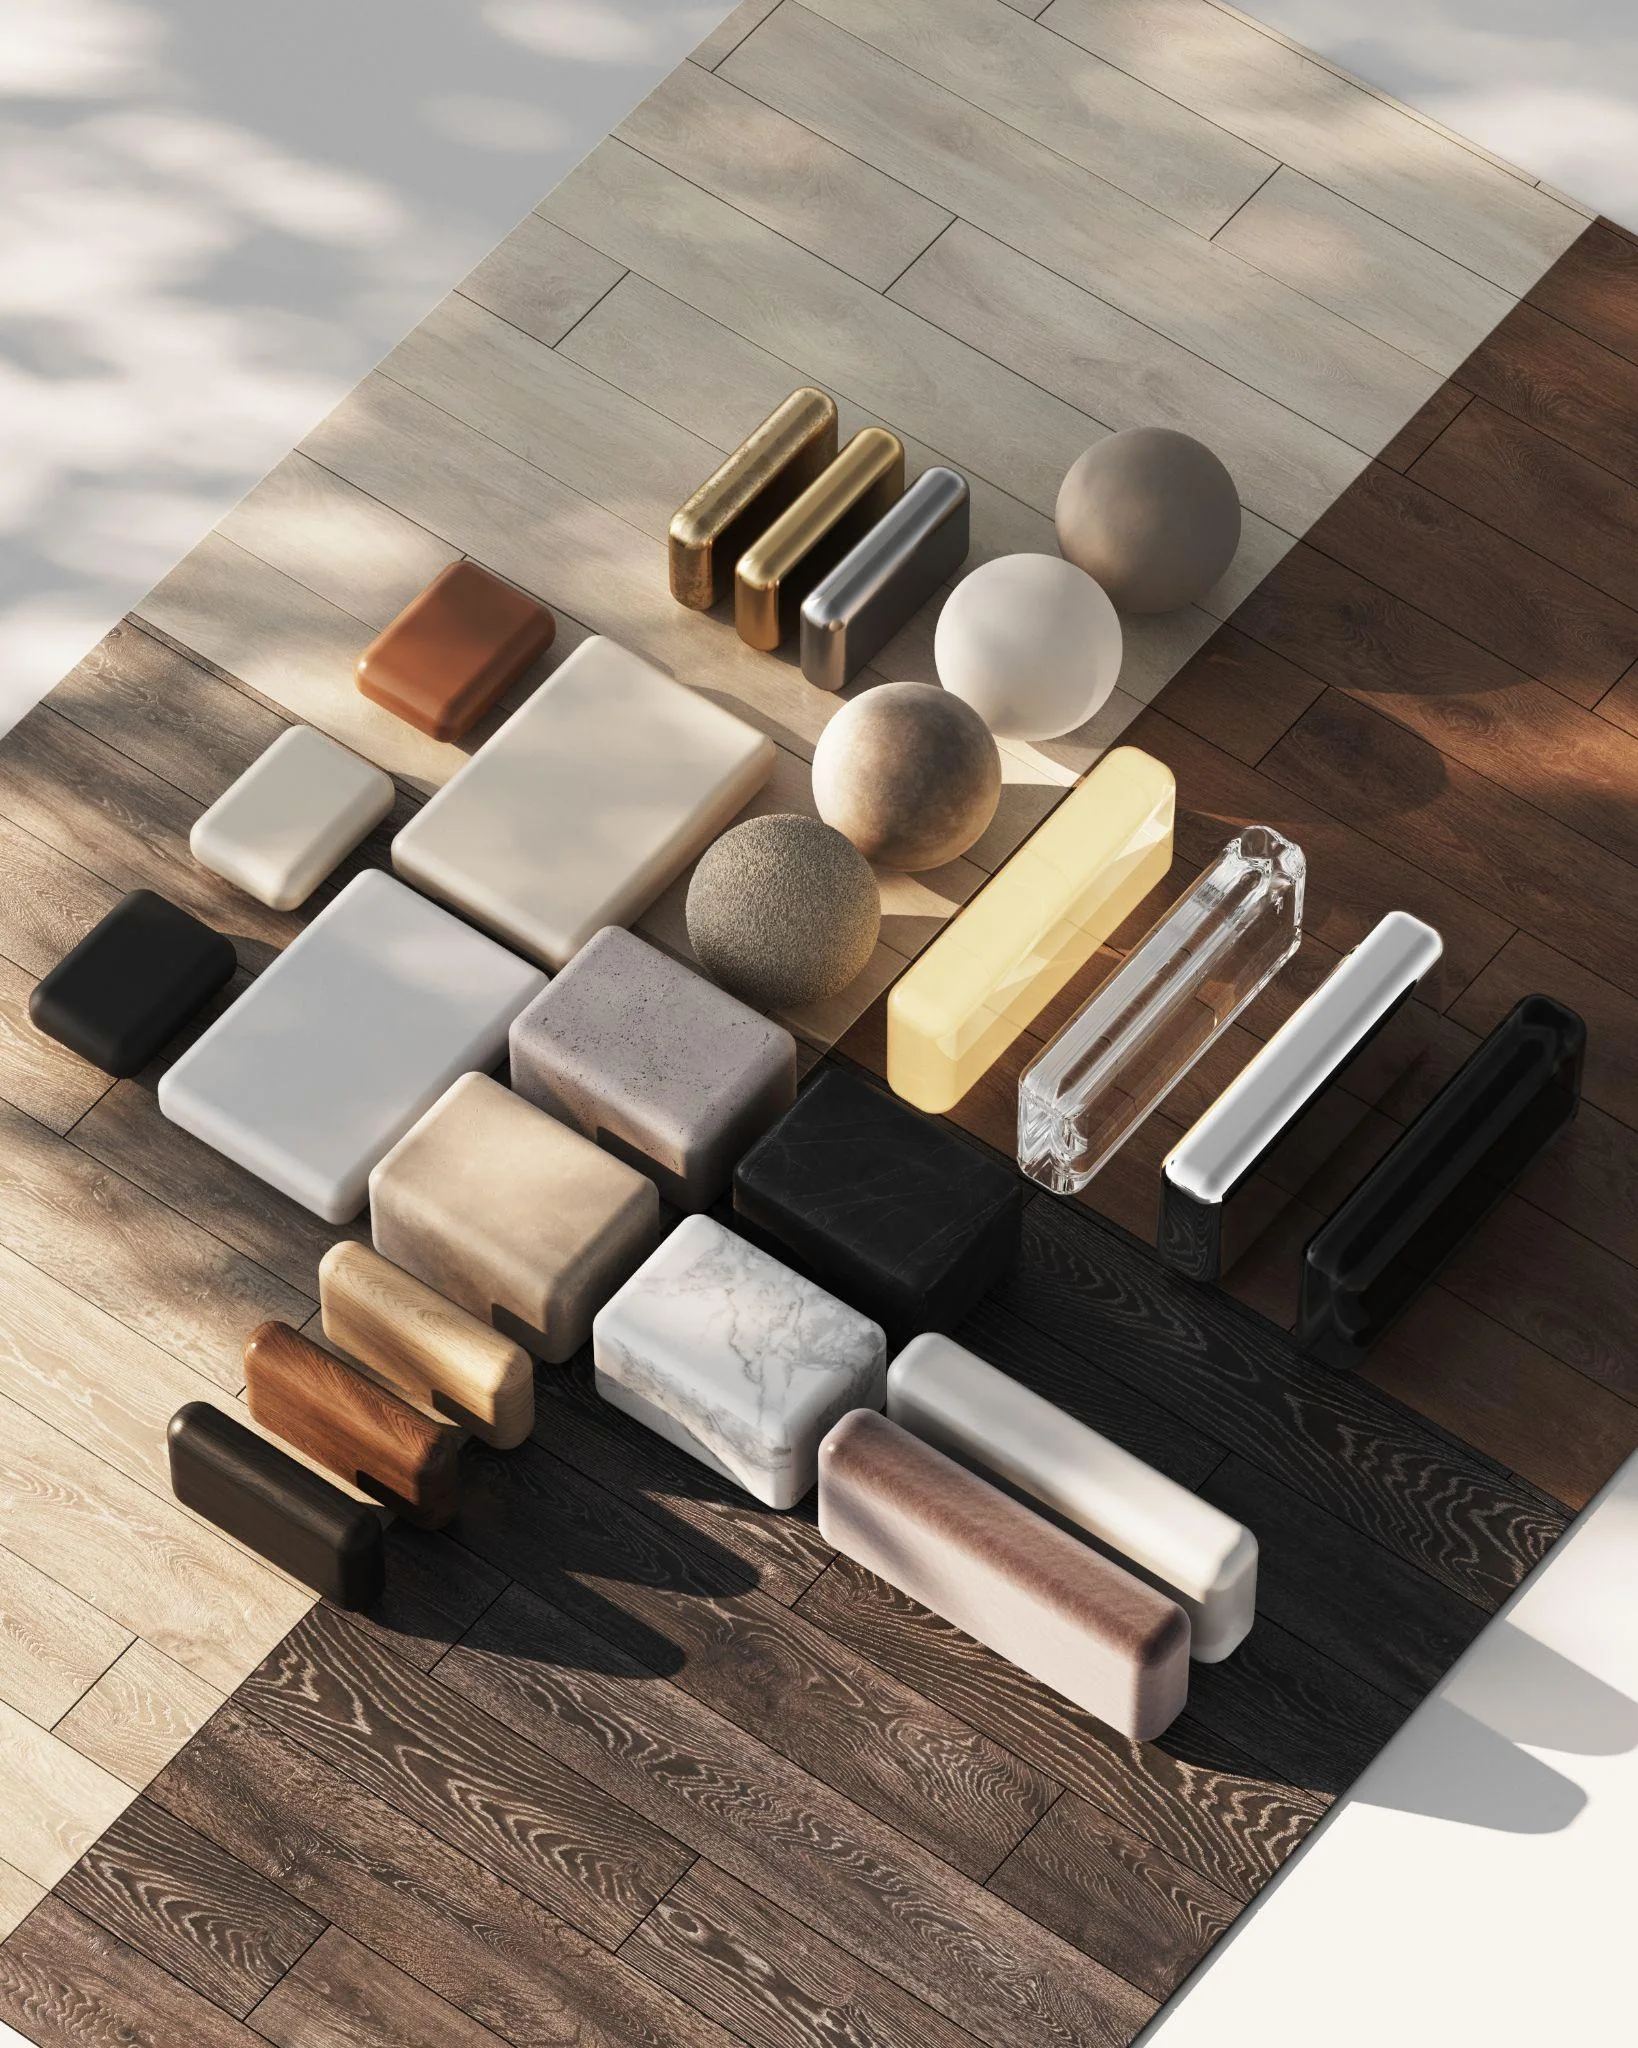
for immediate use We advise our students to create a general model of the materials that you use most often in your work. For a better understanding of the work of materials, we advise you to make basic materials such as paint, stone, marble, etc. independently We divided the models of our

materials into types so that they can be used separately, and also created a general model. We also provide these models in the course, you can find them in the library.

18

CHAPTER 2.2

Student examples + shared libraries

●

Examples of models created by our students

Kf.School Ua | Eng | Pl | Fr | Pr

●

Creating a shared folder

with models Such a folder of ours contains windows, invisible doors, splines for cornices and plinths, etc.

●

Creating a folder of

models by room You can also collect elements by room separately, for example, folders with models for a dressing room, a base for a kitchen with appliances, and a bathroom will be the most effective. You can merge the models into one to speed up the work even more, of course, if the power of

your computer allows it.

19

CHAPTER 2.2

Common scene mistakes

We continue to optimize Eliminating these mistakes work will save another 20% of I would also like to note a few typical mistakes when building an interior scene, which significantly slow down rendering: your project time.

●

low-quality models, as we said before - the easiest way to

neutralize:

a) - replace

b) – Ungroup – make sure that the model is ungrouped – use the Quick Attach script – right-click to convert the model to Editable poly. This will then undo the complex modifiers that the model was probably built with.

●

predominance of artificial lighting over natural, incorrect

settings of Corona Sky - this error does not give the effect of realism to the rendering, and also slows down the rendering. To get the lighting setup right, you should start by turning off absolutely all artificial lighting and adjusting the lighting in the scene so that the room looks fairly lit with only natural

light.

Kf.School Ua | Eng | Pl | Fr | Pr

●

incorrectly configured materials: too complex or inappropriate - very

often it happens that in the models you use for the scene, the materials are made too complex, but the result of the rendering quality is not affected, while the rendering calculation time increases significantly. These can be sheet materials. In this case, the material should be

simplified.

●

incorrect setting of the background behind the window - an arch with

thickness, a box. Then the lighting will not naturally penetrate through the background plane, the rays will be refracted due to unnecessary background geometry, thereby slowing down the rendering.

●

displacement - in this case it is better to use the Corona displacement

model

●

Hair&fur modifier, but if without it you need to set the "geometry"

condition in the settings

●

the presence of viruses in the scene - to avoid this, you need to use the

Prune script, which we talked about earlier.

●

dark decoration of the room, especially if the room has no windows - in

this case, the rendering will inevitably slow down, do not be afraid. KF.SCHOOL UA | ENG | PL | FR | PR

20

CHAPTER 2.2

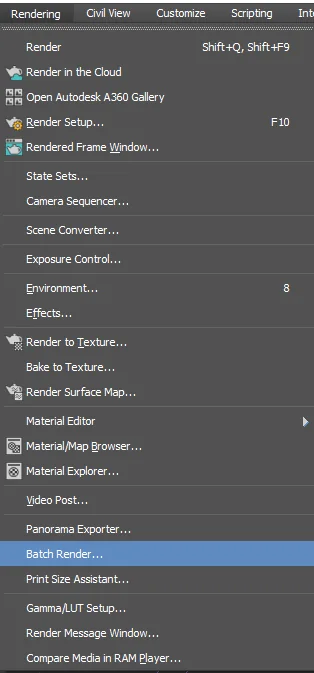
Batch Render setup

Ideal web stepper: preserve every numbered action, screenshot and setting in original order.

01

Slide 45

●

The final point of optimization is the

Batch render setting

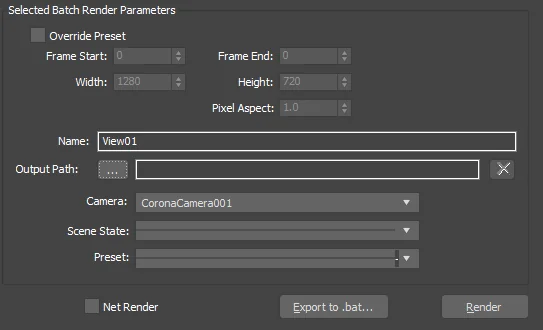
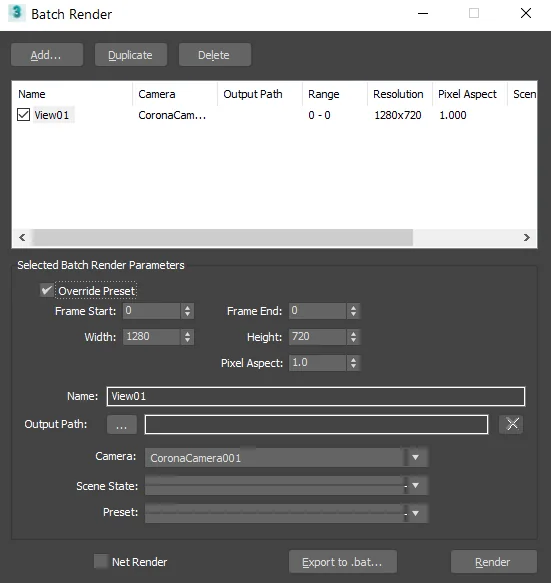
Batch render – a feature that allows you to render a large number of layouts one after the other, without the need for manual control. To configure, you need to specify the resolution of the image, the camera, as well as the folder where the images will be saved. Now you can safely

press the render button and go to rest.

Kf.School Ua | Eng | Pl | Fr | Pr

02

Slide 46

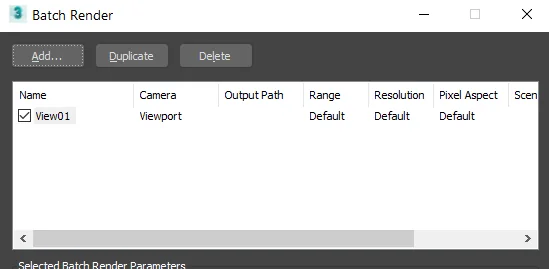
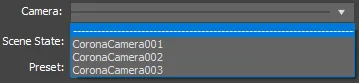
1. Click Add, the first camera appears 3. In the scroll, select exactly the camera that you would like to specify in Batch render

4. To save the picture, click on the three dots and select the folder where it will be saved.

2. Select this camera

Kf.School Ua | Eng | Pl | Fr | Pr

03

Slide 47

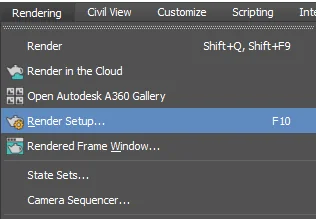
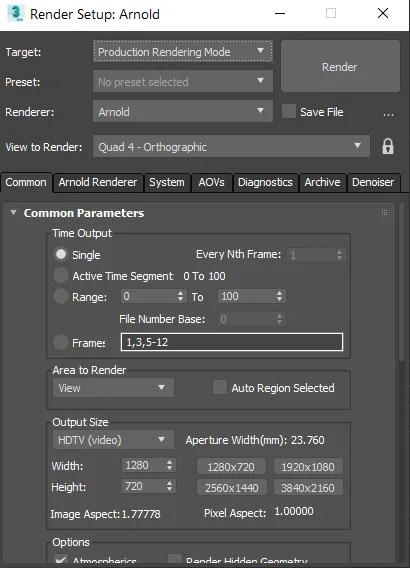
5. To set the resolution (picture size) of the render, we change the 6. But we set the basic size of the picture parameters in Render Setup

Kf.School Ua | Eng | Pl | Fr | Pr

04

Slide 48

7. To set the resolution, the size of the picture (render) individually, regardless of the overall size in Render SetUp, enable the check box here and change the indicators in the windows.

8. And press the Render button. We are waiting for the result in the folder that was specified for saving.

Kf.School Ua | Eng | Pl | Fr | Pr

CHAPTER 03

Course materials and library

Course materials and library
21

CHAPTER 3

Course materials and library

Chapter title, how-to-use instructions and library intro become one structured section.

Perfect Render Course By Kf

CHAPTER 3 3DsMAX

Course Materials: Library, Textures, Prices, Models Of Materials

Kf.School Ua | Eng | Pl | Fr | Pr

Бібліотека

22

CHAPTER 3

Textures library

Retain every texture-pack link.

Бібліотека

Textures

Here you can find the texture packs you might need.

View The Entire Library

Клікайте на фото, щоб завантажити текстури.

23

CHAPTER 3

Materials library

Paint, plaster/concrete, glass/mirror, fabrics, metals, stone, wood, floor wood and complete set. Preserve every download URL.

Zip, 3dsMAX, Corona renderer

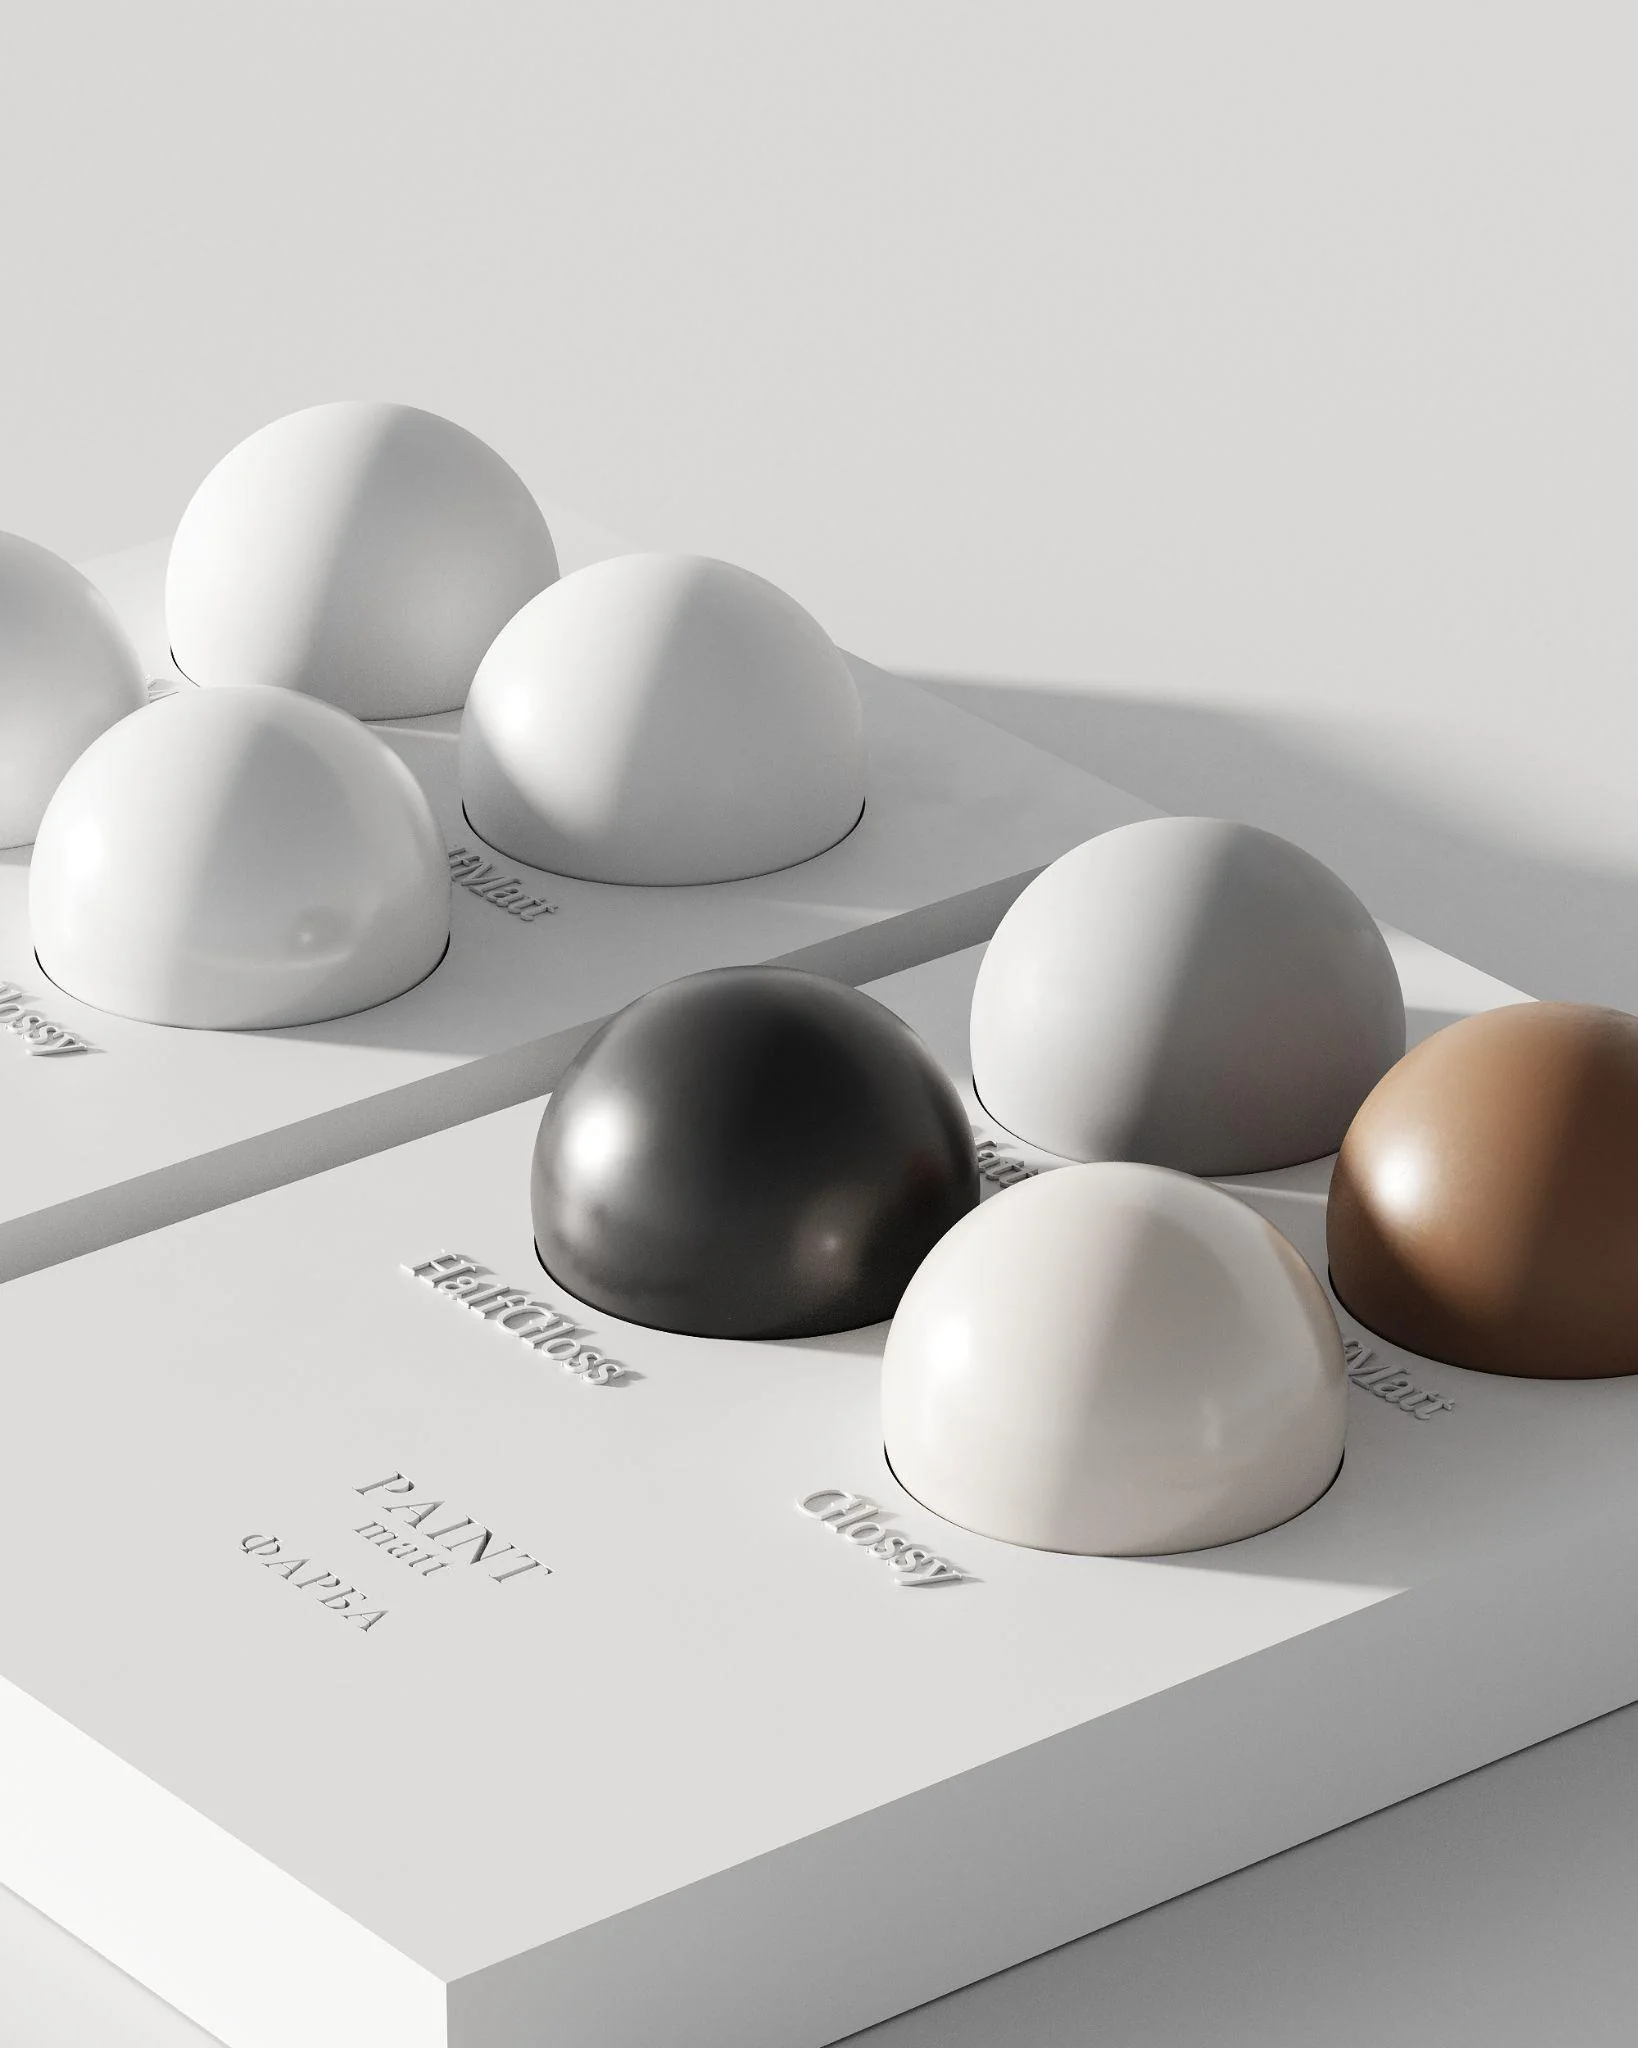
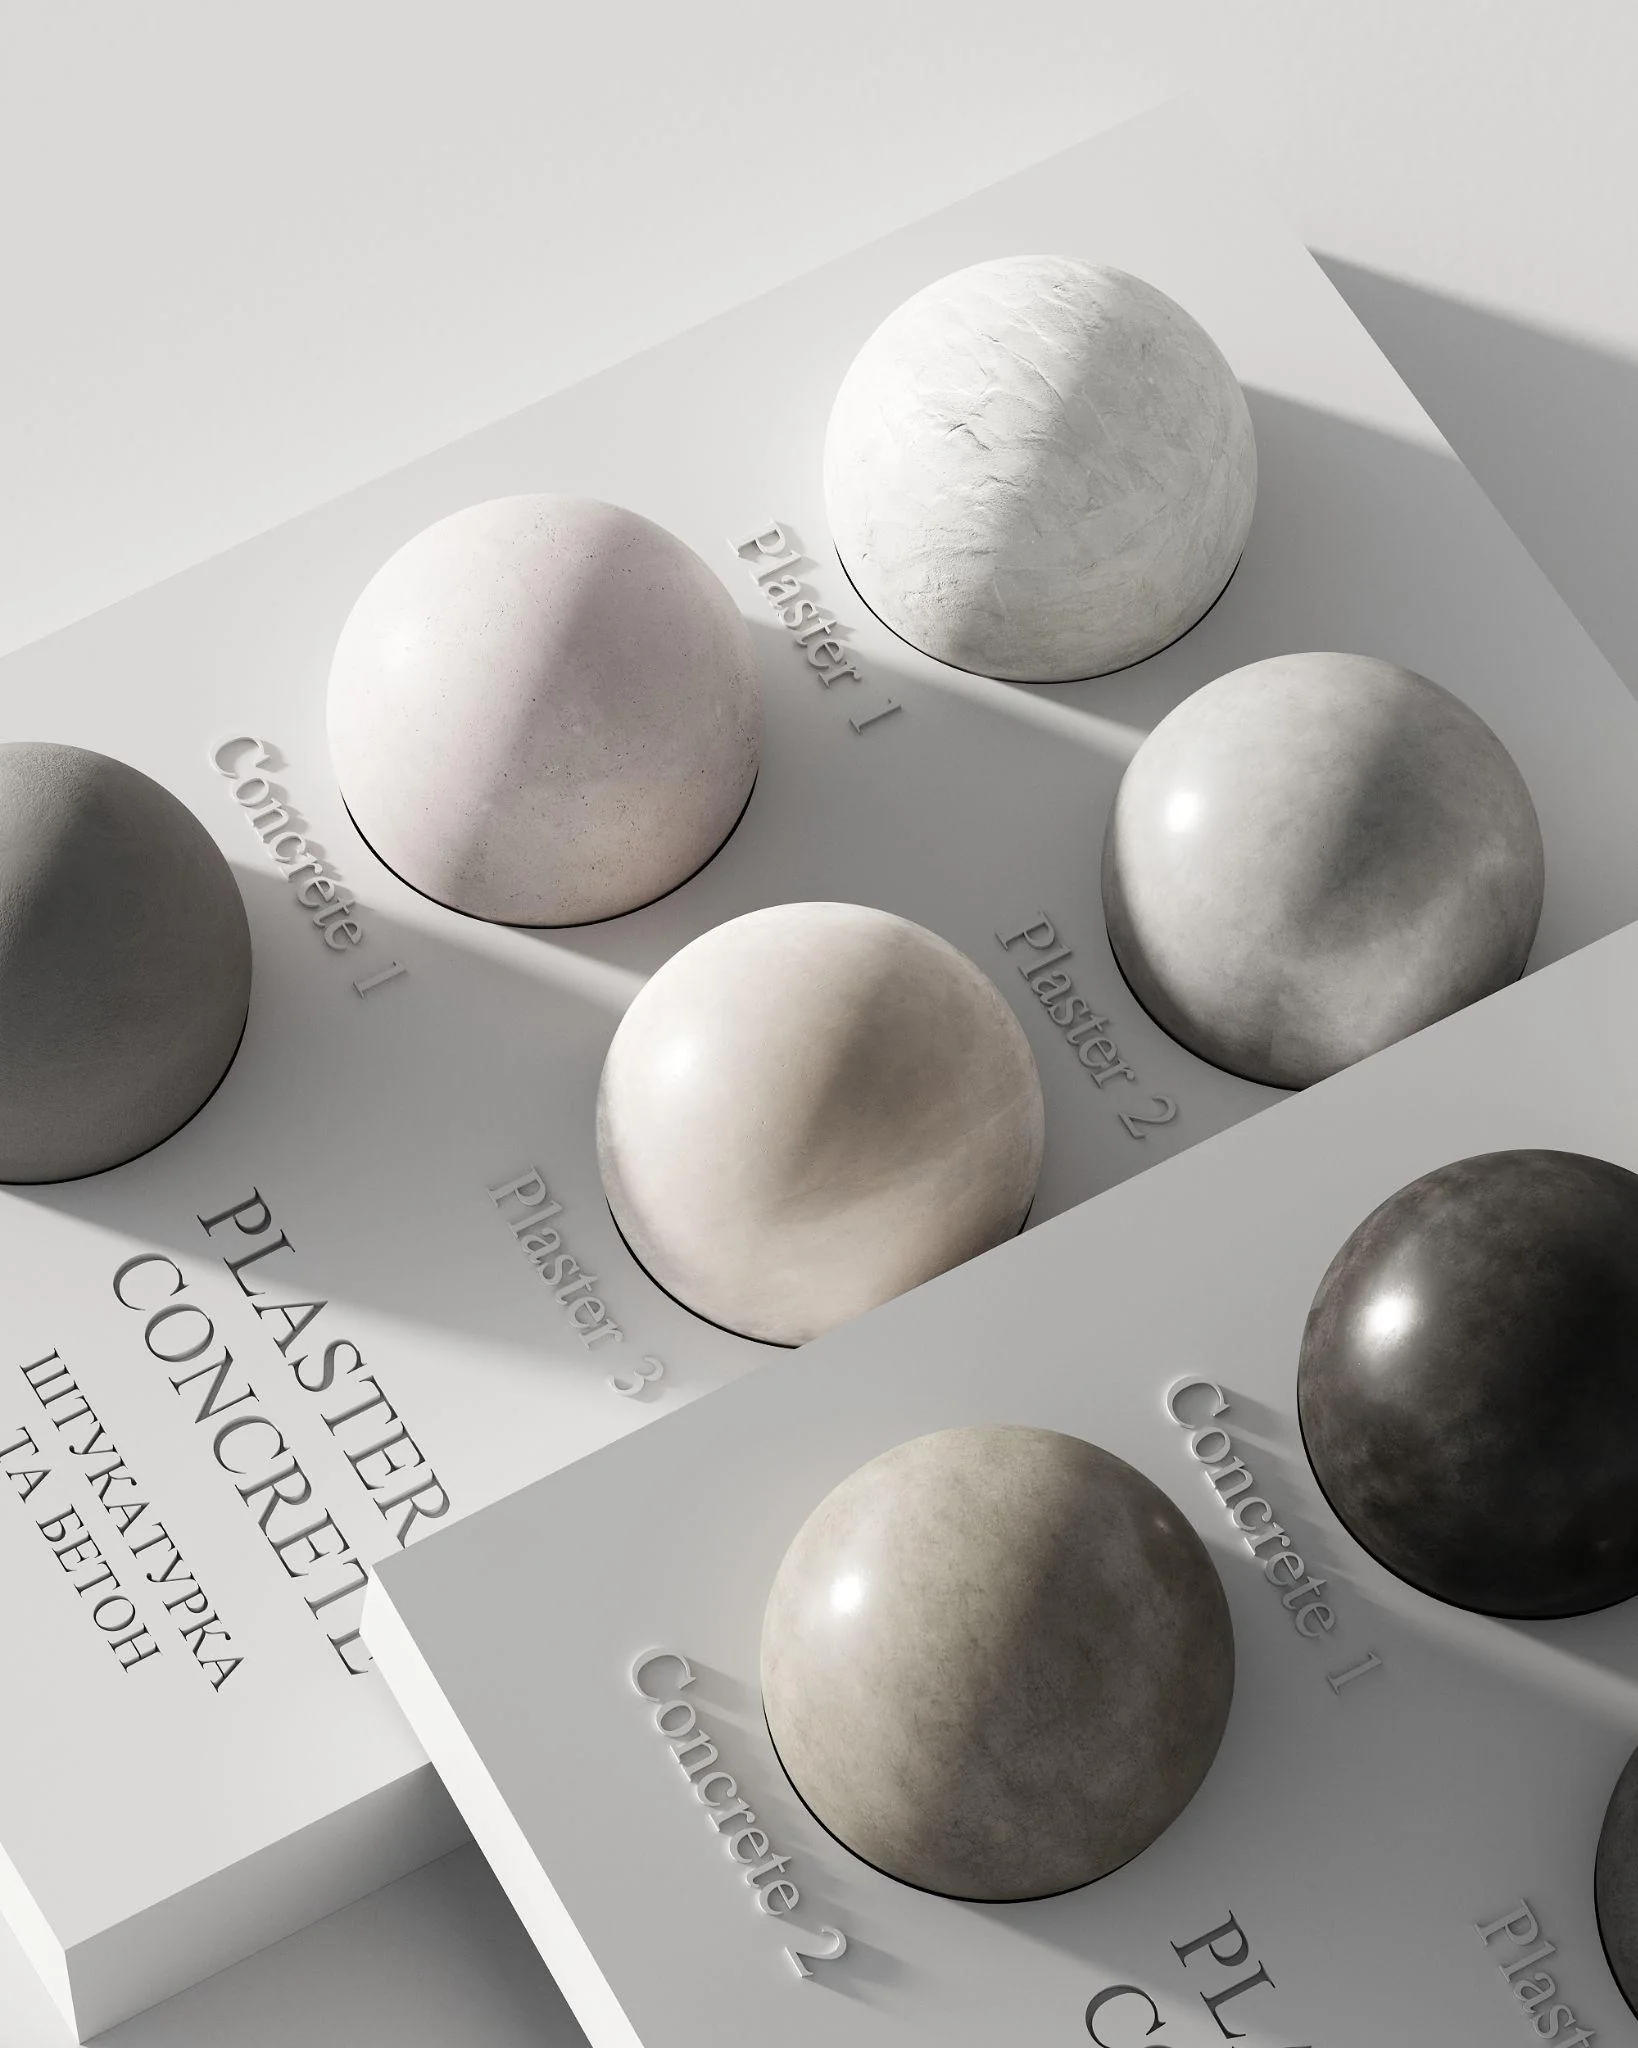
MATERIALS You can download each material model separately.

To use ready-made materials, you need to click on the photo, download the archive, unzip the material model, drop the 3dMAX file into the scene and "take" the material with an eyedropper.

Paint | Фарба Plaster & Concrete | Glass and mirror Штукатурка та бетон Скло та дзеркало

Kf.School Ua | Eng | Pl | Fr | Pr

24

CHAPTER 3

Training scenes

Start/interior/bathroom/kids/open-space/object scenes become categorized cards; all file/folder links retained.

SCENES Zip, 3dsMAX, Corona renderer

Tap The Picture

**Starting scene is for immediate use. Drop the model and turn on render

Black roundy project - for studying settings

White scene for training with light

25

CHAPTER 3

Exercises and diploma

Five study blocks and diploma rules remain together as the action section.

●

Geometry

5 Blocks, Exercises And Thesis

●

Materials

●

Light

●

Cameras and composition

26

CHAPTER 3

Result / transition

i YOU GET RESULT

Kf.School Ua | Eng | Pl | Fr | Pr

So Let'S Begin

CHAPTER 04

ArchiCAD and modeling

ArchiCAD and modeling
27

CHAPTER 4

ArchiCAD and primitive modeling

Chapter opening plus ArchiCAD and modifiers video lectures.

01

Slide 67

Library Library Library

Perfect Render Course By Kf

CHAPTER 4 ARCHICAD & primitive modeling transferred geometry using 3ds format

Kf.School Ua | Eng | Pl | Fr | Pr

02

Slide 68

Library

Modifiers And Construction Of Geometry

Perfect Render Course By Kf

In this chapter, we will analyze how to reconstruct the geometry of the space as quickly as possible using ArchiCAD and talk about the modifiers that we use

Kf.School Ua | Eng | Pl | Fr | Pr

03

Slide 69

Library

GEOMETRY 3dsMAX + Corona renderer

Perfect Render Course By Kf

●

Video lecture "ArchiCAD and transfer of geometry" Olga Kukushkina

Kf.School Ua | Eng | Pl | Fr | Pr

04

Slide 70

Library

GEOMETRY 3dsMAX + Corona renderer

Perfect Render Course By Kf

Video lecture "Modifiers and basics modeling." Olga Kukushkina

Kf.School Ua | Eng | Pl | Fr | Pr

28

CHAPTER 4

ArchiCAD to 3dsMAX workflow

Import DWG/image, build walls, openings, export .3ds, import into starting scene. Keep every detail.

01

Slide 71

Library

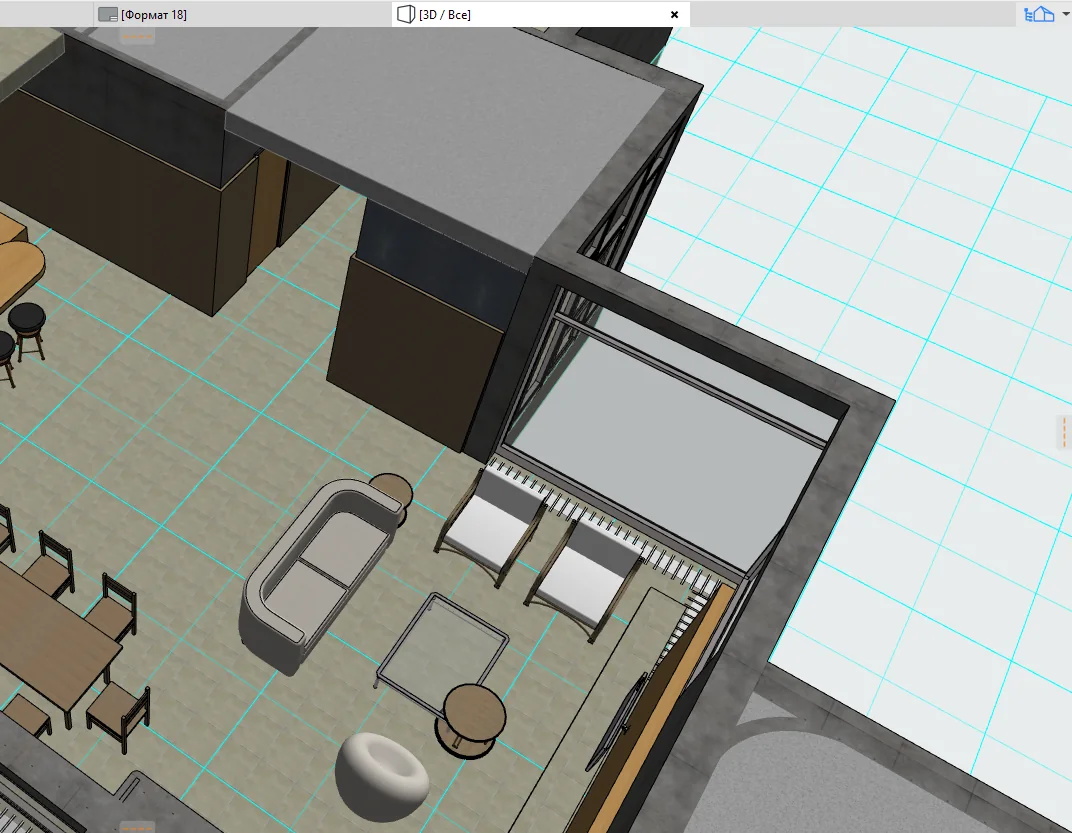
There is a planning solution for every project. With the help of 3dsMAX, it takes quite a long time to build it: for this, you need to transfer the DWG drawing to the scene, circle the lines using Line and use the Extrude or Sweep modifier along the height of the walls.

To simplify the task, we use ArchiCAD to quickly build the architecture of the room.

ArchiCad in our case is just a companion tool for our interests, we will not study it deeply, since we will need this program only for building walls, creating door and window openings, while we will have the opportunity to quickly and conveniently change the indicators of certain

groups of tools, for example, walls - simultaneously change the height of all walls in the document without the need to merge all elements into one layer. Or change the height of all windows at once.

Kf.School Ua | Eng | Pl | Fr | Pr

02

Slide 72

Library

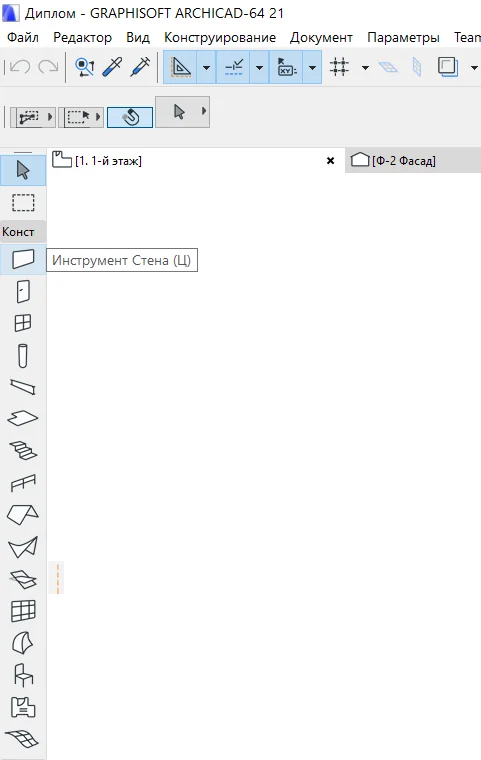
To build the volume of the room in ARchiCAD, having a DWG file of the room layout, we need to drag the DWG file into the open ArchiCAD program and we will see that the line drawing has been exported to the field. Then, using the Wall tool, changing its thickness and height

as needed, we outline the contours of the room with the lines of the exported drawing.

Thus, the whole will be respected and the dimensions will be realistic in the scene in relation to the pieces of furniture.

Kf.School Ua | Eng | Pl | Fr | Pr

03

Slide 73

Library

There is also an option to build walls according to the BTI plan or a photo layout.

To do this, in the same way as we dragged the DWG file, drag our drawing/photo into the field of the ArchiCAD document. Next, draw one of the walls with the Wall tool and then, editing the size of the drawing, "adjust" its dimensions to the dimensions of the drawn wall, then circle

all the other walls using ArchiCAD tools.

As a starting point, it is convenient to take the size of the entrance door opening, which we usually take as 1000 mm.

Kf.School Ua | Eng | Pl | Fr | Pr

04

Slide 74

Library

After that, we need to place the door openings and window openings. To do this, select "Doors" (door icon) in the left vertical menu of tools, then in the menu select the type of door we need, namely an empty doorway, it does not have a physical image of the door on the plan, but

leaves a hole in the wall in the volume , it is convenient, because After exporting the volume to 3dsMAX, you will have to clean up the unnecessary elements manually. Next, we set the parameters of the door - height, width, and after choosing the anchor point of the door,

we place it in the desired place, according to the drawing.

We do the same with windows: in the vertical menu of tools on the right, select the "Windows" tool in the form of a window icon and select the type "Empty window opening" and set its parameters - installation height from the floor, window height and window width, according to

our drawing or picture.

Kf.School Ua | Eng | Pl | Fr | Pr

05

Slide 75

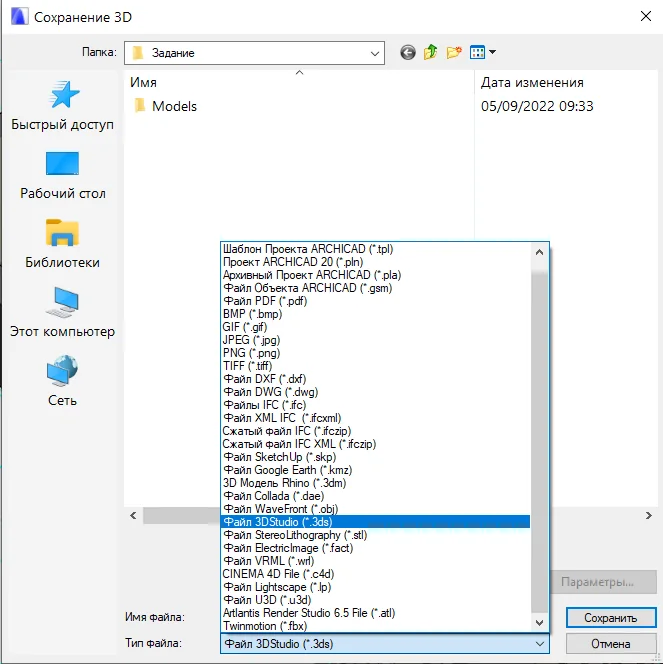
After that, we can use this document with walls, windows and openings with the extension .3ds as the starting volume of our project.

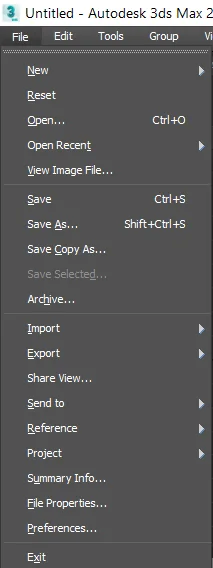
To do this, you need to open your starting scene for the project, which is configured for a certain type of lighting (for example, the starting scene that we offer - soft sun, restrained delicate shadows) and using the horizontal File menu, click Import, in the file folder select 3ds document

you just saved.

Kf.School Ua | Eng | Pl | Fr | Pr

29

CHAPTER 4

Cleaning imported geometry

Convert to Poly, vertices/weld, polygon/material workflow in one continuous technical sequence.

01

Slide 76

Library

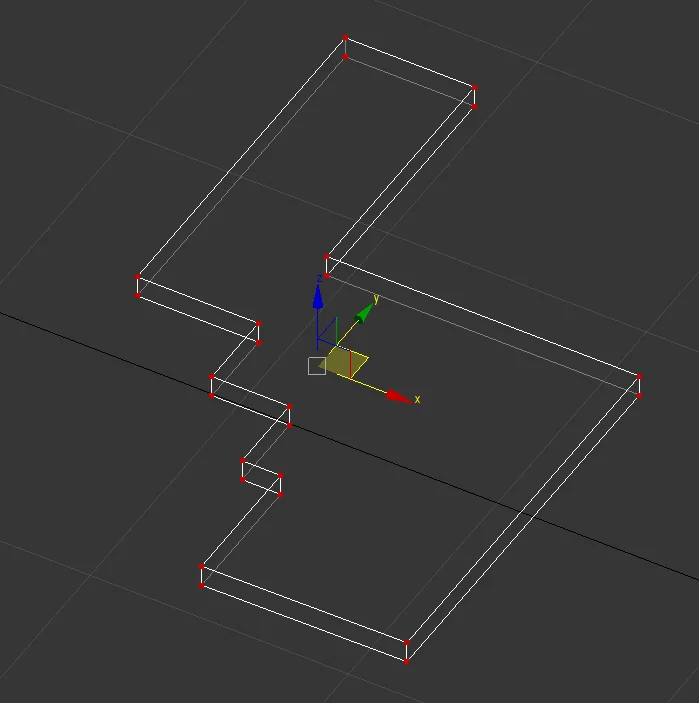
After that, you need to select the entire object and call the context menu with the right mouse button, select the Convert to Poly action in it.

If you need to do any work on any wall in the future, like using Probouleen to make holes in the wall for sockets or something, you should do the following.

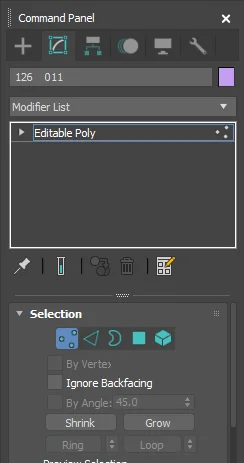
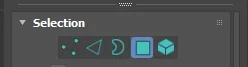
Select the wall, go to edit mode, vertical menu on the right, Modify tab, select Selection Vertex and press Ctrl + A, this command means "Select all", that is. select all vertices.

Kf.School Ua | Eng | Pl | Fr | Pr

02

Slide 77

Library

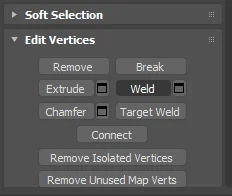
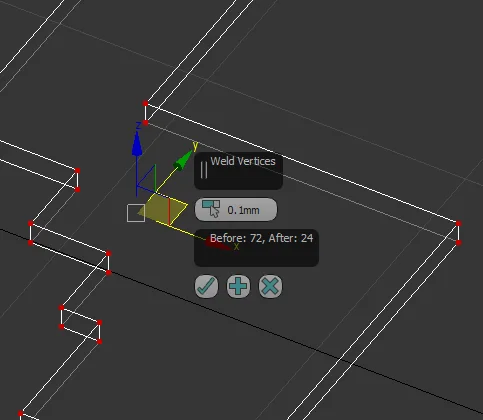
After that, in the vertical menu on the right, just below, find the Edit verticals – Weld section. Click on the box to the right of the word Weld and OK in the window. In this way, you will get rid of a large number of vertices that were exported in the geometry from ArchiCAD and

thereby eliminate program errors when working with Boolean and Proboolean.

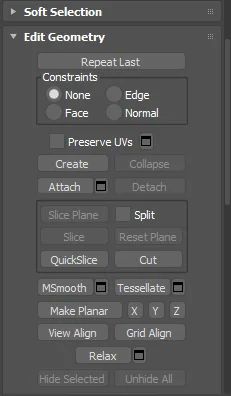
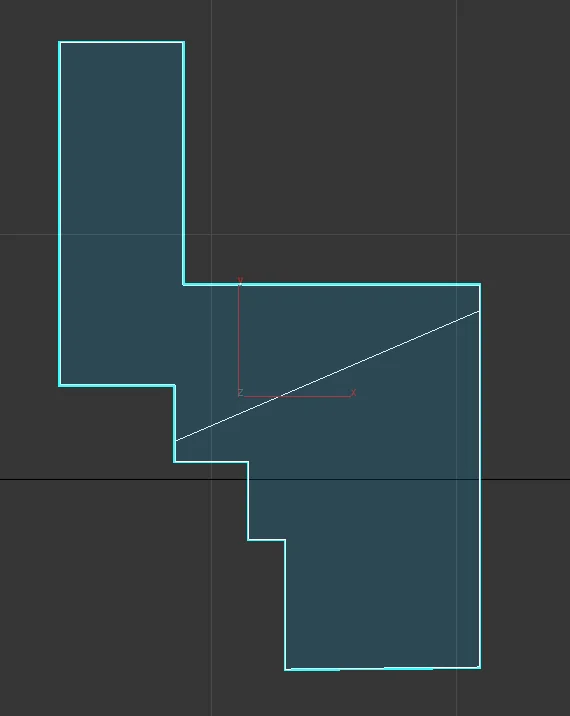
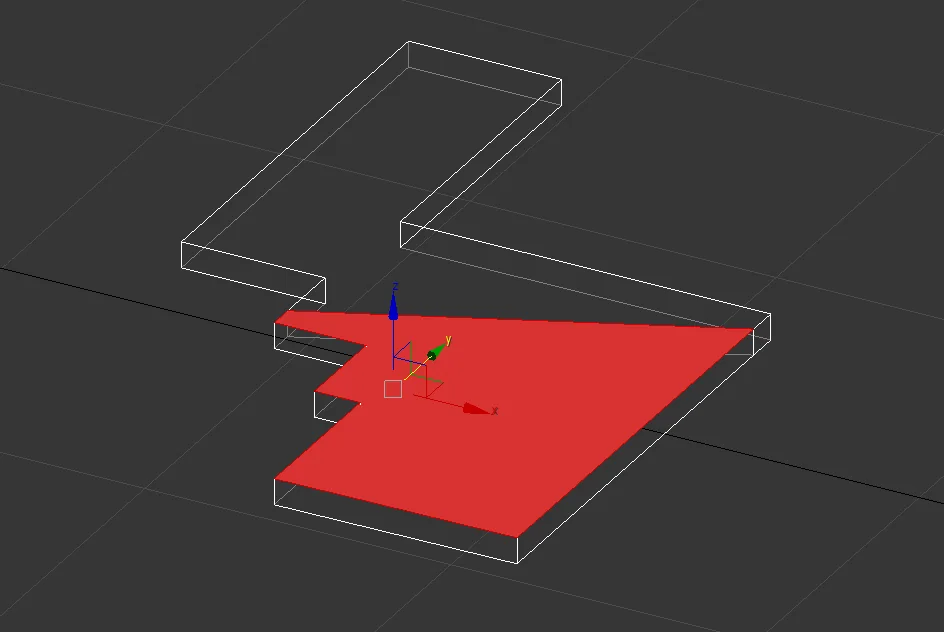
Next, we can work with each wall separately to, for example, apply material. If you need to divide the plane of the wall, use the editing mode and the Quickslice function.

Number of vertices

03

Slide 78

After you have split the surface, you can select the Polygon you want in Editable Poly mode and apply the material.

Kf.School Ua | Eng | Pl | Fr | Pr

30

CHAPTER 4

3dsMAX modeling fundamentals

Preserve modeling rationale and modifier/tool definitions; cards aid navigation only.

01

Slide 79

Library

Geometry 3dsMAX A fairly simple and clear tool that allows you to create beauty at any level, from object design to exterior rendering and animation.

The project that you receive from your client, if you are engaged in visualization, contains, in addition to the models that must be used in the project, also drawings for the construction of built-in furniture, kitchen, etc.

In order to successfully cope with the task, it is necessary to understand the geometry of the elements in reality, how they are designed and how the installation is carried out. We will consider several examples of how, using simple modifiers, to model primitive geometry.

Kf.School Ua | Eng | Pl | Fr | Pr

02

Slide 80

Library

GEOMETRY 3dsMAX Corona renderer

Perfect Render Course By Kf

Most often, the modeling of built-in furniture begins with the Box element, which can be subjected to various actions in the future. Modifiers and tools we usually use:

Modifiers We Use The Most Often

Kf.School Ua | Eng | Pl | Fr | Pr

03

Slide 81

Library

●

EDIT POLY

The modifier can be applied to a group and edited using vertices MODIFIERS or polygons, you can simply select several objects and use Edit poly.

●

CAP HOLES

For example, an extra hole appeared in your object, then apply this modifier.

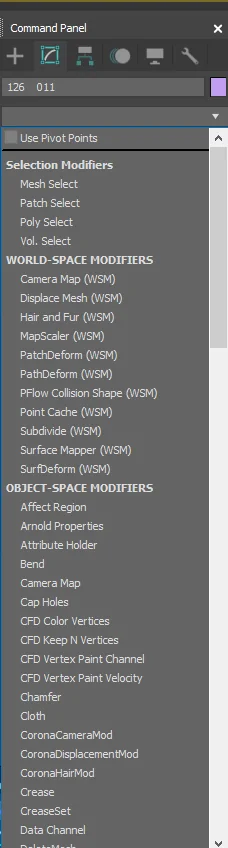
●

SWEEP

To smooth the surface of an object, for example after using Chamfer or Proboolean.

●

CHAMFER

Smoothing the edges on the box so that it does not look artificial in the rendering. UA | ENG | PL | FR | PR KF.SCHOOL

04

Slide 82

Library

●

FFD

The modifier allows you to edit the entire volume using a few MODIFIERS points.

●

UVW Map

The modifier adjusts the scale of the texture displayed on the object.

●

ProBoolean

A modifier that cuts holes in an object.

Kf.School Ua | Eng | Pl | Fr | Pr

31

CHAPTER 4

Kitchen modeling

Slide 83 becomes local navigation; 84-86 become a single kitchen modeling walkthrough with all dimensions.

01

Slide 83

●

kitchen modeling modeling decorative set PRACTICE

●

plinth modeling

●

ceiling modeling

●

modeling decorative

panels

Kf.School Ua | Eng | Pl | Fr | Pr

02

Slide 84

Library

Let's model some elements.

Kitchen modeling. The kitchen has a base from 40-100 mm high, we make it using a single box or Line+Extrude.

It is also convenient to make the tabletop with the same tools, thickness 12-30 mm. Next, it is convenient to make one section of 600*570 mm. 30 mm thick front doors will be added to the section.

The total height of the lower cabinets should be 850-950 mm. Accordingly, the height of the lower kitchen section will be: minus the height of the plinth + the height of the countertop.

Kf.School Ua | Eng | Pl | Fr | Pr

03

Slide 85

Library

Next, we transfer the object to Editable Poly with the right mouse button, and in the right vertical menu in the Modify tab, we select all Edges faces, and apply Edit edges – Chamfer. For any facade, 2 mm of rounding and 3 faces will be enough. After that, the Smooth modifier

should be applied to the object so that the geometry looks correct, the box does not look convex, otherwise it will affect the appearance of the render.

Then you can combine the section, inner box + facade and copy. In the same way, you can make high cabinets for a refrigerator and built-in appliances. To embed a sink, one of the sections must be combined using the Quick Attach script, then create a box based on the

dimensions of the sink, and apply ProBoolean to the section using a box based on the dimensions of the sink. Next, you can already apply the model of the sink.

Kf.School Ua | Eng | Pl | Fr | Pr

04

Slide 86

Library

700 - 1000 мм

Chamfer + Smooth should be used for the tabletop and all elements.

Above the worktop is an apron made of artificial or natural stone, 600-700 мм porcelain stoneware or ceramic tiles. It is 600-700 mm in height. 12-30 мм

Above it are hanging cabinets, 300-400 mm deep. If the cabinets have glass doors, the inside of the cabinet can be boxed using ProBoolean, or the body of each section can be built using individual boxes.

950-850 мм

40-100 мм

Kf.School Ua | Eng | Pl | Fr | Pr

32

CHAPTER 4

Geometry practice

Four practice videos remain distinct clickable lessons.

Бібліотека

GEOMETRY. PRACTICE 1 3dsMAX + Corona renderer

Perfect Render Course By Kf

●

Video lesson "Modifiers. Plinth, cornice"

●

Modeling of decorative panels

33

CHAPTER 4

Additional geometry exercises

Lamp, wall decor, dining table and console links preserved.

Бібліотека

GEOMETRY. ADDITIONAL EXERCISES 3dsMAX + Corona renderer

Perfect Render Course By Kf

●

Lamp

●

Wall decor

CHAPTER 05

Light

Light
34

CHAPTER 5

Lighting

Chapter title, overview, three video lectures and scene download become one opening area.

Perfect Render Course By Kf

CHAPTER 5 LIGHTING 3dsMAX + Corona renderer

Kf.School Ua | Eng | Pl | Fr | Pr

Бібліотека

LIGHT IN 3dsMAX Corona renderer

35

CHAPTER 5

Corona Sky

Preserve settings and explanations.

01

Slide 93

1. Corona Sky The main indicator of exposure (the degree of illumination of the scene) is controlled by this indicator.

Currently, there are several scenarios that Corona Sky provides. When using any of the scenarios, you should set the color of the ground and the horizon. To do this, from the environment settings (button 8) set the lighting type to Corona Sky and drag this material using the copy type Instance into the slot of

the compact material editor and apply Color correction to the material to reduce the Saturation to zero

After starting the rendering, we already have a nice picture, which will become the basis for training in the future. To immediately adjust all the points that prevent us from seeing the final result, we will use Corona FrameBuffer.

Kf.School Ua | Eng | Pl | Fr | Pr

36

CHAPTER 5

Corona FrameBuffer and exposure

FrameBuffer settings, exposure balance, Curves and supplemental window light remain continuous.

01

Slide 94

2. Corona FrameBuffer

—

- image processing built into 3ds MAX in conjunction with the Corona

renderer.

The main indicators that we adjust are:

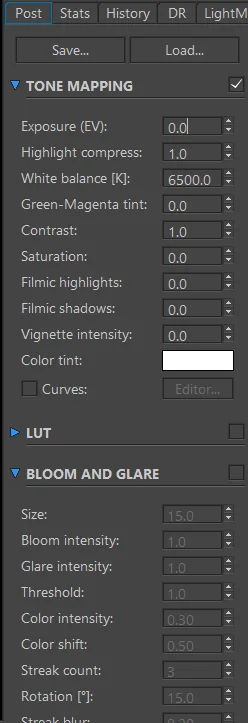
●

Highlight compress - a setting that allows you to remove

"overburnt" light areas on the render.

●

Contrast - the contrast of the image, which allows you to make the

image more "deep". Usually we set the indicator by 4-8 units.

●

Saturation - saturation of the image, we often set the indicator to

-0.12

●

Sharpenning&Bluring - a tool that allows you to make the image

clearer. To do this, we take the Blurring indicator to 0, and Sharpenning to 2.

Sometimes we use the Vignette intensity technique for close-up shots, as well as for artistic presentation of the image.

Kf.School Ua | Eng | Pl | Fr | Pr

02

Slide 95

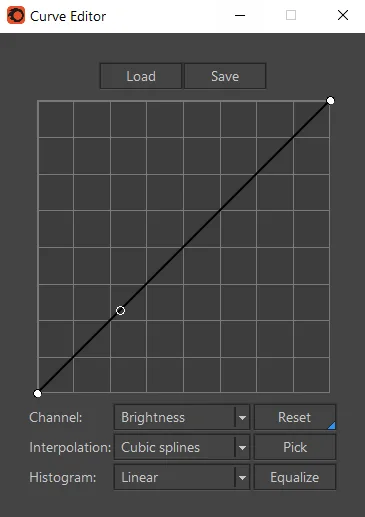
Exposure (exposure) - the overall level of illumination To check the light balance of the image, you should open the Curves graph. According to the indicators of the curve, you can determine how balanced the exposed light is and adjust it.

Sometimes it happens that Corona Sky is not enough to illuminate the entire room, especially if the windows are small. In such cases, do not hesitate to use Corona Rectangular, which are installed behind the window. To simulate natural lighting, with the help of this tool, the plane of illumination can be

tilted, changing the direction of the light flow.

Kf.School Ua | Eng | Pl | Fr | Pr

37

CHAPTER 5

Corona Sky + Sun

Preserve mood, sun size/intensity and shadow guidance.

01

Slide 96

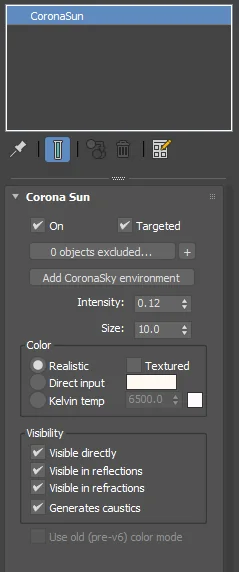
3. Corona Sky + Sun The sun adds beautiful shadows and spots of light to the picture, which will help you change the mood of the rendering, creating the atmosphere of a soft peach dawn or a warm, rich sunset.

Most often, we use the Realistic sun setting if we want to create a sunny, juicy interior. In this case, the lower the sun is, the more yellow the light from it will be. We also vary the size and intensity of the sun - the larger the size of the sun, the softer the shadows will be on the rendering. The intensity varies from

0.12 to 0.28.

With the help of such a scheme, the effect of sun shadows from foliage is also created.

Kf.School Ua | Eng | Pl | Fr | Pr

38

CHAPTER 5

Corona Gamma script

4. CG (Corona gamma script) Corona gamma script allows you to change the contrast and brightness of the scene in one click. This tool is also handy for creating different rendering moods.

Corona gamma script allows you to change the contrast and brightness of the scene in one click. This tool is also handy for creating different rendering moods.

Kf.School Ua | Eng | Pl | Fr | Pr

39

CHAPTER 5

Artificial lighting

5. Artificial lighting As Corona light artificial lighting, we use standard tools:

●

Sphere for round glass or paper lamps with invisibility indicators due

to transparent materials;

●

Disc - the main setting of which is Directionality, the indicators of

which vary from 0 to one, the higher the indicator, the farther and more concentrated the source will shine. We use this type to install spotlights and pendant lights. 0.45 is suitable for LED lighting.

Kf.School Ua | Eng | Pl | Fr | Pr

40

CHAPTER 5

Corona camera exposure + lighting takeaway

Keep camera exposure tip and final takeaway.

01

Slide 99

6. Corona camera

—

- - on each camera, it is possible to set individual additional exposure, which

allows you to avoid glare when taking shots from the window.

Kf.School Ua | Eng | Pl | Fr | Pr

02

Slide 100

Бібліотека

LIGHTS IN 3dsMAX Corona renderer

Perfect Render Course By Kf

All these tools will help you build completely different lighting scenarios and convey your mood to the client.

Kf.School Ua | Eng | Pl | Fr | Pr

CHAPTER 06

Materials

Materials
41

CHAPTER 6

Materials

Бібліотека

Perfect Render Course By Kf

CHAPTER 6 MATERIALS in 3dsMAX + Corona renderer

Kf.School Ua | Eng | Pl | Fr | Pr

MATERIALS FOR 3dsMAX Corona renderer

LECTURE: setting materials and basic rules and principles creating materials

MATERIALS 3dsMAX + Corona renderer

●

Video lecture "Basic Materials. The Basics of Creation." Olga Kukushkina

42

CHAPTER 6

Material realism fundamentals

Бібліотека

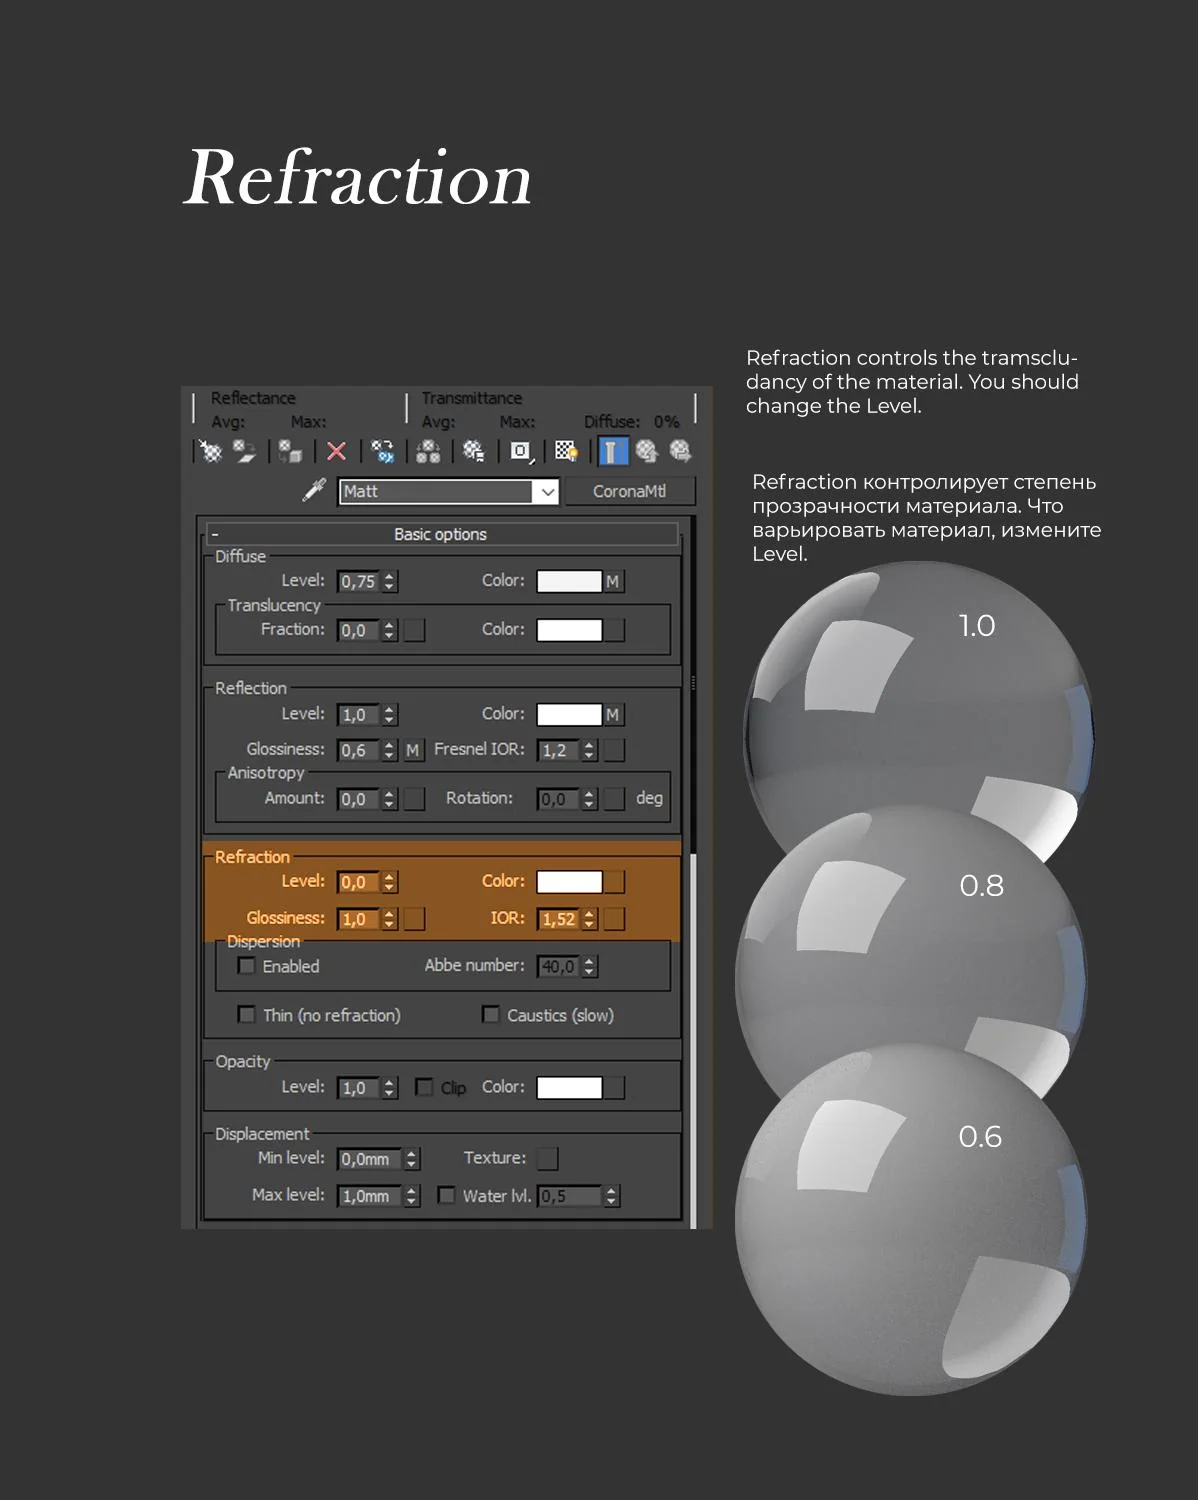
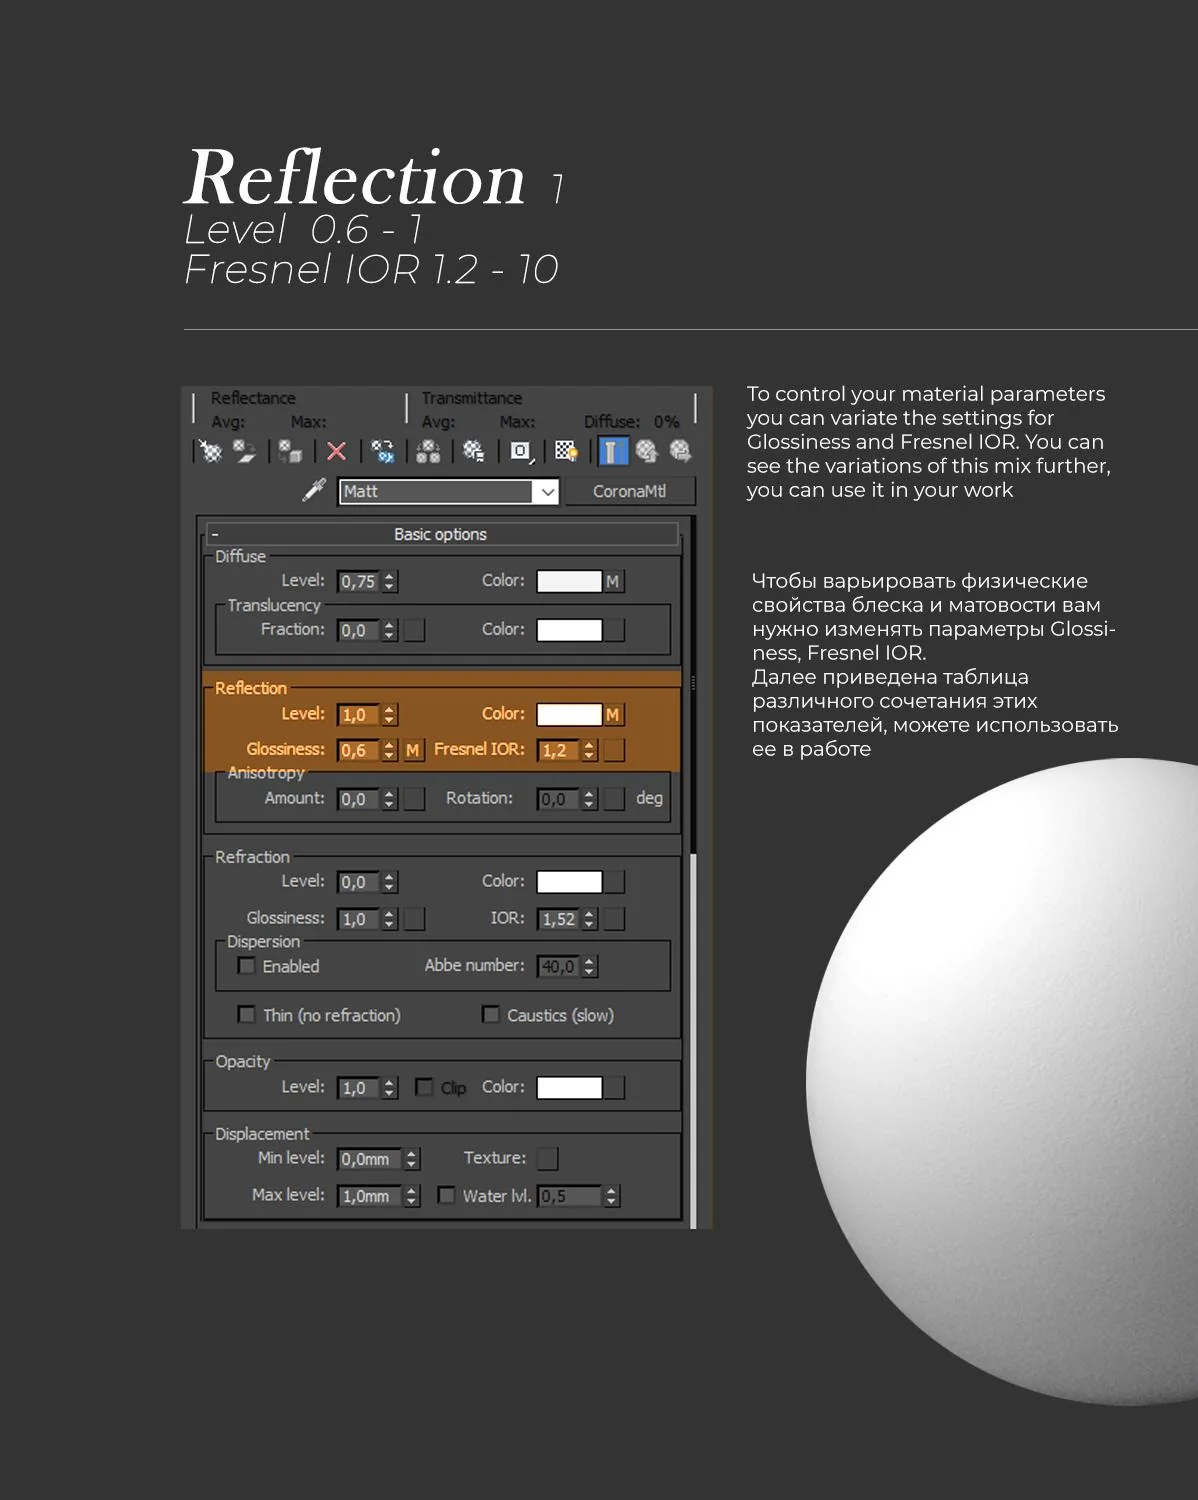
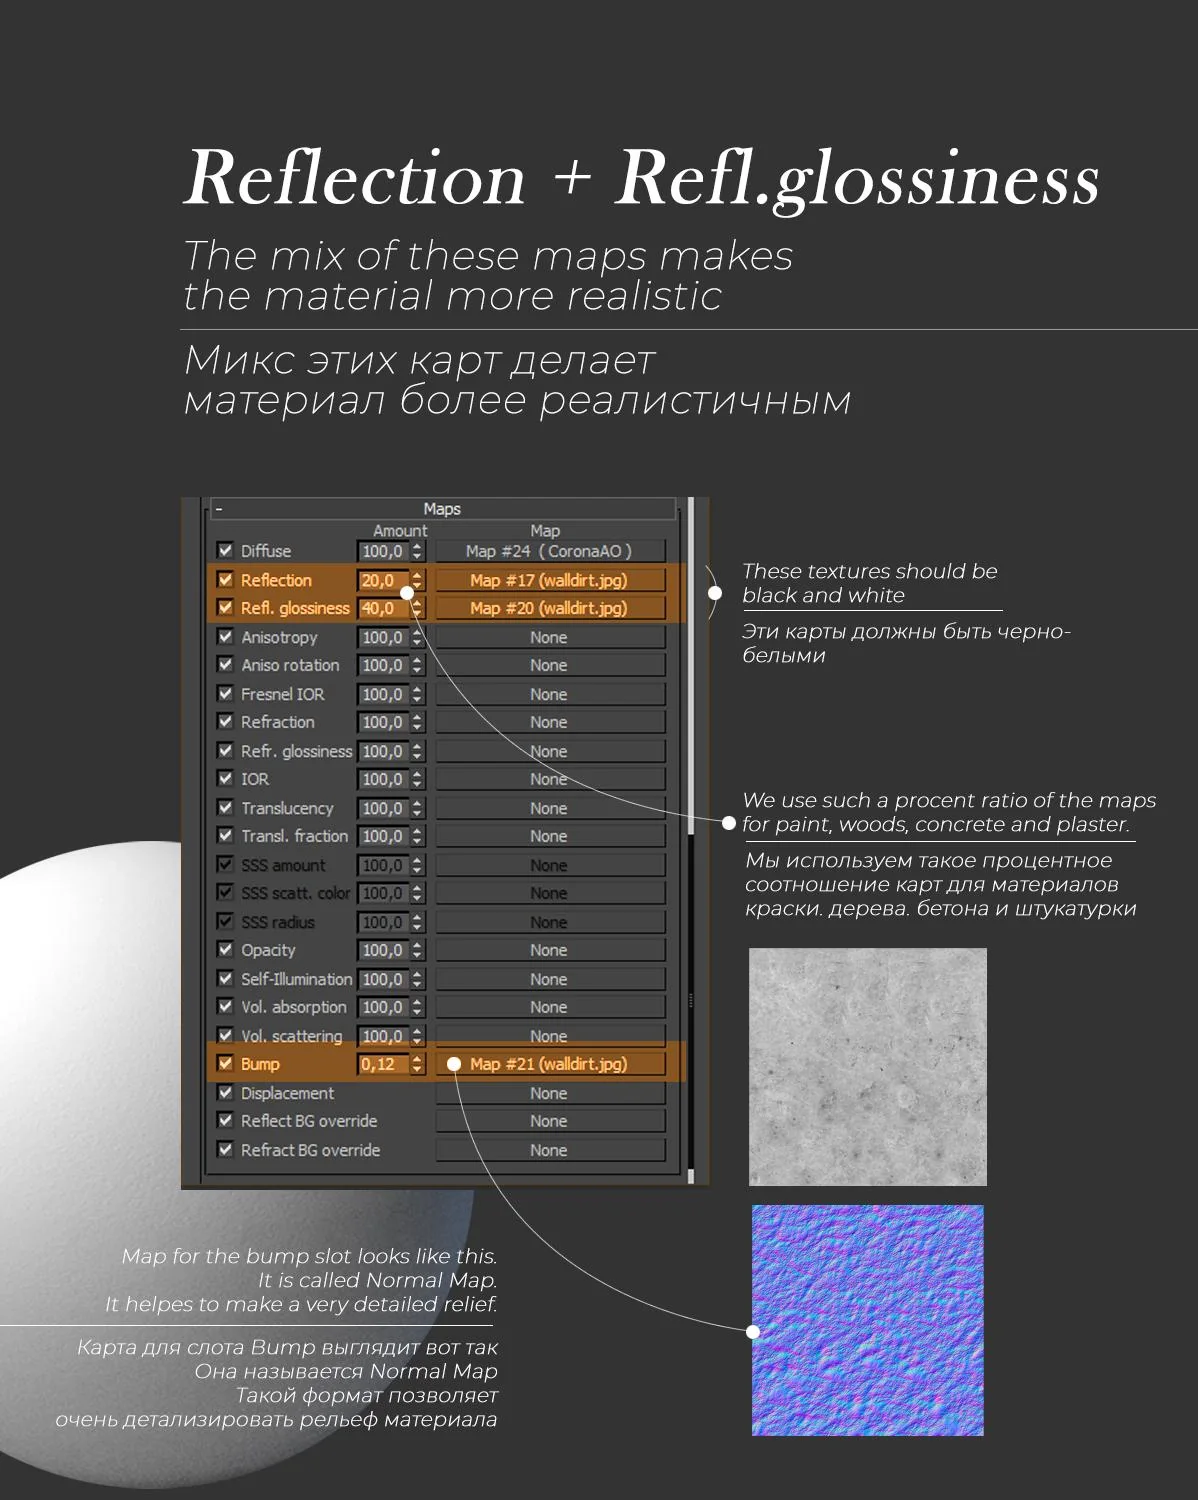
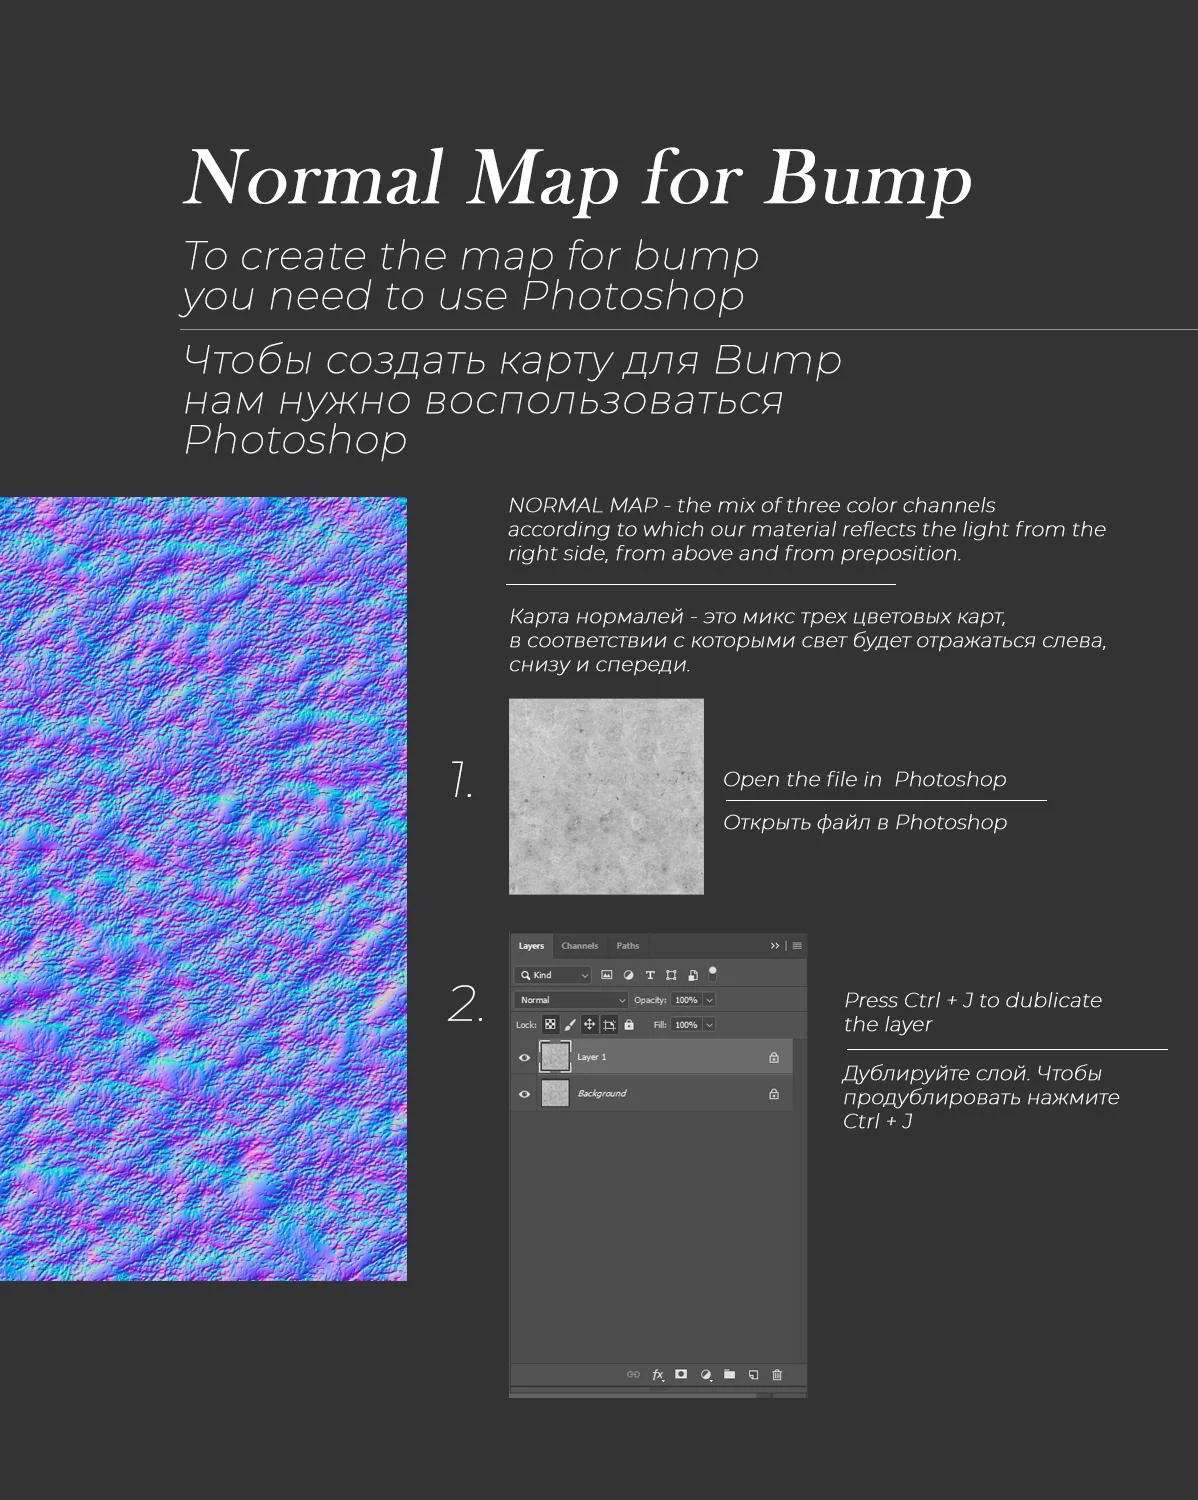
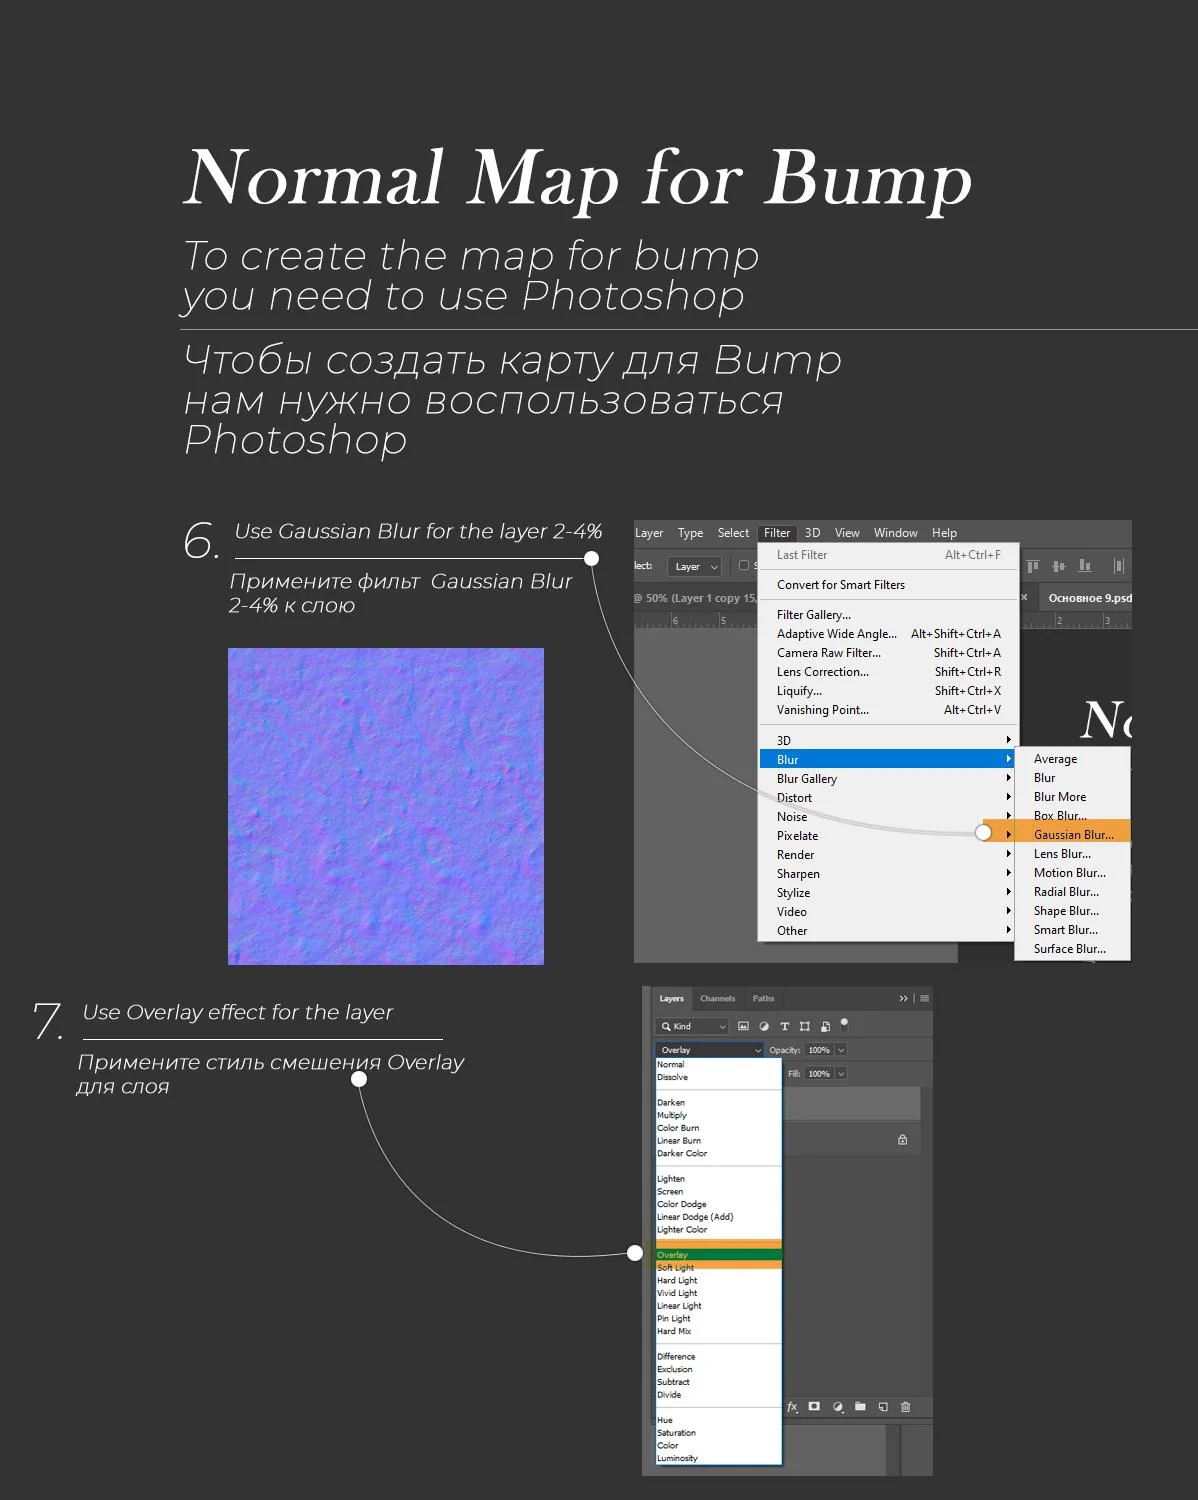
INTRODUCTION TO THE SUBJECT The next thing to consider when creating materials is the Reflection and MATERIALS Reflection glossiness maps. To create the effect of prints, small scuffs or just a not perfectly smooth surface, it is enough to put Dirt cards in the slots

with these qualities in a certain Setting up materials is responsible for 40% percentage ratio. of the success of your rendering. Realism depends on the correct mix of cards and After that, if the material needs any certain settings. relief, we use the Bump material quality.

We also assign a black and white Dirt We are confident that you know how to card to its slot. The higher the indicator, create basic materials. However, there are the more embossed the material will be. several techniques and actions that will definitely allow you to improve the quality But there is one secret - to create more

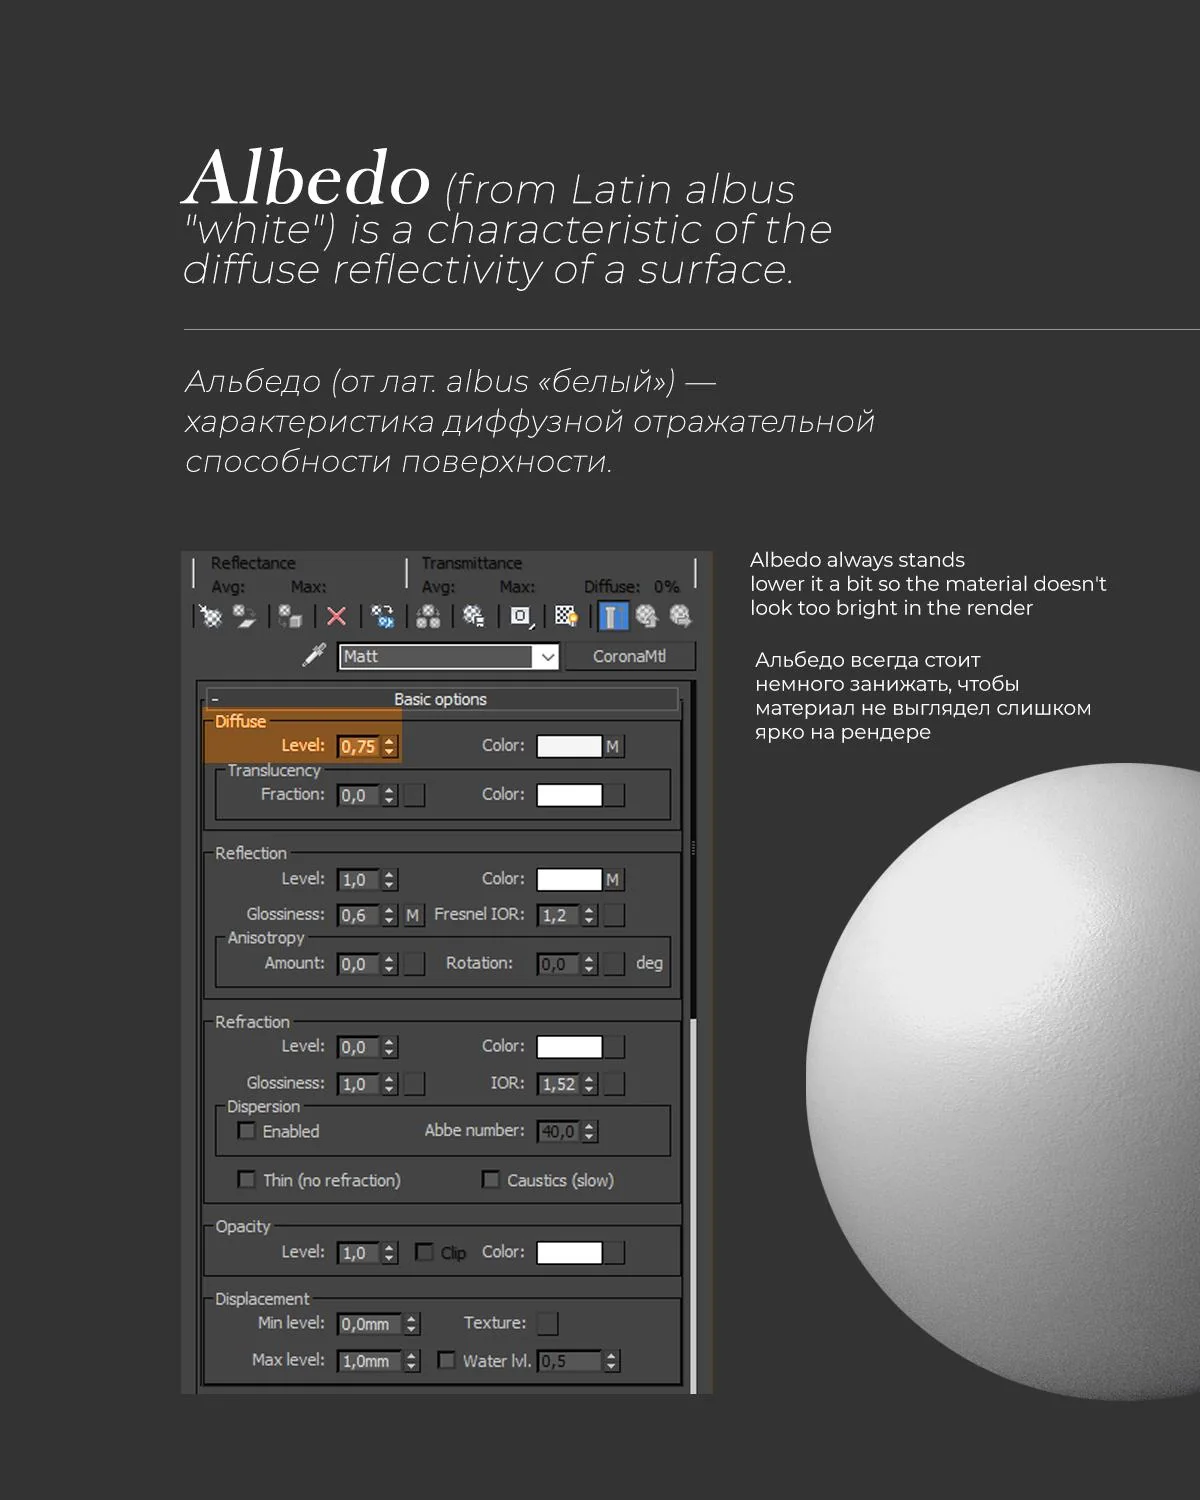
of materials for any model. realistic material, it is desirable to assign the Normal Map to the Bump First of all, it is necessary to understand map, it has more expressive abilities. what Diffuse level is - it is the degree of How to create a Normal map can be

light reflection from the surface. By seen below. default, it is at 1.0, this level should be reduced to at least 0.8-9 so that the material does not look "lit" on the render. This procedure should be done for any material.

Kf.School Ua | Eng | Pl | Fr | Pr

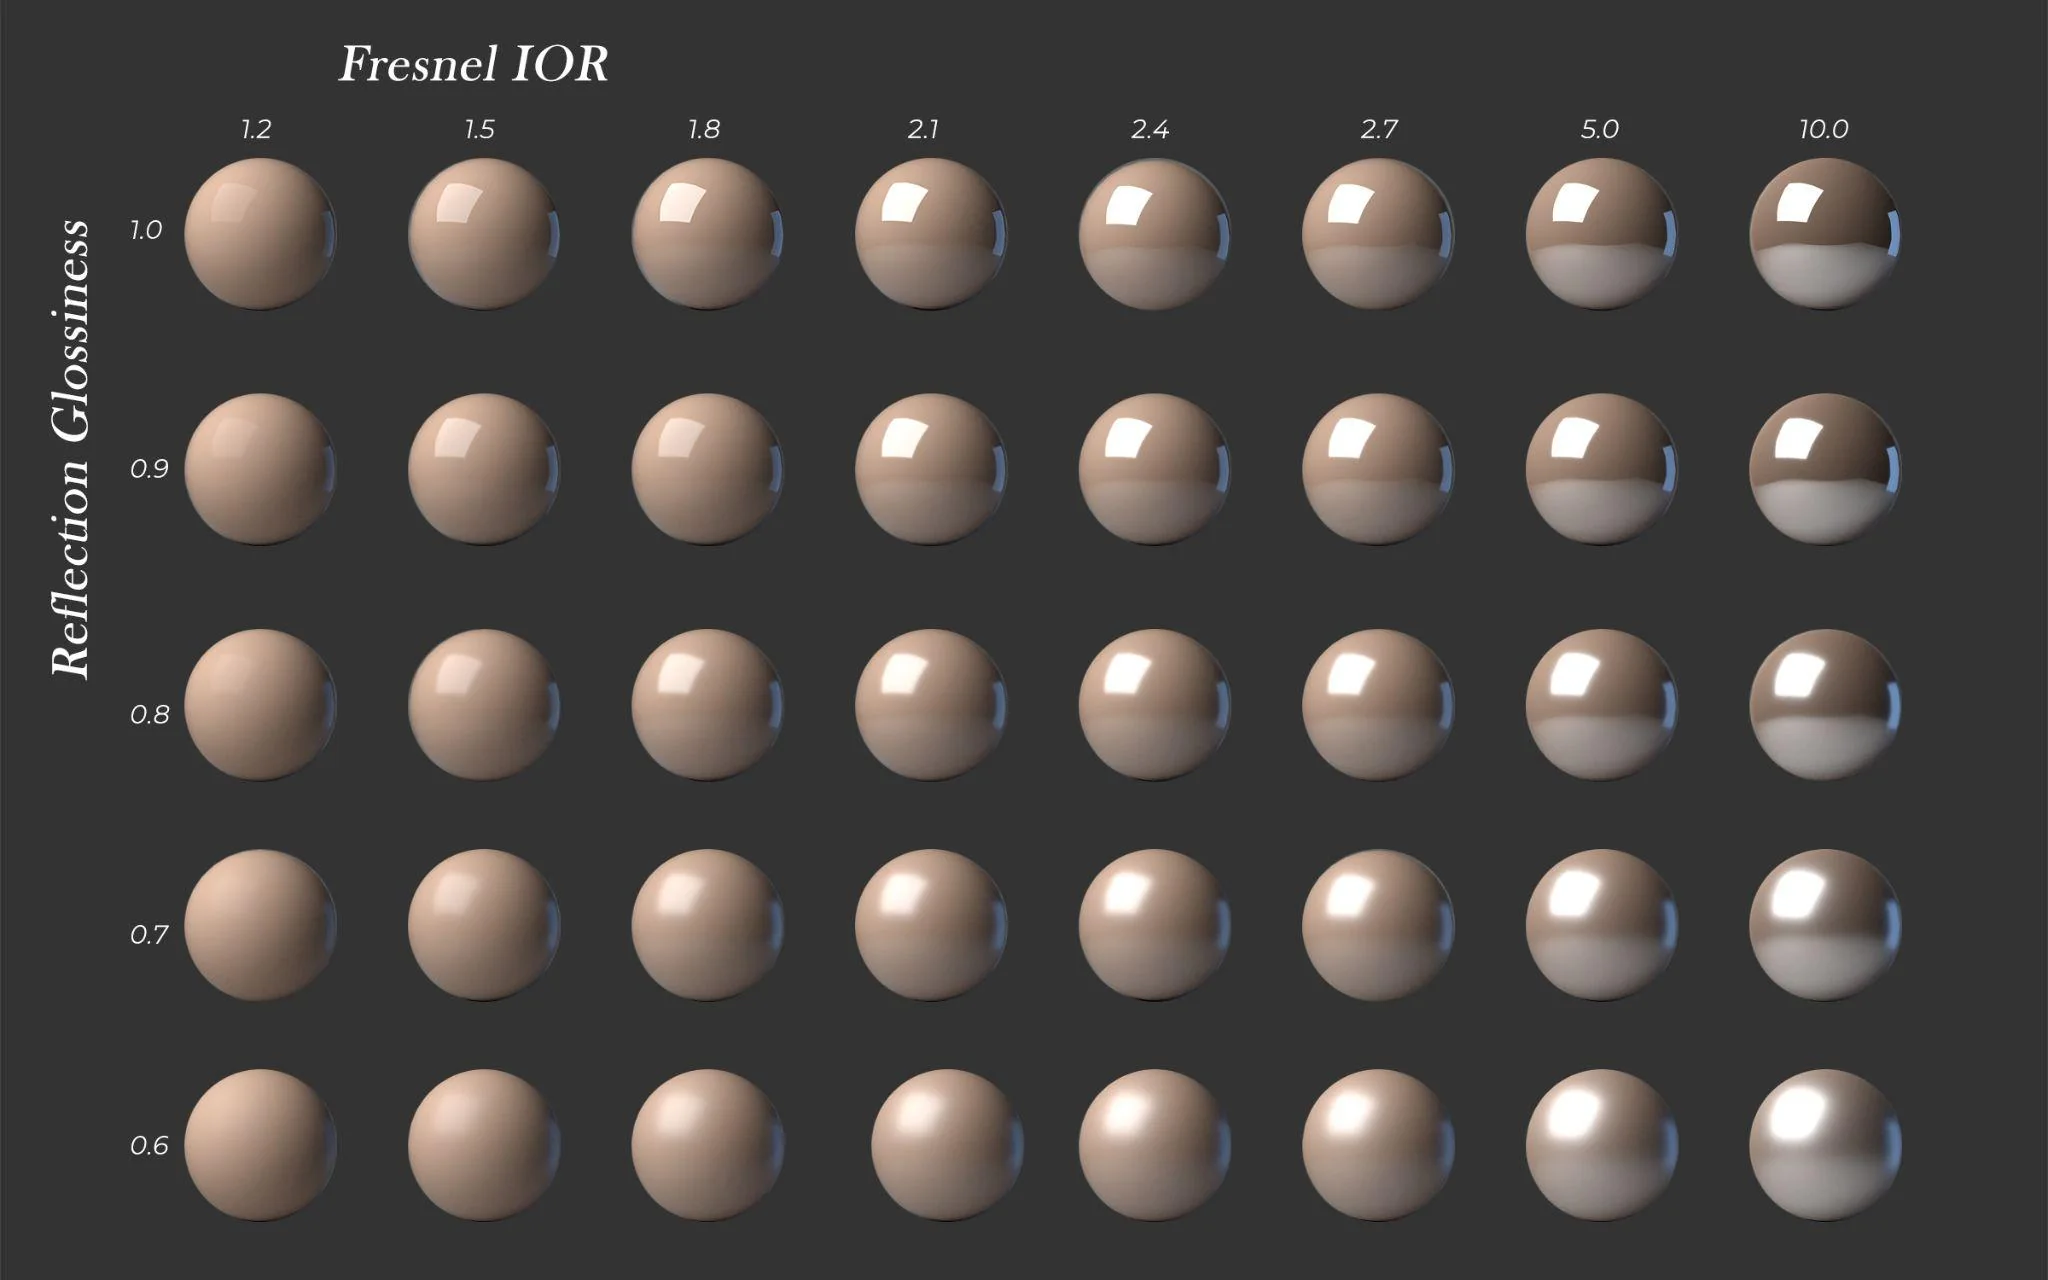
Regarding the degree of glossiness/matteness, it is enough to TEXTURE FOR PARQUET, change the Reflection glossiness and Fresnel IOR indicators. Below is a table of LAMINATE AND CERAMIC ratios of these indicators. GRANITE. Sometimes you have to draw a Bump map To create parquet and laminate material, yourself. Below you will find a video on we use the Multitexture map. For it, we will

how to draw the simplest maps using need to create maps for each die Photoshop. separately, since Multitexture works in conjunction with the Floorgen script, which automatically creates a large number of dies as elements of parquet, laminate or porcelain stoneware.

To create textures in such a quantity, we need to use Photoshop. It is also very convenient that you can create several dies even from one picture, below you will see a synopsis and a video of how to do it.

Video tutorial "How to create maps for Multitexture".

43

CHAPTER 6

Main material rules

Slide 106 introduces the manual; 107-109 become zoomable technical pages including Albedo, Reflection/Refraction and Fresnel table.

01

Slide 106

Бібліотека

MATERIALS 3dsMAX Corona renderer

Perfect Render Course By Kf

Below You Will Find Methodological Material With Instructions For Materials

Kf.School Ua | Eng | Pl | Fr | Pr

02

Slide 107

Бібліотека

Ua | Eng | Pl | Fr | Pr

03

Slide 108

Бібліотека

Ua | Eng | Pl | Fr | Pr

04

Slide 109

Бібліотека

ТАБЛИЦІЯ ВЗАЄМОДІЇ Reflection Glossiness та Fresnel IOR

Hi Nt

44

CHAPTER 6

Checkpoint: basic vs advanced

Бібліотека

MATERIALS 3dsMAX Corona renderer

Perfect Render Course By Kf

IF YOU'VE STUDYED ALL OF THE ABOVE, YOUR MATERIALS WILL PROBABLY LOOK MUCH BETTER ALREADY.

Kf.School Ua | Eng | Pl | Fr | Pr

BUT, IF YOU WANT EVEN COOLER, THEN YOU SHOULD CONTINUE STUDYING THE MATERIAL BELOW KF.SCHOOL UA | ENG | PL | FR | PR

45

CHAPTER 6

AO, glossiness and Normal Map

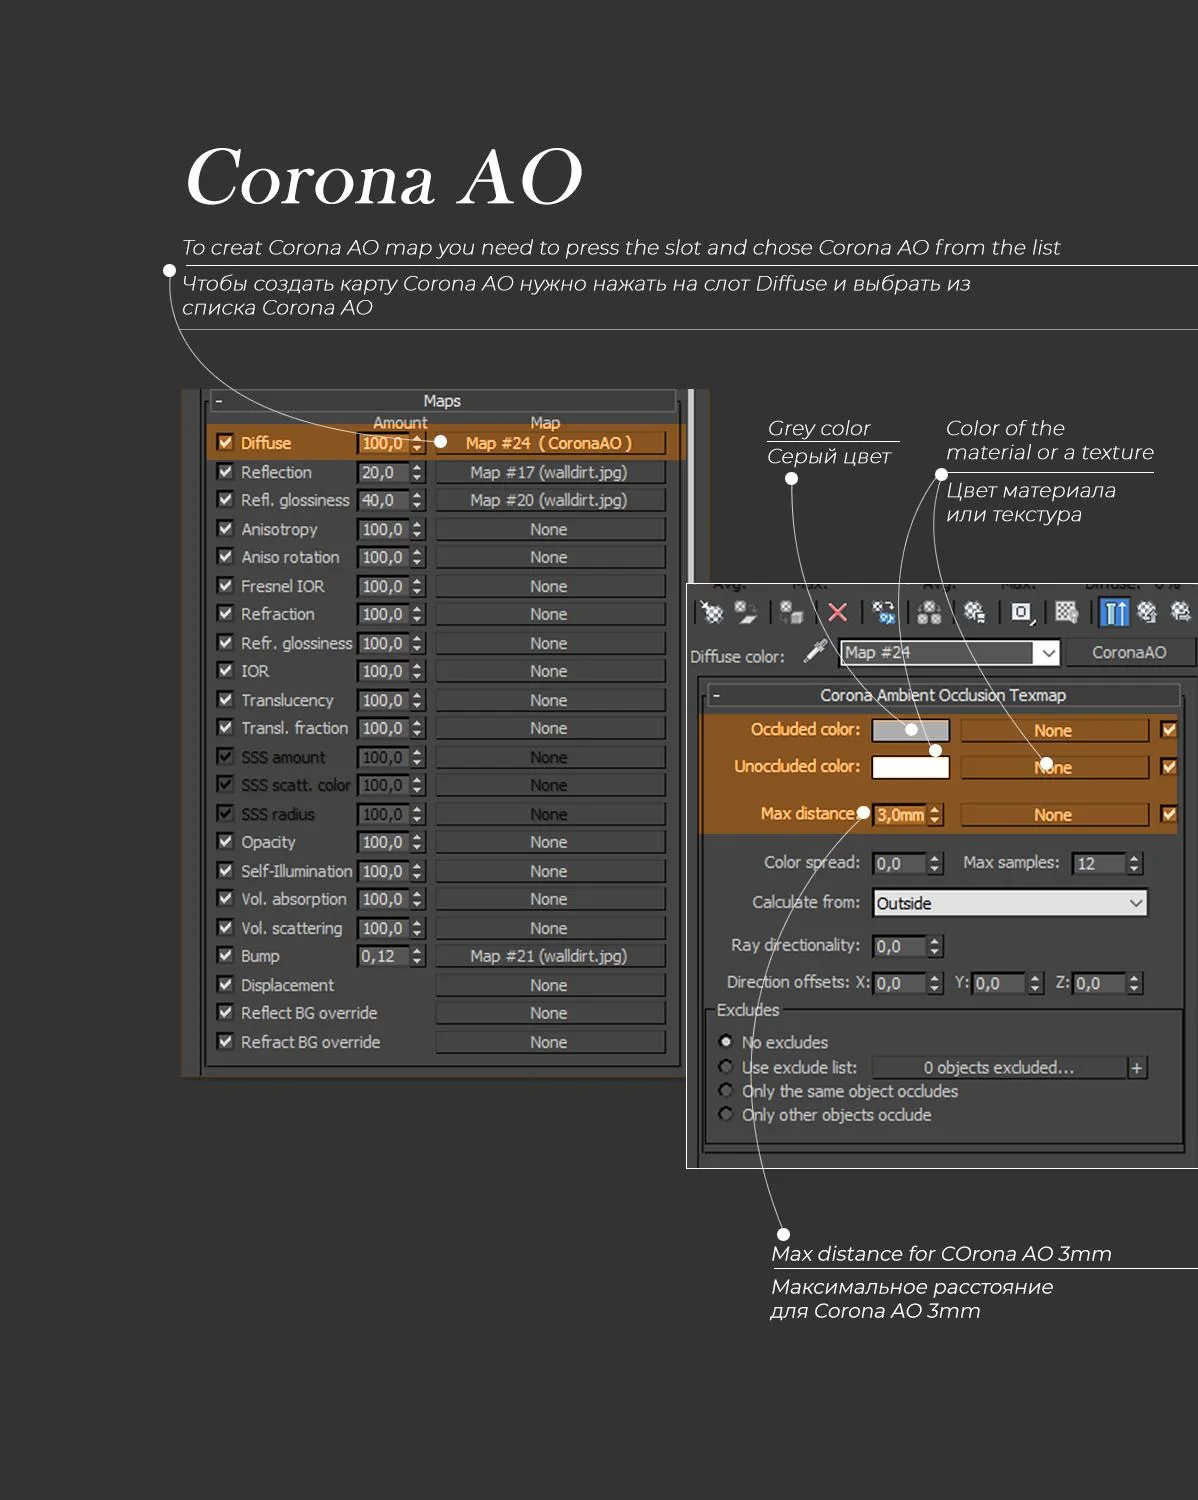
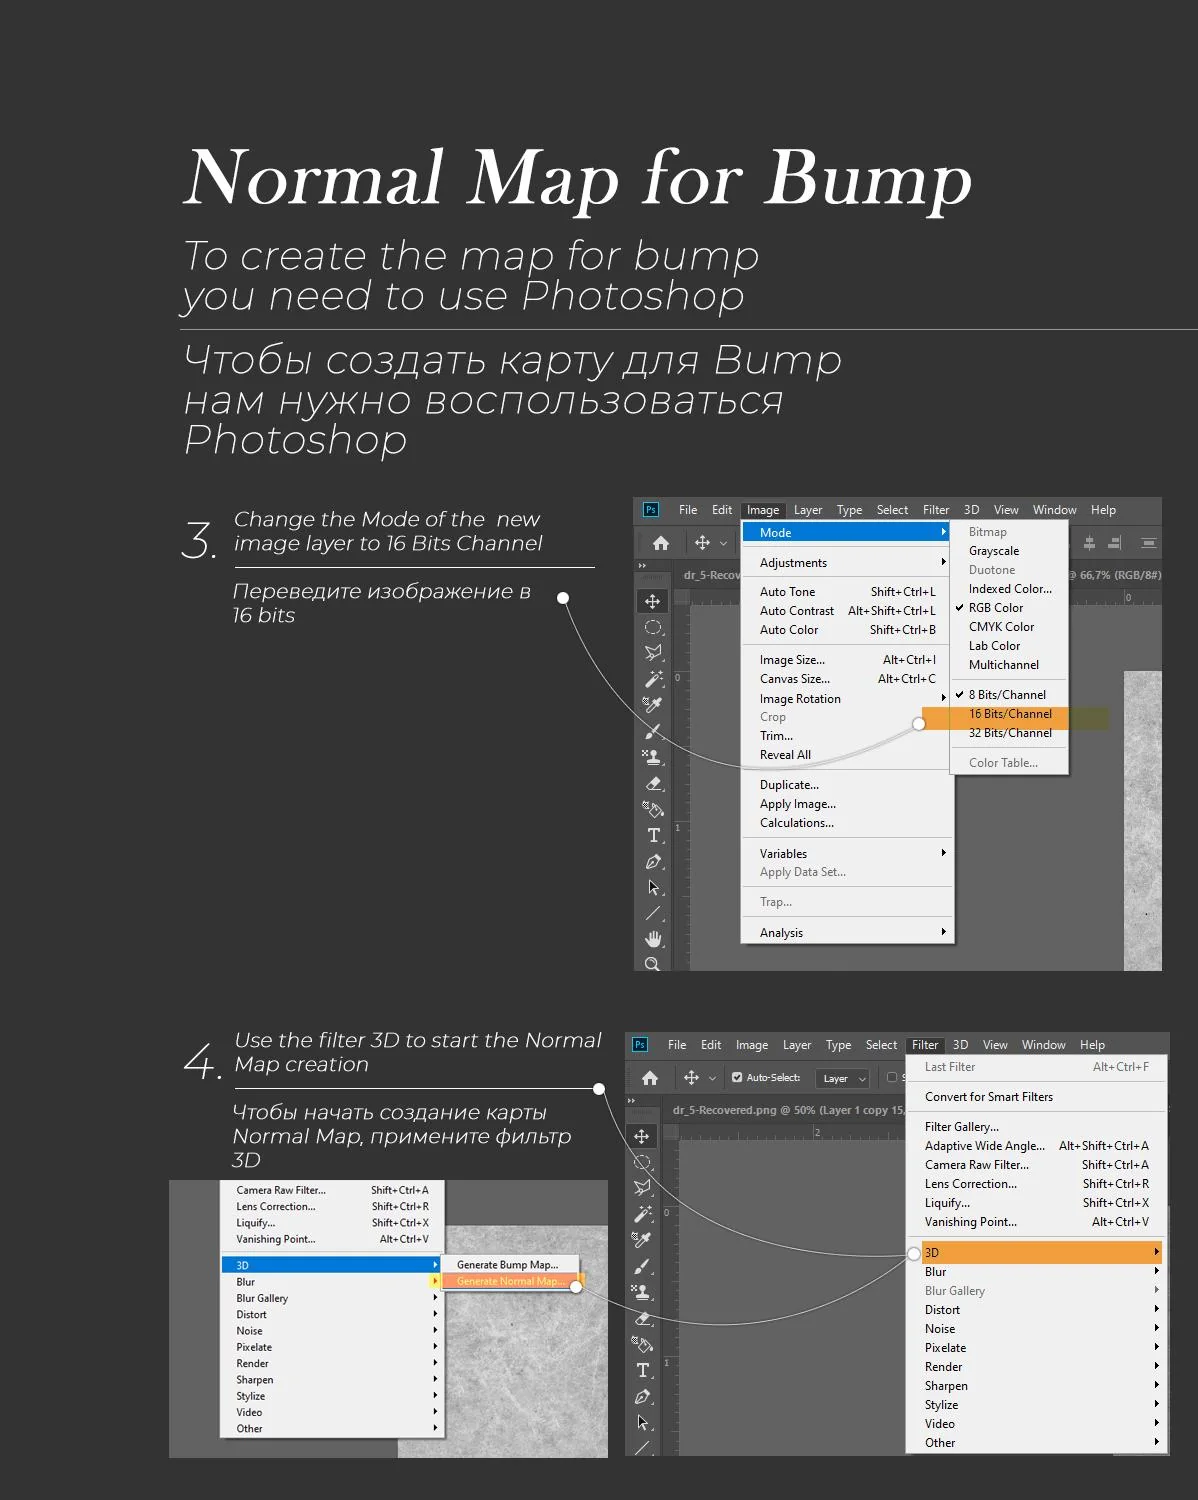
Corona AO, Reflection + Glossiness and complete Normal Map/Bump workflow stay in order.

01

Slide 112

Бібліотека

02

Slide 113

Бібліотека

03

Slide 114

Бібліотека

04

Slide 115

Бібліотека

46

CHAPTER 6

MultiTexture workflow

One continuous process with screenshots; preserve each step.

01

Slide 116

Бібліотека

02

Slide 117

03

Slide 118

Бібліотека

Ua | Eng | Pl | Fr | Pr

47

CHAPTER 6

Basic material recipes

Use as local navigation to Paint, Metals, Concrete and Glass subsections.

01

Slide 119

Бібліотека

MATERIALS 3dsMAX Corona renderer

Perfect Render Course By Kf

BASIC MATERIALS instructions and basic knowledge

Kf.School

48

CHAPTER 6

Paint material

Keep material preview plus settings page.

01

Slide 120

02

Slide 121

Ua | Eng | Pl | Fr | Pr

49

CHAPTER 6

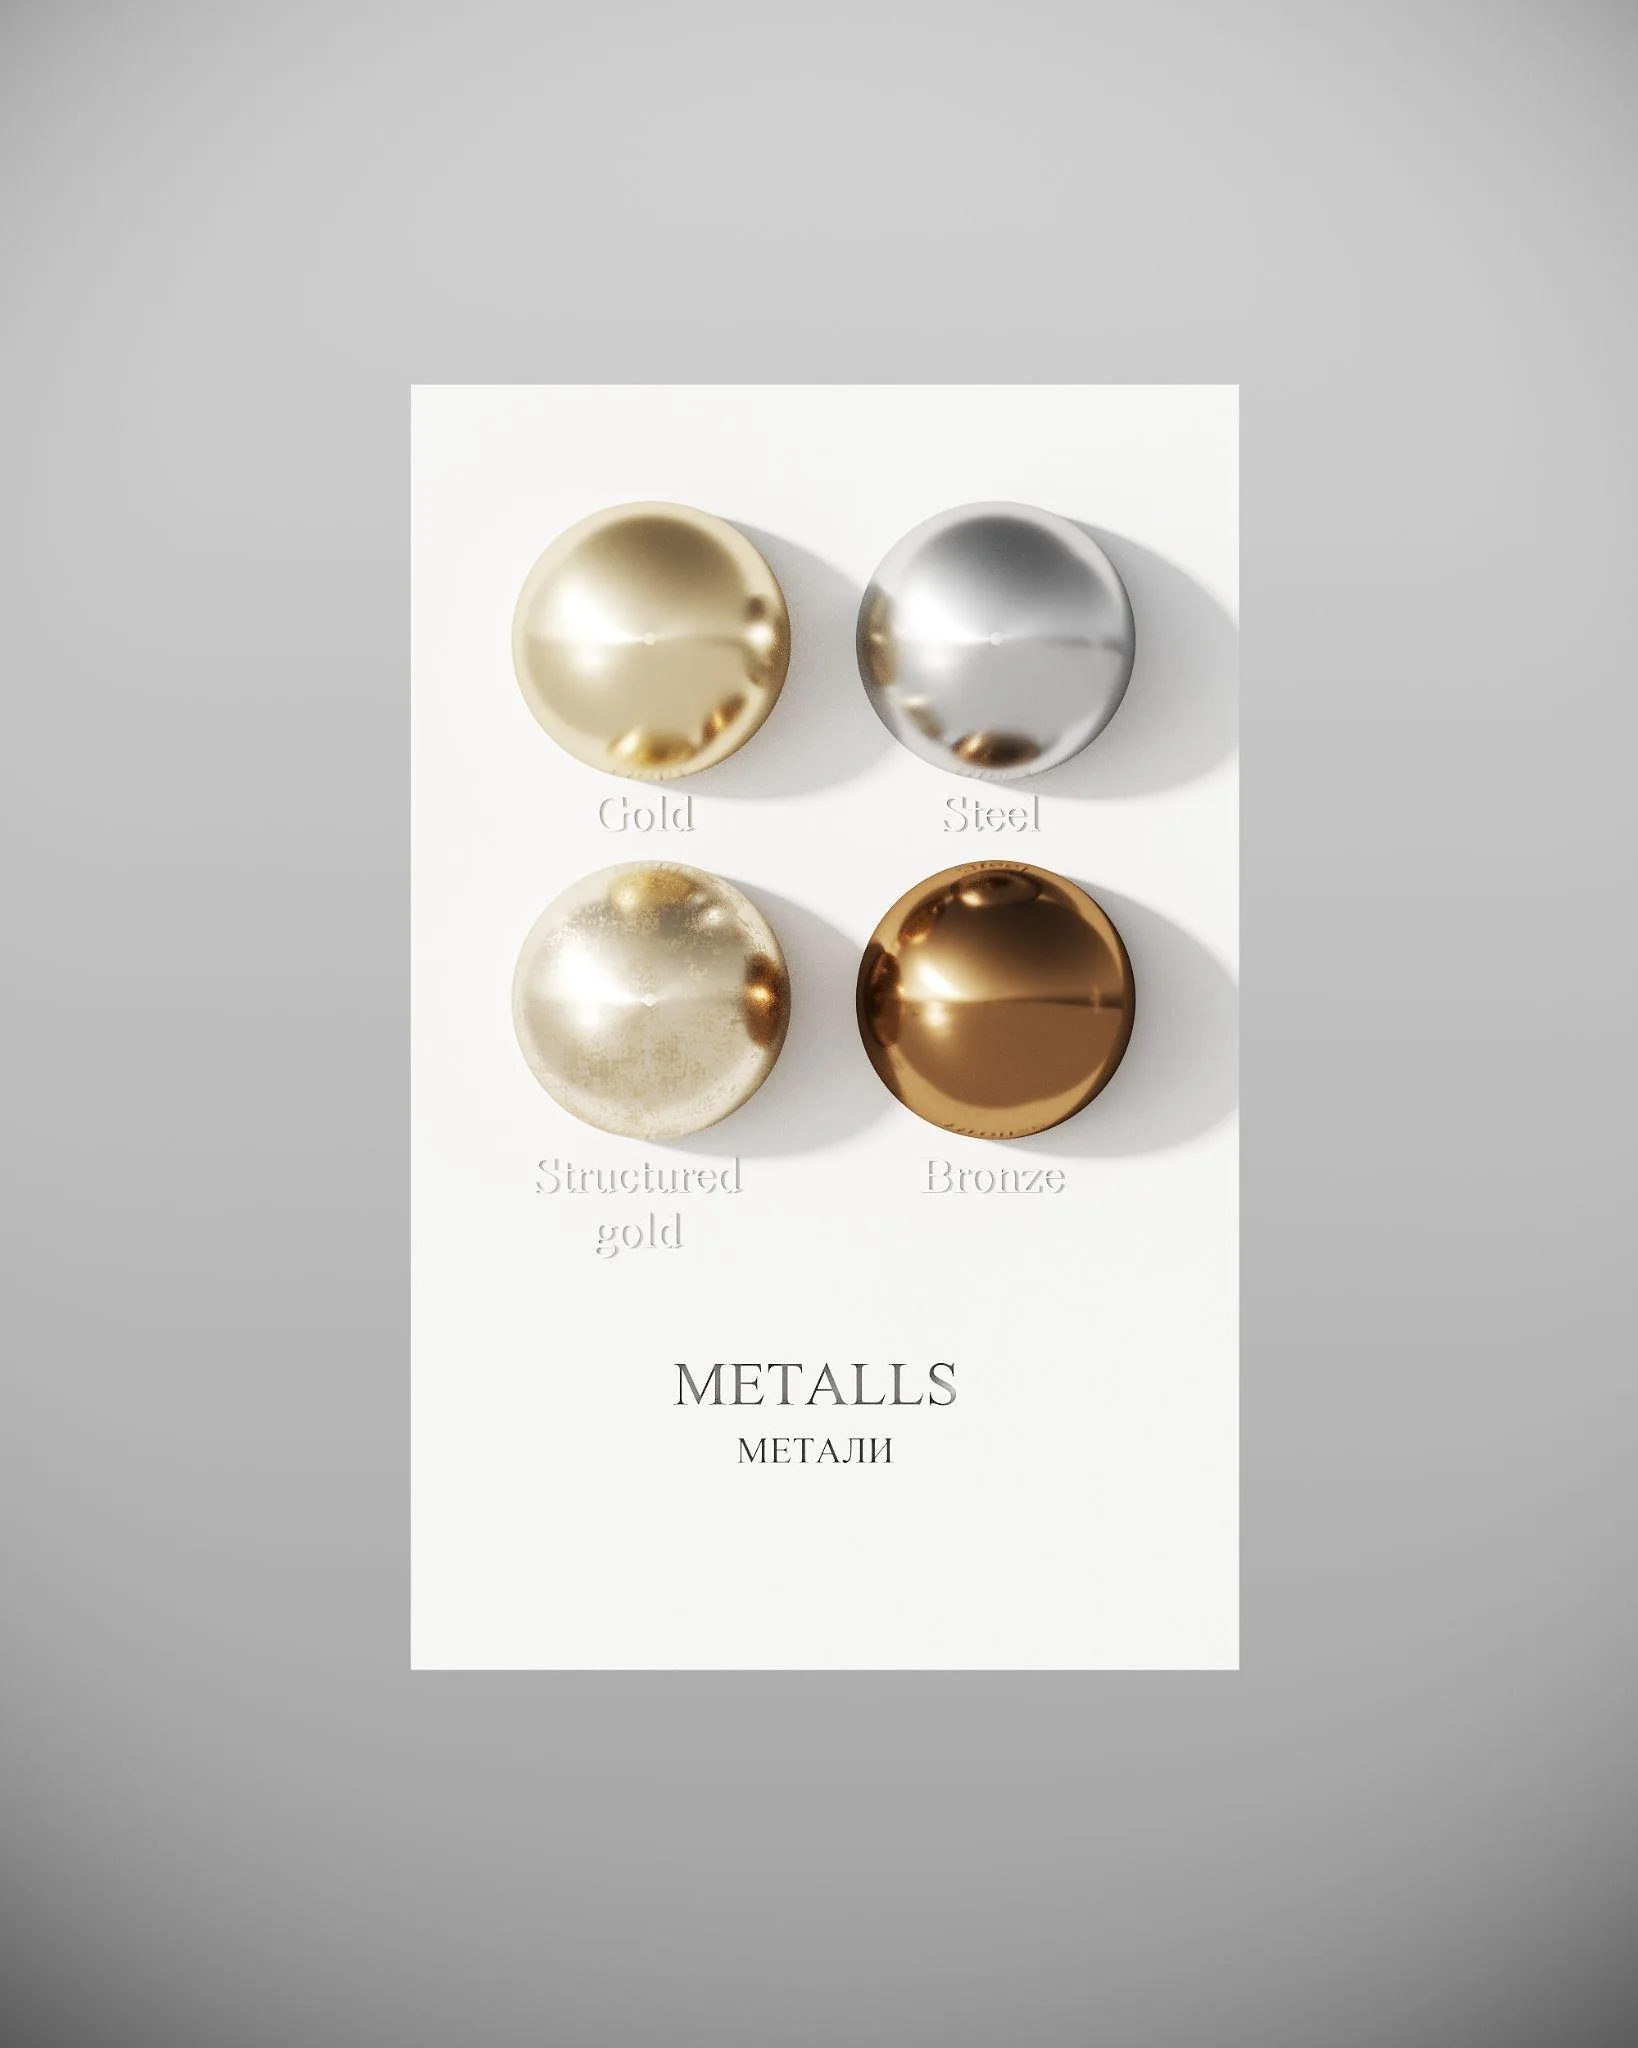
Metal materials

Three related metal recipes become tabs, without removing parameters.

01

Slide 122

Ua | Eng | Pl | Fr | Pr

02

Slide 123

Ua | Eng | Pl | Fr | Pr

03

Slide 124

50

CHAPTER 6

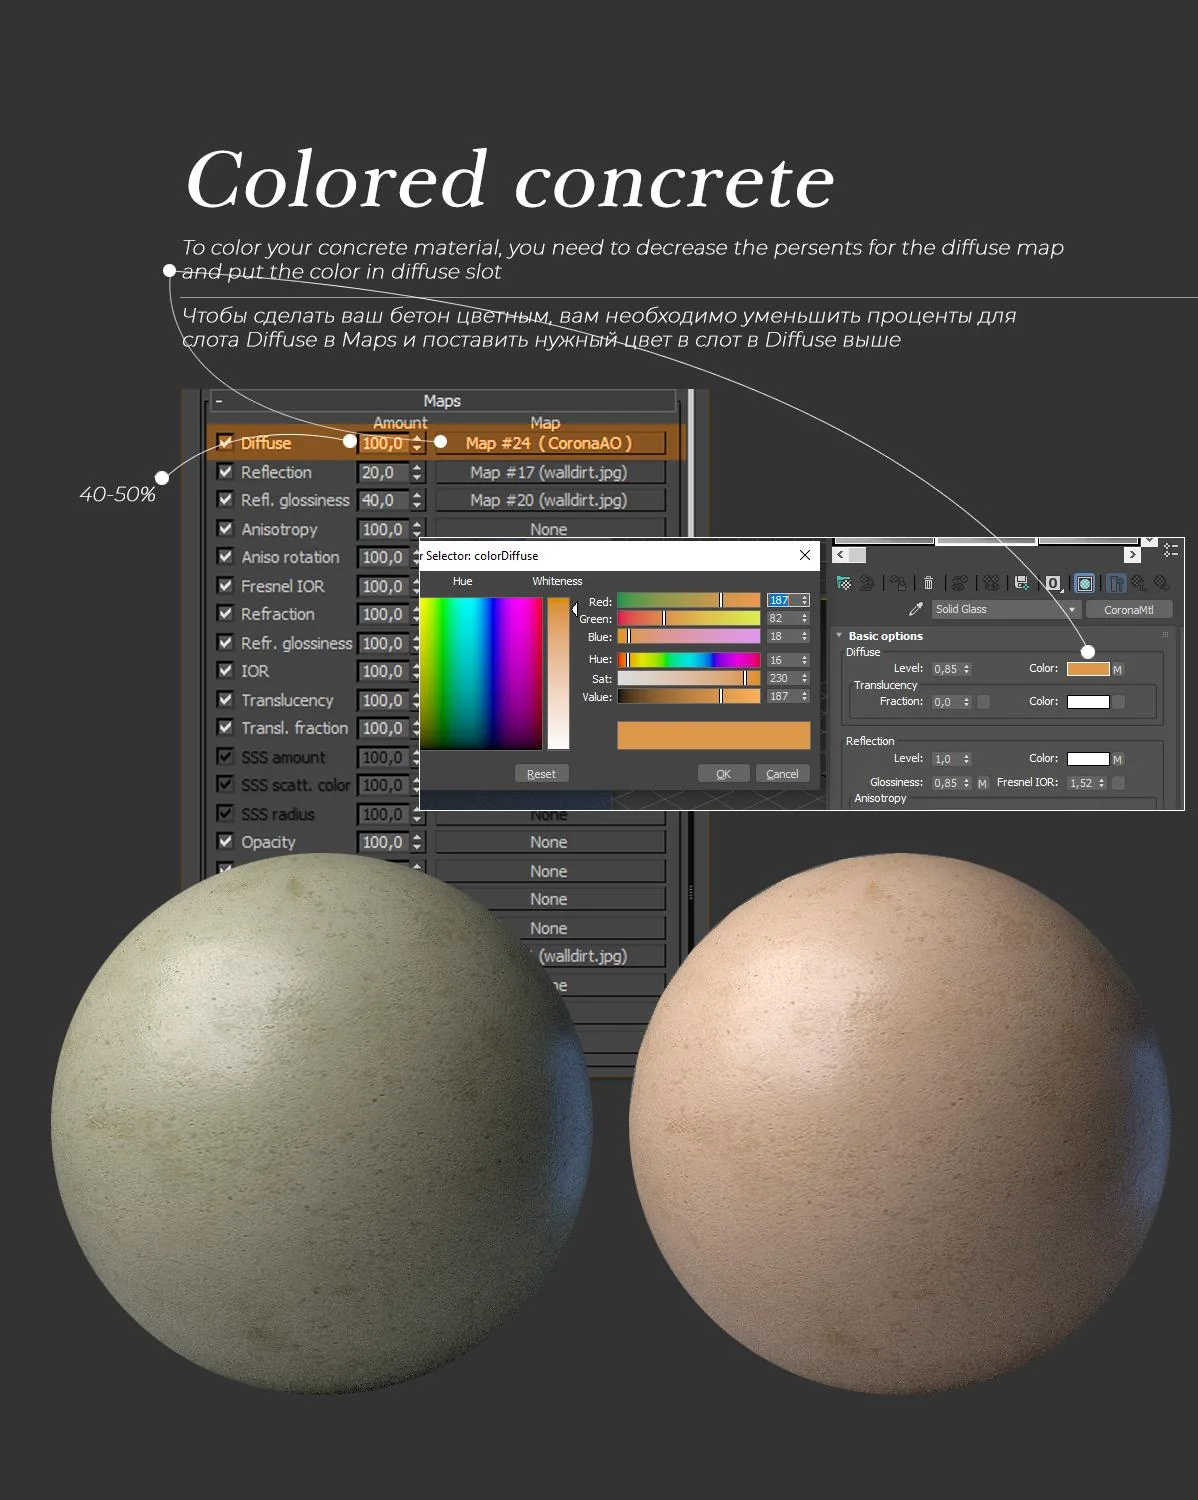
Concrete materials

Two related recipes become tabs.

01

Slide 125

Ua | Eng | Pl | Fr | Pr

02

Slide 126

Ua | Eng | Pl | Fr | Pr

51

CHAPTER 6

Glass material

Preserve material settings and example.

01

Slide 127

Ua | Eng | Pl | Fr | Pr

52

CHAPTER 6

Self-illuminated glass

Combine two setup pages into one sequential recipe.

01

Slide 128

Ua | Eng | Pl | Fr | Pr

02

Slide 129

Ua | Eng | Pl | Fr | Pr

53

CHAPTER 6

Tulle / half-see-through fabric

Preserve settings and example.

01

Slide 130

Ua | Eng | Pl | Fr | Pr

CHAPTER 07

Composition

54

CHAPTER 7

Composition: foundations and unity

Бібліотека

Perfect Render Course By Kf

Chapter 7 Composition In Photography And Graphics

Kf.School Ua | Eng | Pl | Fr | Pr

Composition In Photography And Graphics

Composition is perhaps the most important subject in art. A composition can be a work of art in itself. To create it, you can use shape, color, textures, light or all together.

To begin with, to move on to the topic The law of unity says that if you remove of Sorona Camera, we need to say a few any element from the composition, the words about composition in the composition will look inferior. classical sense, as well as from the point

of view of interior photography. The Unity fills the image with content, composition plays the most important places each element of the project in role in the construction of the frame. the right place and brings the Understanding composition in the relationship of all elements into a state

classical sense will help you understand of harmony and balance. Unity the principles of creating three- determines the state of the entire dimensional illustration, and the basics composition and regulates both the of interior photography will help you relationship of individual elements to

build frames for your interior scenes. the overall design and their relationships. Composition in art is built according to several laws: the law of unity, balance and the law of dominance.

Unity can be achieved in several ways:

●

by repetition or rhythm of elements

●

harmonious color palette

●

using similar shapes or geometric figures

●

using free space around objects

55

CHAPTER 7

Balance, symmetry and golden ratio

Бібліотека

Law of equilibrium Any work of art must be balanced for harmonious perception. Even an unusual composition is subject to the law of balance, because this is the only way it will look complete. What does it mean?

When the author depicts any objects in his work, he places them on the plane of the sheet or canvas, taking into account not only the composition of the objects, but also including the free space of the canvas in the composition. The distribution of objects in a letter can create a sense of

movement, elimination, balance, etc.

The composition can be static or dynamic. The static composition radiates a sense of calm, the viewer does not get the impression that the objects are trying to move somewhere from the page, the author does not invite to think through the development of the scenario.

With a dynamic composition, everything is quite the opposite - the author places objects as if depicting movement or a dance of objects, creating a plot with development.

KF.SCHOOL UA | ENG | PL | FR | PR Робота студентки

Symmetry and asymmetry in a balanced composition. The easiest way to achieve balance is to place the object in the center. Then the left and right sides of the composition will be the same, as if reflected in a mirror, thus our composition will be symmetrical. Symmetry

can also be achieved by placing two identical objects from two parts of the sheet, in this case, you can also place an object in the center and our composition will be symmetrical again.

In the case of such simple compositions, the objects you depict should be as original as possible.

There is another composition scheme - asymmetrical. This is when the left and right sides of the picture are different. It was she who became popular because of her dynamism. Artists are more interested in asymmetry because it is more alive. But how to balance an asymmetric

composition in which the left and right sides, by definition, should not be the same?

Kf.School Ua | Eng | Pl | Fr | Pr

Work of a student 136

The authors achieve balance in asymmetric compositions by balancing the composition with masses. That is, we kind of add the missing mass (by mass we mean size), placing a few more small objects in the part of the work where the smaller object is located to balance with

the large object located in the other part of the sheet. It will be asymmetry and balance at the same time.

Techniques can be completely different: symmetry, diagonal, centric, as well as the golden section. The golden section is the most profitable version of the composition, which allows you to achieve the harmony of the image, following only one rule - the rule of thirds.

Work of a student 137

Golden ratio - (golden proportion, otherwise: distribution in the extreme and average ratio, harmonious distribution) is the best, unique ratio of parts and the whole, in which the ratio of the parts to each other and of each part to the whole is equal. Such relations are observed in nature, in science and art.

Various systems and methods of proportioning in architecture are based on "golden sections". Source Wikipedia.

This name first appeared in 1509 during the Renaissance, but was known and widely used by ancient Mesopotamia, Egypt and ancient Greece.

The calculation of the ratio of parts to the whole has a certain formula (for more information on the golden ratio, please follow the link), but for convenience you can remember the percentage ratio of 62% to 38% or 6:4.

Let's see how it works on the example of renderings and analyze some compositions from examples of our works.

KF.SCHOOL Work of a student UA | ENG | PL | FR | PR

56

CHAPTER 7

Composition video lecture

Бібліотека

COMPOSITION 3dsMAX + Corona renderer

Perfect Render Course By Kf

Video lecture "Fundamentals of composition and practical application." Yuriy Kukushkin

Kf.School Ua | Eng | Pl | Fr | Pr

CHAPTER 08

Cameras

57

CHAPTER 8

Cameras: role and composition

Camera chapter opening plus explanation of final-shot thinking.

01

Slide 140

Бібліотека

Perfect Render Course By Kf

CHAPTER 8 CAMERAS у 3dsMAX + Corona renderer

Kf.School Ua | Eng | Pl | Fr | Pr

02

Slide 141

Бібліотека

Composition Of U Photographs And Graphics

Perfect Render Course By Kf

When your project is ready: the materials look realistic, the light fascinates the eye, and the design inspires, there is one more important moment - to properly record and present this beauty.

Kf.School Ua | Eng | Pl | Fr | Pr

03

Slide 142

Бібліотека

Placing the cameras in your scene, after it has already been created, is essentially a photo shoot for your project, which will be a presentation of your interior. It is the final shots that will demonstrate the atmosphere and emotions in which you wanted to immerse the viewer.

Of course, 3dsMAX offers many tools for creating atmospheric shots: closeup, bokeh effect, frame cropping, object exclusion.

Students who have already learned these tools from our previous courses have gotten great results without spending much time on it. After reading this chapter, you will definitely learn how to find the best angle for your interior, create selling close-up shots

with the Bokeh effect, and "sell" your work from the first shots.

Kf.School Ua | Eng | Pl | Fr | Pr

58

CHAPTER 8

Camera settings and framing

Sensor/lens, focal length, clipping and composition guidance remain one reference section.

01

Slide 143

Бібліотека

●

Depth of field

First, let's cover the basics of camera installation. Indicators that change the frame:

Responsible for blurring the frame. It can be controlled by distance or

●

Sensor&lens | Focal l.

assigned a specific object on which the camera will focus. Bokeh helps this tool

(mm) ● Bokeh If you want a wide horizontal or vertical frame, you should set this indicator to 25-35. If you want a detailed shot, a close-up, then the Probably, every visualizer dreams of making a spectacular shot with indicator should be increased from 120-250 mm Bokeh, where objects on the second and third planes are beautifully

blurred into whimsical shapes, thereby creating a beautiful dynamic picture. The ability to use this tool is activated after activating Depth of field Enable.

●

F-stop The higher you set Advanced effects Center bias and Anisotropy, the

more active the blur effect will be. Our default settings for Bokeh are: The focus point that is responsible for the sharpness of the image by Bladed Blade count 6 | Rotation 20 | Center bias 3 | Anisotropy 0.65 - controlling the distance for that focus. By default, the indicator is 0.16 0.75

It is also possible to use a card for a blur effect. It makes the blur drawing even more interesting.

Download maps KF.SCHOOL UA | ENG | PL | FR | PR0

02

Slide 144

Бібліотека

●

Environment and

Clipping Allows you to crop the frame, which is very convenient if some unwanted elements fall into the frame Turn on Enable, Visible in viewport, Far 32000, Near as you need.

●

Object visibility

Here you can select the elements that will be excluded from the frame's visibility.

Kf.School Ua | Eng | Pl | Fr | Pr

03

Slide 145

Бібліотека

What is important understand when placing cameras - it is important to take into account the rules of composition, depending on the elements in the frame, build the format of this frame, show horizontal general frames at the output of the project, as well as using vertical frames to emphasize the most

interesting and winning places of the project, with the help of close-up frames you can successfully demonstrate fabrics and materials used in the design.

Don't get upset if the shots don't turn out spectacular on the first try, practice will help you in this matter. The higher the number of attempts, the faster the frames will be released in each new scene.

Kf.School Ua | Eng | Pl | Fr | Pr

59

CHAPTER 8

Camera video lecture

Preserve playlist URL.

01

Slide 146

Бібліотека

CAMERAS 3dsMAX + Corona renderer

Perfect Render Course By Kf

●

Video lecture "Cameras in 3dsMAX + Corona renderer." Yuriy Kukushkin

Kf.Sch3Ool Ua | Eng | Pl | Fr | Pr

CHAPTER 09

Product Visualization

60

CHAPTER 9

Product visualization

Бібліотека

Perfect Render Course By Kf

Chapter 8 Product Visualization

Kf.School Ua | Eng | Pl | Fr | Pr

Today, the renderer has many opportunities to develop beyond interior rendering.

In this chapter, we will analyze lighting schemes and the principle of creating subject scenes and art illustrations.

You can download the scenes below if you haven't already.

61

CHAPTER 9

Product scene downloads

Preserve all scene folders and resource links.

Zip, 3dsMAX, Corona renderer

PRODUCT SCENES Subject scenes to study

Subject visualization with a white background.

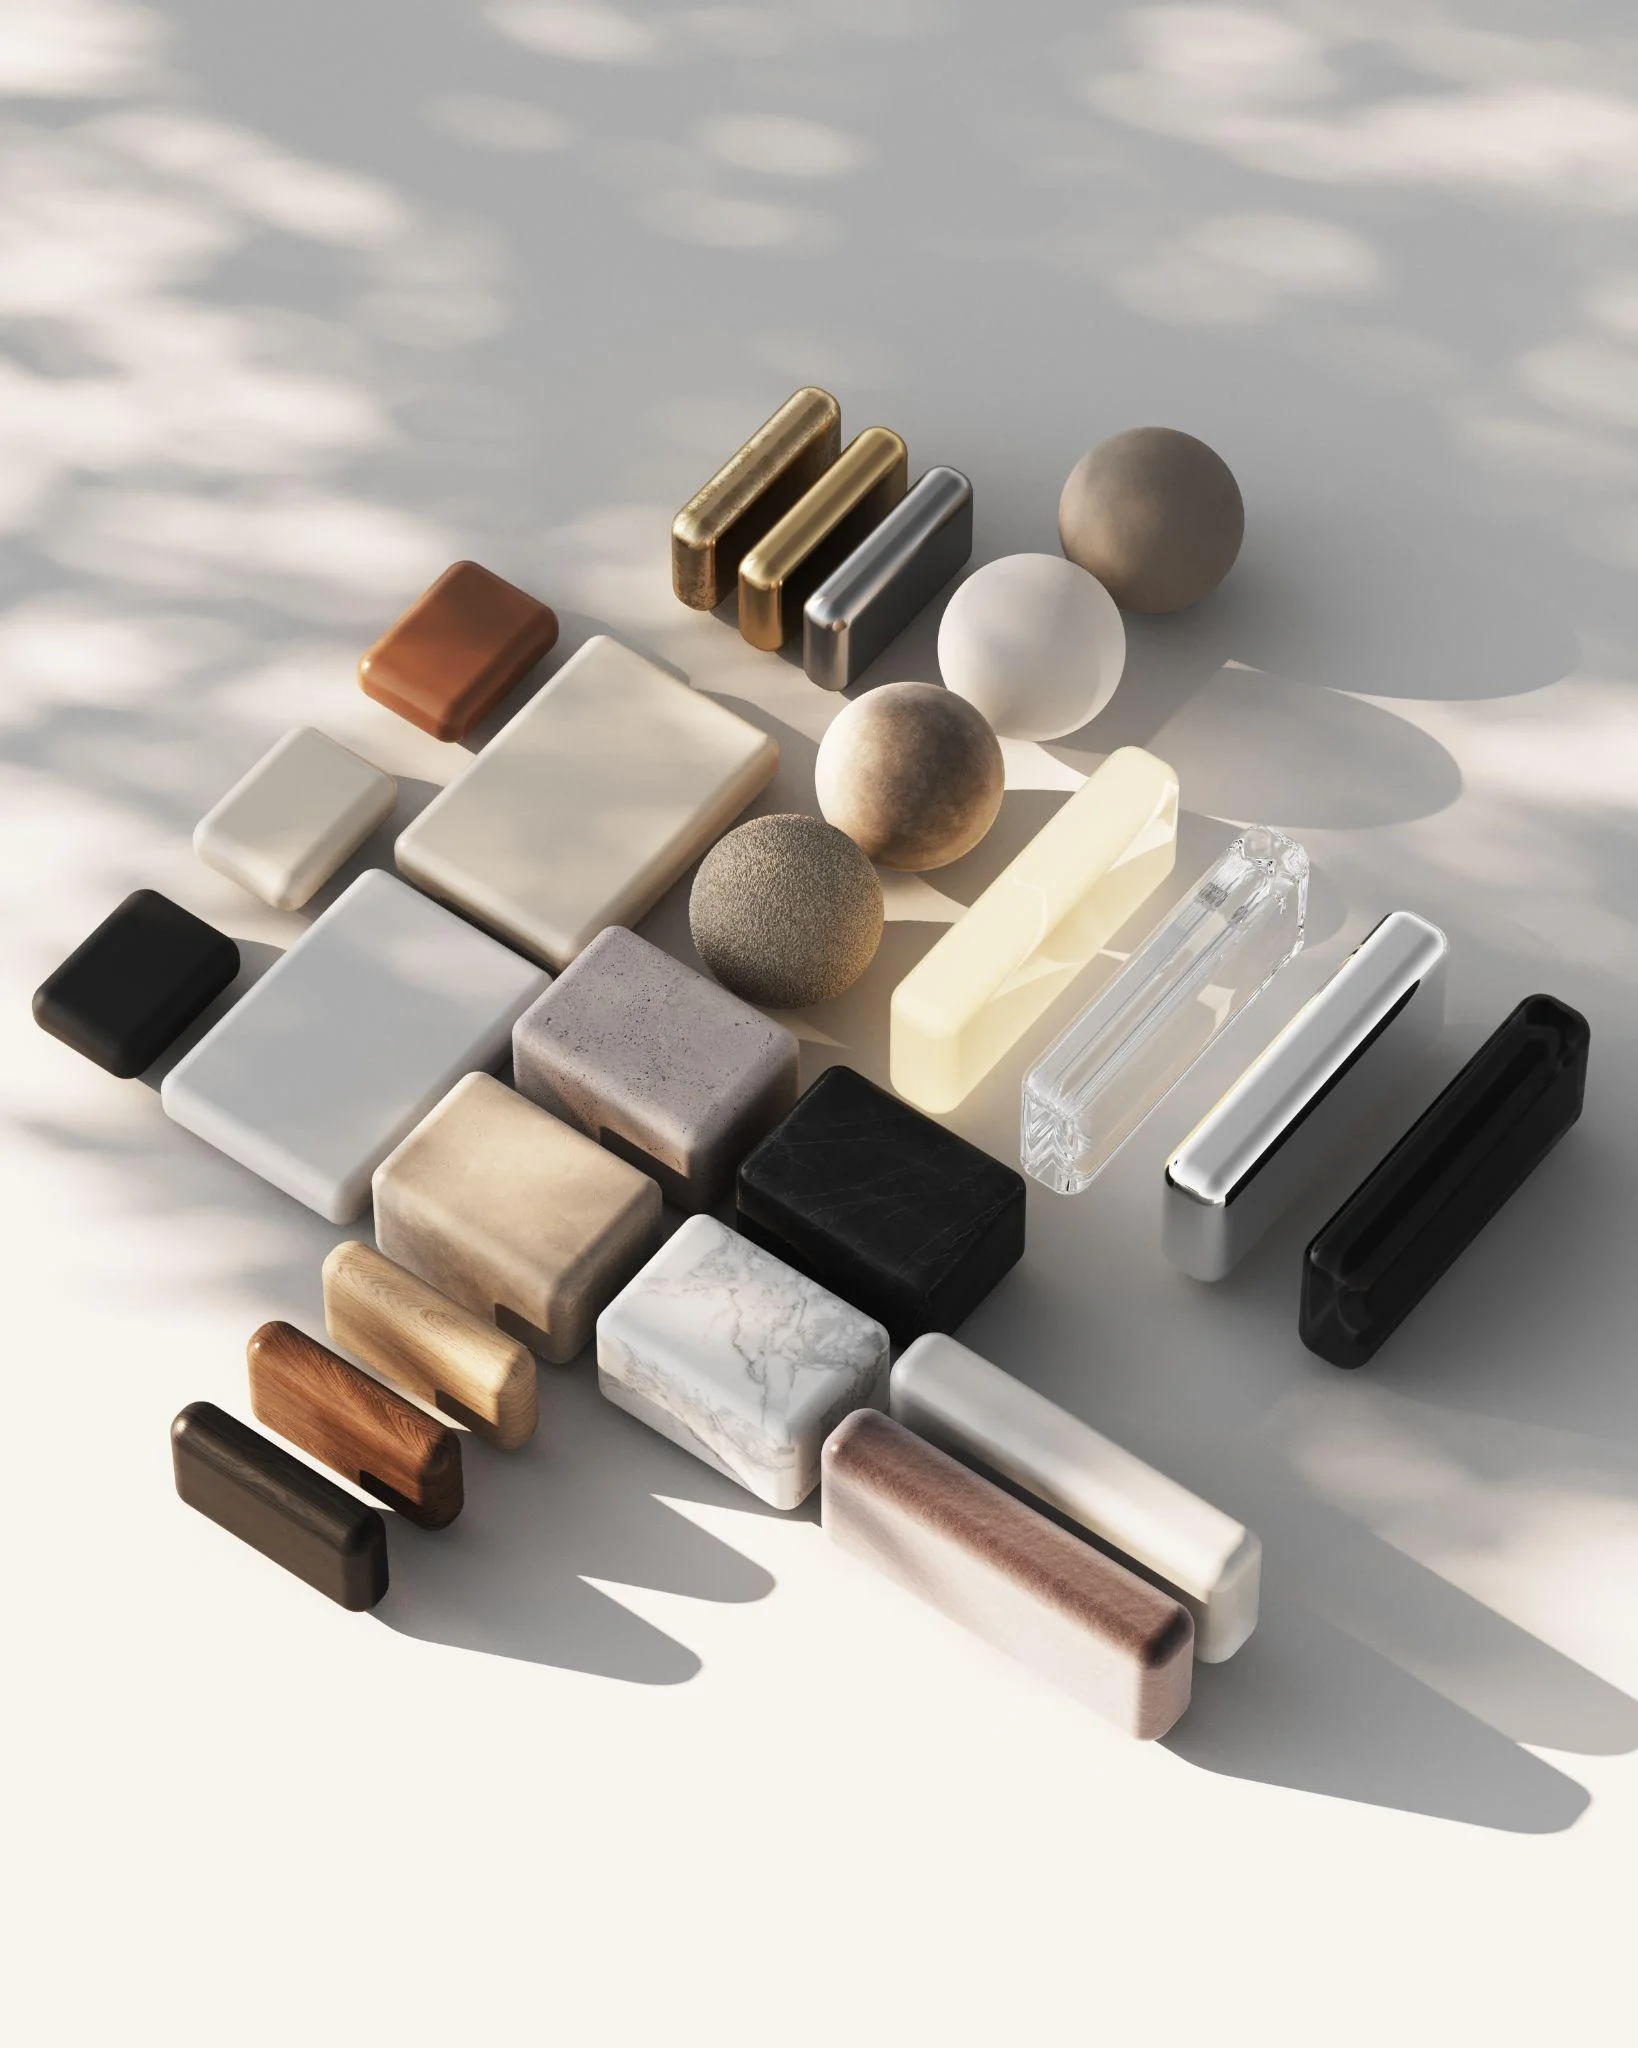
Sun shadows from leaves

Art illustration.

62

CHAPTER 9

Product visualization workflow

Catalog/advertising principles and scene analysis become one workflow; starting-scene link stays visible.

01

Slide 151

One of the directions in 3d visualization is visualization for catalogs and advertising. In this case, the frame, composition and basis of the visualization lies in the plane of concentration on the element of furniture, lighting or textiles depending on what you are promoting.

Object rendering skills can also be used in the direction of photo stocks that sell mockups for 2d designers to use in their work.

In order to effectively work in the direction of object visualization, you already have essentially everything: a starting scene, prepared materials and other necessary skills. For a better understanding, let's create a classic render with a white background for the subject and an even calm

light.

Kf.School Ua | Eng | Pl | Fr | Pr

02

Slide 152

3 Now let's analyze the scenes with subject visualization, which we prepared specifically for the course. The lighting schemes of each work are different, everywhere has its own techniques.

.

Kf.School Ua | Eng | Pl | Fr | Pr

03

Slide 153

We check the Corona sky, Environment and Effects, Corona Gamma and Frame Buffer parameters.

Kf.School Ua | Eng | Pl | Fr | Pr

04

Slide 154

Next, we check the light parameters.

Sun

Kf.School Ua | Eng | Pl | Fr | Pr

05

Slide 155

Kf.School Ua | Eng | Pl | Fr | Pr

06

Slide 156

PRODUCT VISUALIZATION 3dsMAX + Corona renderer

Perfect Render Course By Kf

●

You can use the starting scene of the course as a studio scene

Kf.School Ua | Eng | Pl | Fr | Pr

63

CHAPTER 9

3D illustration

3D ILLUSTRATION This type of 3d activity is derived from the subject visualization issue and requires only more active work of the imagination.

As a tip for novice object visualizers, we suggest practicing it in your free time by creating a scene based on references selected on Pinterest. All works on object visualization, presented in the course, were done precisely with references.

These exercises will help you understand the 3dsMAX tools at a professional level and teach you to get a feel for the lighting scheme and material properties.

Let's break down the 3d illustrations we created for the Pinterest reference course.

Kf.School Ua | Eng | Pl | Fr | Pr

64

CHAPTER 9

3D illustration case 1

Preserve geometry, environment, sun, artificial light, material and final result in order.

01

Slide 158

Now let's analyze the scenes with subject visualization, which we prepared specifically for the course.

The lighting schemes of each work are different, everywhere has its own techniques.

.

Kf.School Ua | Eng | Pl | Fr | Pr

02

Slide 159

First, you need to check the parameters of Corona sky, Environment and Effects, Corona Gamma and Frame Buffer.

Kf.School Ua | Eng | Pl | Fr | Pr

03

Slide 160

Next, we check the light parameters.

Sun

Kf.School Ua | Eng | Pl | Fr | Pr

04

Slide 161

Next, we check the artificial light parameters

Kf.School Ua | Eng | Pl | Fr | Pr

05

Slide 162

Next, we check the artificial light parameters

Kf.School Ua | Eng | Pl | Fr | Pr

06

Slide 163

It is also important to look at the material of the figure

Kf.School Ua | Eng | Pl | Fr | Pr

07

Slide 164

Kf.School Ua | Eng | Pl | Fr | Pr

65

CHAPTER 9

3D illustration case 2

Preserve settings and before/after/result.

01

Slide 165

2.

Kf.School Ua | Eng | Pl | Fr | Pr

02

Slide 166

We check the Corona sky, Environment and Effects, Corona Gamma and Frame Buffer parameters.

Kf.School Ua | Eng | Pl | Fr | Pr

03

Slide 167

Next, we check the light parameters.

Sun Plane

Kf.School Ua | Eng | Pl | Fr | Pr

04

Slide 168

Kf.School Ua | Eng | Pl | Fr | Pr

66

CHAPTER 9

3D illustration case 4

Preserve settings and final Bottega Veneta result. Editorial note: numbering jumps from 2 to 4; verify whether case 3 is missing.

01

Slide 169

4.

Kf.School Ua | Eng | Pl | Fr | Pr

02

Slide 170

First, you need to check the parameters of Corona sky, Environment and Effects, Corona Gamma and Frame Buffer.

Kf.School Ua | Eng | Pl | Fr | Pr

03

Slide 171

Next, we check the light parameters.

Sun

Kf.School Ua | Eng | Pl | Fr | Pr

04

Slide 172

Kf.School Ua | Eng | Pl | Fr | Pr

67

CHAPTER 9

Practice: create an illustration

Practice assignment remains directly after the case studies.

01

Slide 173

PRACTICE In the video below, we will create a composition together with you in life mode using a simple set of geometric shapes.

Kf.School Ua | Eng | Pl | Fr | Pr

CHAPTER 10

Personal Brand

68

CHAPTER 10

Self-presentation and personal brand

Perfect Render Course By Kf

CHAPTER 9 PRESENTATION OF SELF AND PERSONAL BRAND. COOPERATION WITH ABROAD CLIENTS.

Kf.School Ua | Eng | Pl | Fr | Pr

Presentation Of Self And Personal Brand

Today, it is extremely important to have a social profile that will present you on the Internet. Social networks give a specialist the opportunity to build his own space and feel comfortable there and have prospects for development.

69

CHAPTER 10

Portfolio, social networks and business-card site

Presentation

●

in fact, making your social

networks convenient and understandable is not as difficult

PORTFOLIO, SOCIAL as it seems, but you will need to work on the works themselves indefinitely.

NETWORKS AND SITE-BUSINESS ● The success of your portfolio, of course, depends primarily on the

CARD. portfolio itself.

Weblium.

Kf.School Kf.School Ua | Eng Ua || Eng Pl | Fr | Ru| | Prfr | Pr 2023 2022

70

CHAPTER 10

Website creation

Web Site Creation

Now there are many services for creating websites, very convenient and beautiful. One of them is Weblium.

In one click and replacing the pictures, you can present yourself

KF SCHOOL KF.SCHOOL UA | ENG | RU| FR | PR 2023 by KF interior
Adds For Free

As one brilliant person said: "NORMAL TO DO - NORMAL WILL BE"

This means that if you make progress in your business, the public will post you in their communities and an interested audience will come to you

This is called natural audience growth.

Public examples

Kf.School Ua | Eng | Ru| Fr | Pr

71

CHAPTER 10
Free promotion

What do we have to do?

●

feature popular publics on their publications

●

if you stink to commemorate - start publishing, but for whom it is necessary to

constantly practice and become better at your craft

●

use thematic hashtags so that your readers can know you

●

blogging

●

otherwise, your slipping will not work the way you want

Presentation Of Self And Personal Brand

Perfect Render Course By Kf

Video lecture "Personal brand, website creation and promotion in social networks" Olha Kukushkina

Kf.School Ua | Eng | Pl | Fr | Pr

72

CHAPTER 10
Personal brand video lecture

Final Word

Kf.School Ua | Eng | Pl | Fr | Pr

73

FINAL

Final word

Finally, the book reached its end and everything that I wanted to put on We live in times when everything changes quickly, radically and paper for so long, or as it is now - on electronic paper, was expressed. unexpectedly. But the understanding of design and architecture will

always be based on functionality, aesthetics and naturalness. Thirteen years of work in the field of interior design has led me to a minimalist way of thinking about design, work and collaboration with a At a time when the world has once again seen the threat of viruses, team. Nowadays, when the greatest value is time itself, it is necessary to standing on the brink of a great war for freedom, the minimalist approach try to save it as much as possible, optimizing all processes, namely those to life against the background of material oversaturation becomes more related to design and visualization, even if they are very creative acute than ever.

processes. I told directly in this book, which absorbed all our experience to date. The future of masters of design and architecture is to keep space free from visual noise, to try to create functional housing with the maximum The taste and sense of beauty do not come to a person in one day or level of comfort and technology, to integrate living nature into people's month - they are years of observation, analysis and attempts, which are homes as an integral part of everyday life - to make space not always successful. But only attempts and experiments, eyes that want understandable, autonomous and close to nature. Modern man needs it to see and hands that are not afraid of defeats, will be able to reach a more than ever.

result that will inspire them and maybe someday society. And the last thing - only practice day by day, thinking about the results It is important not to stop and look for beauty in everything that and working on mistakes will lead you to the desired result. And with you surrounds us, to consider every centimeter, to reproduce harmony in our and the whole world.

work and to share our creation with the world.

Kf.School Ua | Eng | Pl | Fr | Pr

END OF WEB BOOK

Perfect Render / Complete web-book draft

Next pass: editorial cleanup, captions, design rhythm and multilingual structure.

Made on
Tilda